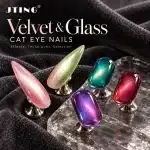
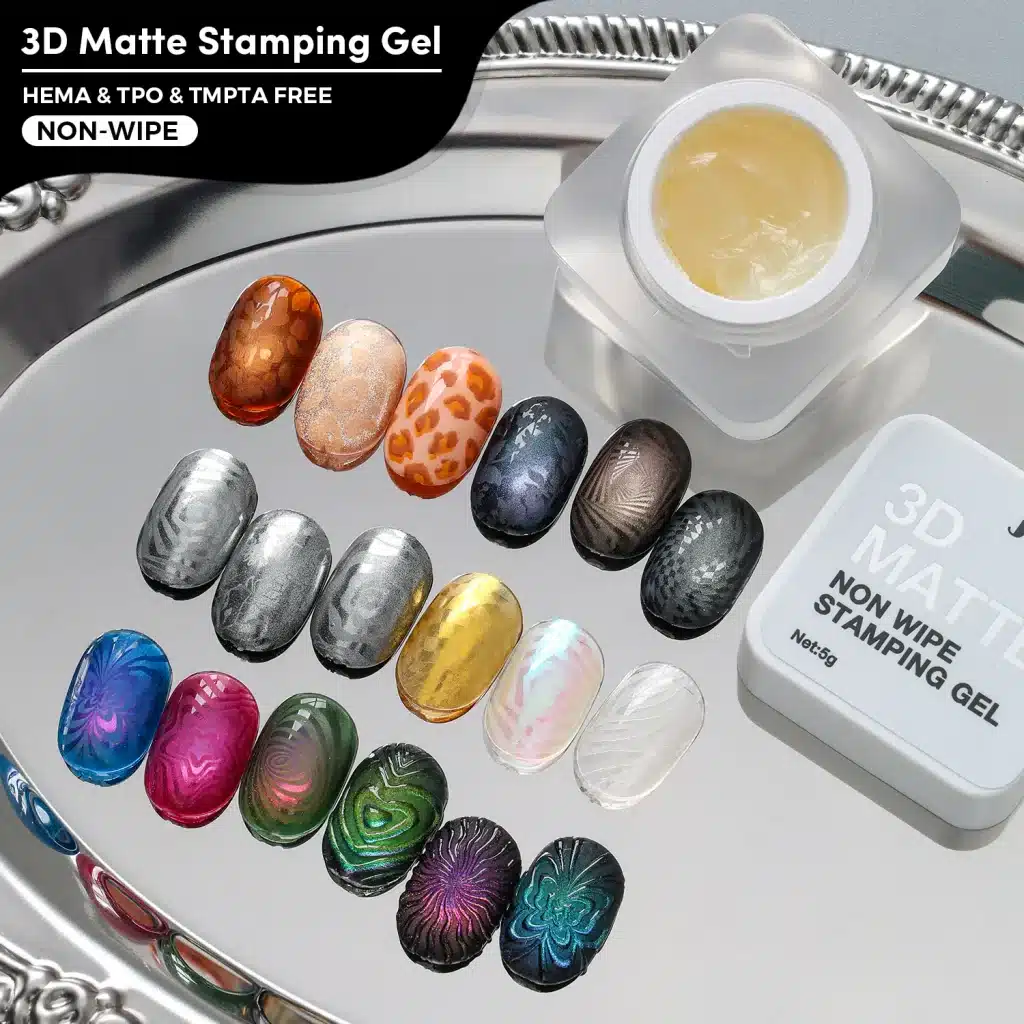
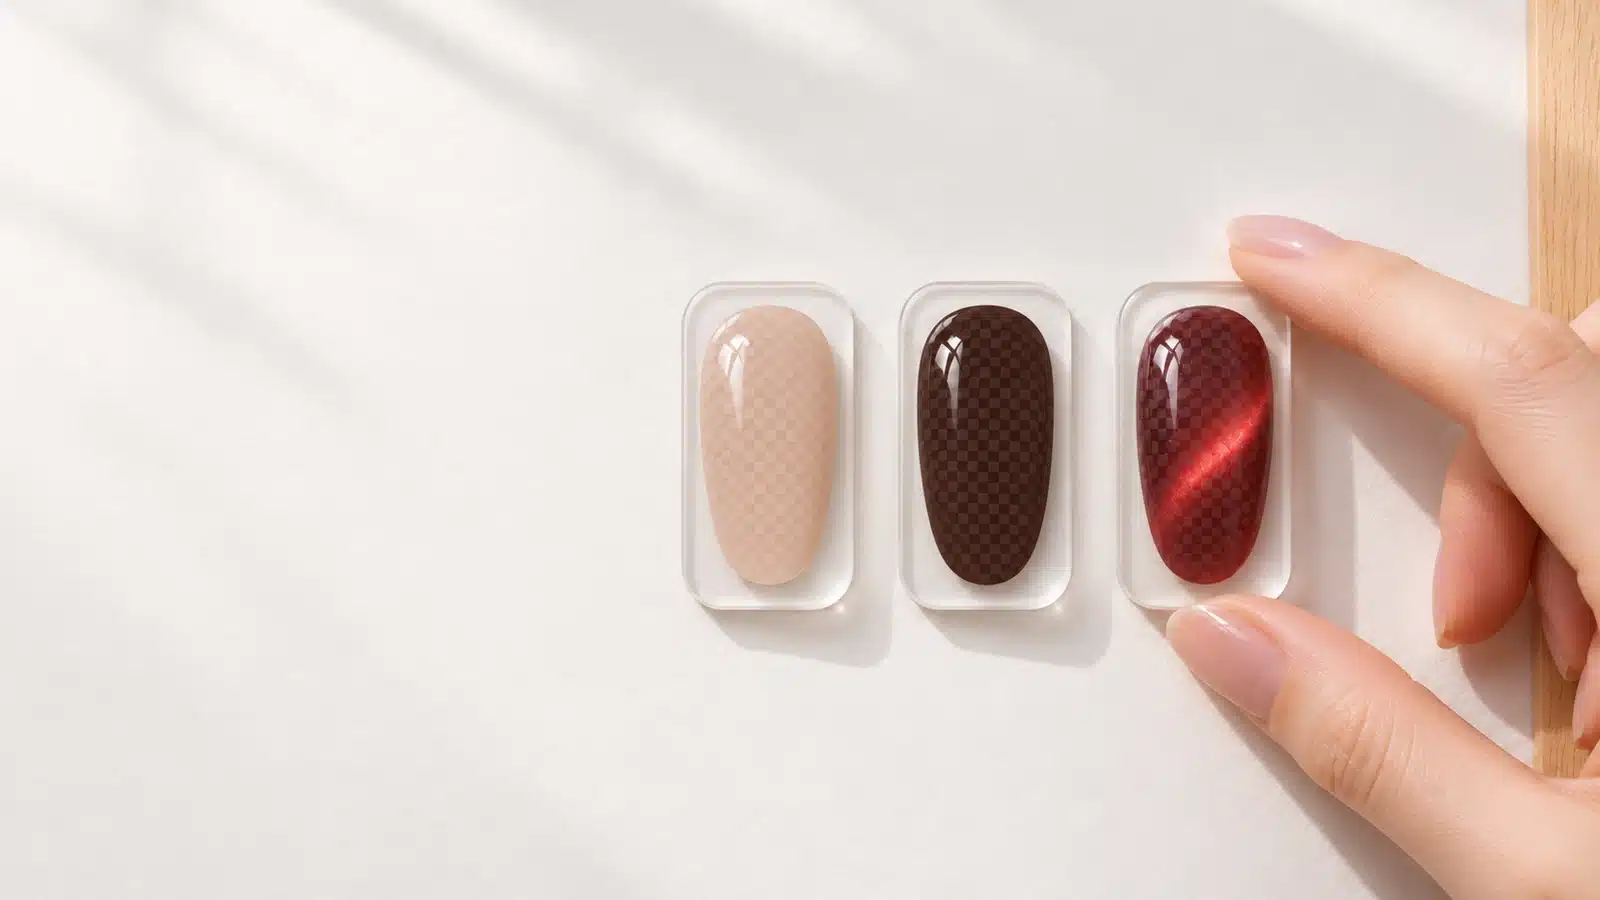
A clear matte pattern gives an existing gel color another way to be worn. Glossy nude nails gain a subtle textured accent; deeper shades frame the motif; a cat-eye highlight moves beneath the stationary pattern. For a nail brand or salon supplier, this creates design options around colors already in the range, with one clear stamping material connecting several finished looks.
This guide uses JTING No-Wipe 3D Matte Stamping Gel to explain material selection, pattern placement and the transfer process, then connects those choices to salon menus, customer demonstrations and wholesale buying. The aim is to build an offer customers can understand, reproduce and reorder.
Three Bases.
01. Choose the Right Material for Raised Nail Art
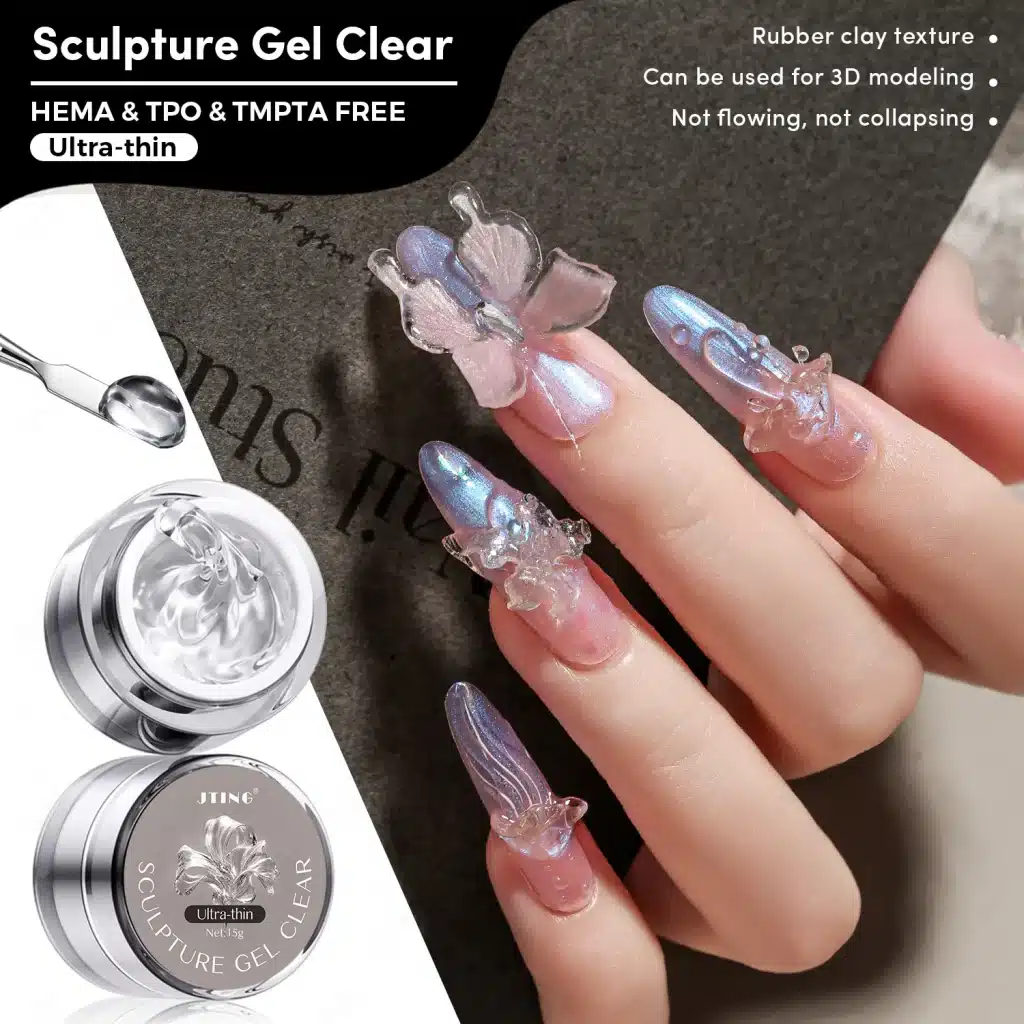
Start with what the customer should see. If the base color is the main feature, clear stamping gel adds pattern and texture while letting that shade show through. If the motif itself needs to supply a contrasting color, choose a colored stamping medium. If the design depends on hand-shaped petals, folds or individual relief elements, choose a hand-shaping material. See the clear sculpture gel guide for petals, folds and other freehand relief.
For a brand extending an existing color collection, clear matte stamping adds a surface effect without introducing a separate colored gel for each motif. For a salon supplier, it provides a reason to demonstrate familiar shades in a new design. Choose it when the base color and a repeatable plate pattern are both part of the appeal; choose hand-shaped relief when the form itself needs to be built individually.
The buying question also depends on the account. A nail brand needs a recognizable design story that fits its collection. A distributor needs an effect its representatives can demonstrate and its customers can reproduce with accessible tools. A salon supplier needs examples that translate into booked services. For each audience, start with the finished application and work back to the materials needed, rather than adding another nail art gel to the catalogue without showing its role.
| Desired Result | Material to Consider | How the Design Is Made |
|---|---|---|
| The same raised matte pattern across several nails | 3D matte stamping gel | Transfer an engraved pattern from a steel plate |
| Motif that adds a contrasting color | Colored stamping medium | Transfer a colored design using its own application instructions |
| Freely shaped three-dimensional detail | Sculpture gel | Shape individual elements by hand |
02. Compare the Same Pattern on Three Base Colors
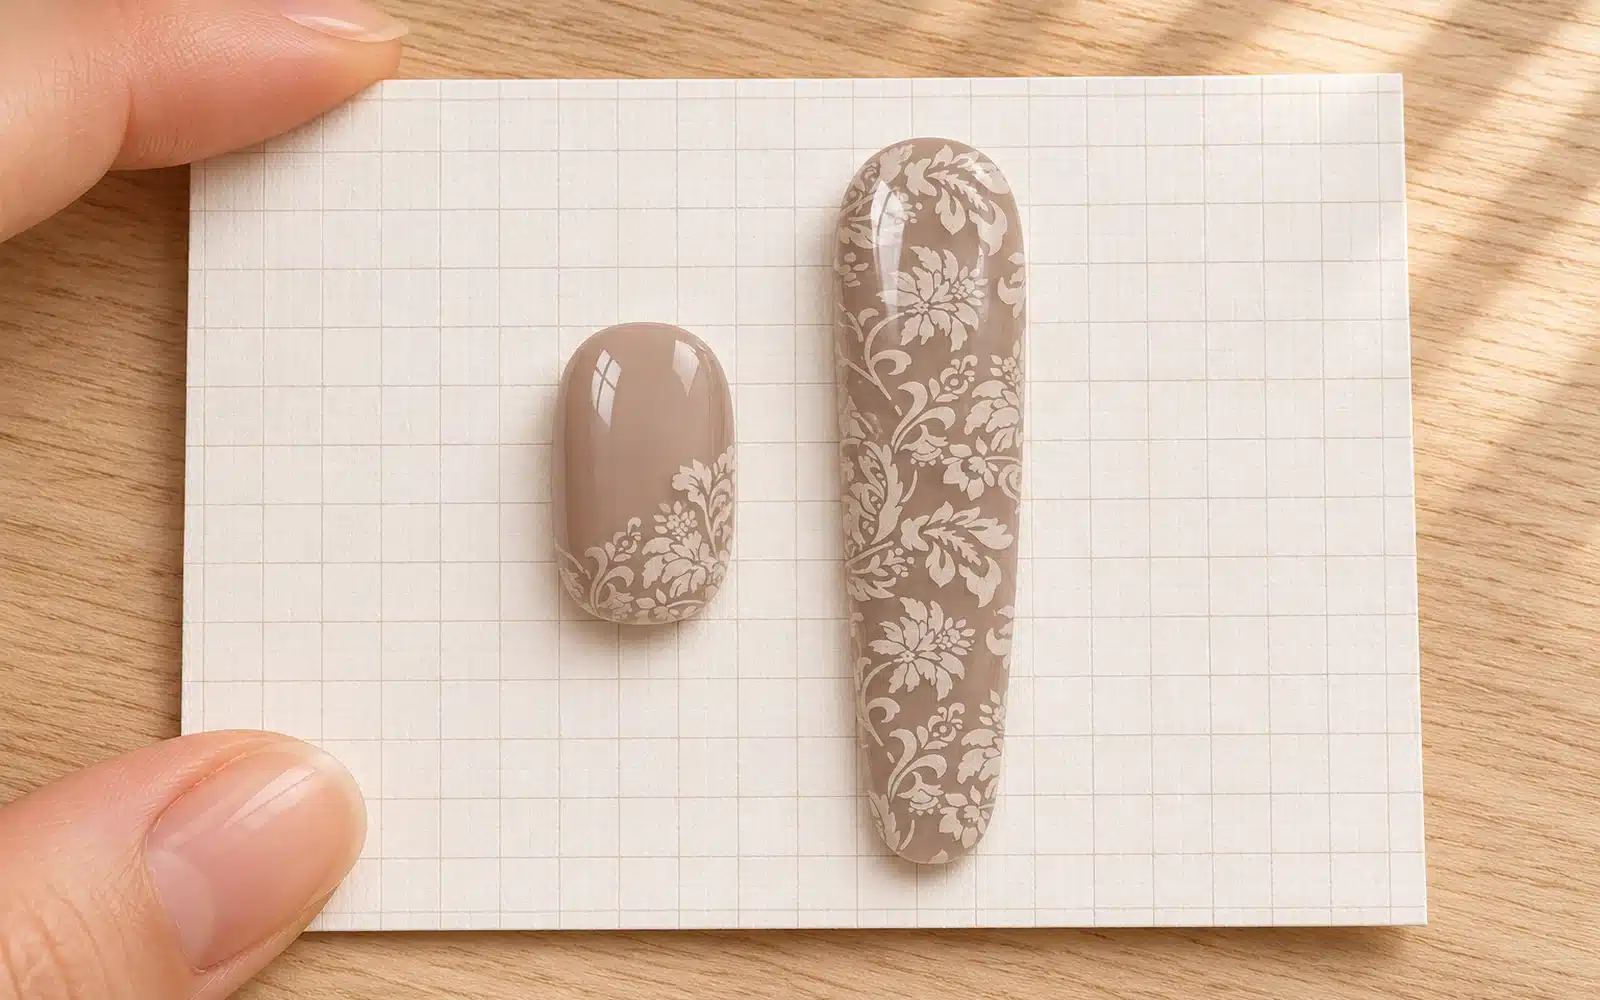
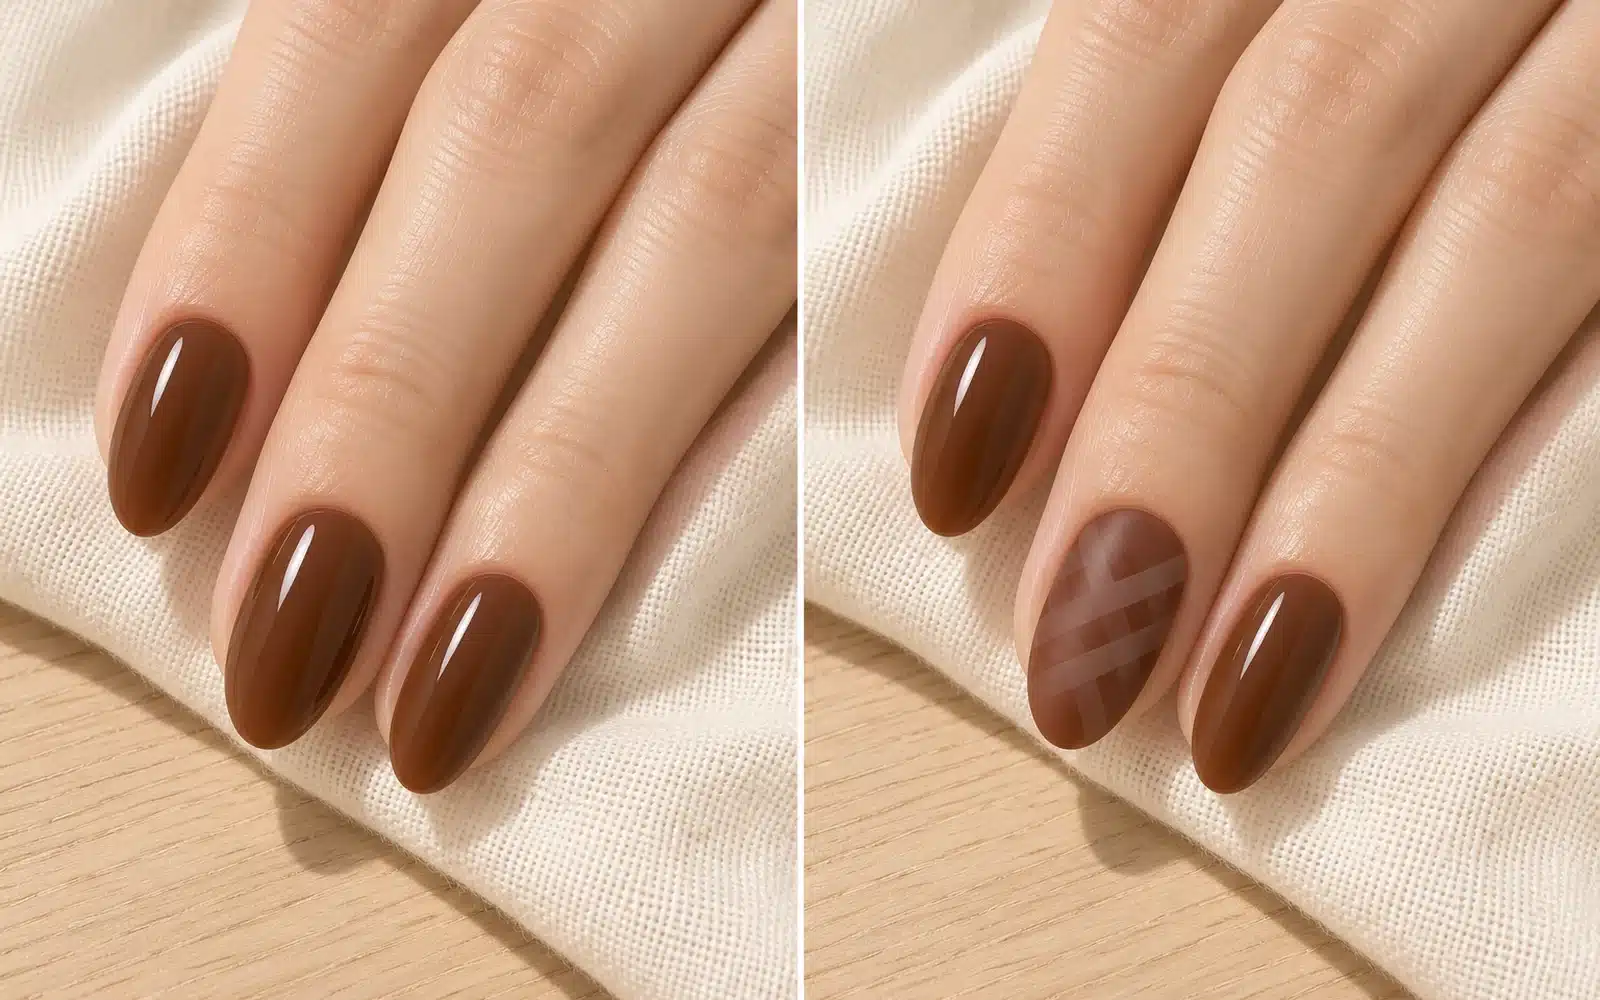
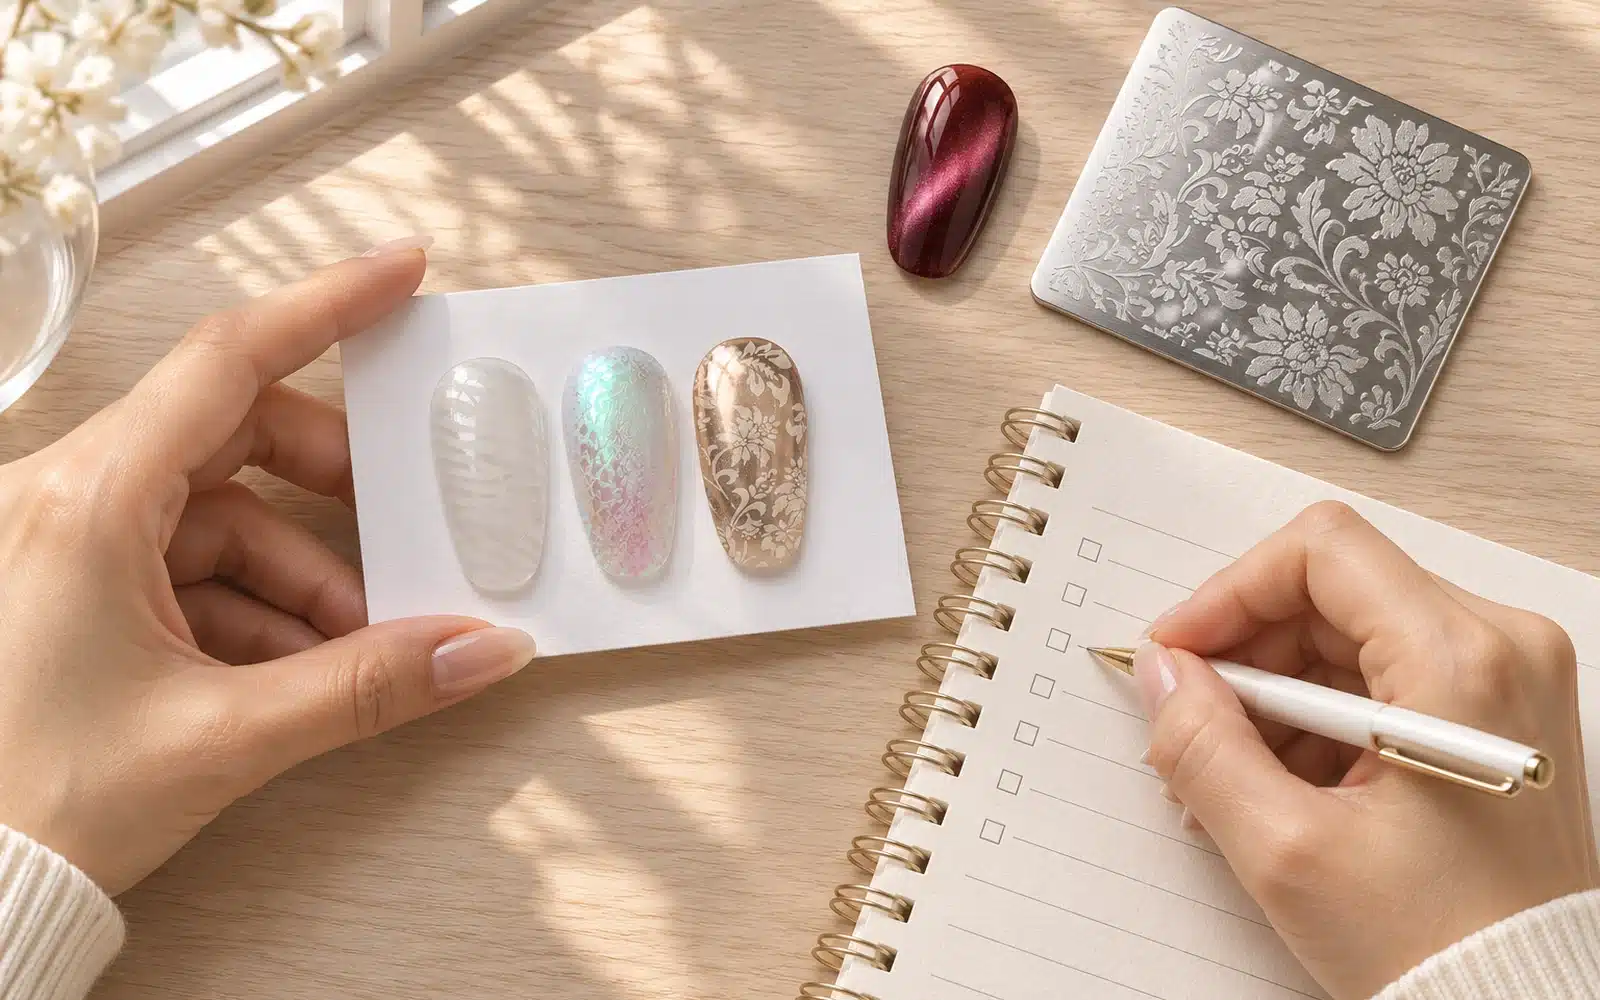
A useful display shows three design directions rather than several almost identical tips. A milky nude gives clear matte nail art a quiet, tone-on-tone appearance. It suits a presentation where texture is revealed as the nail turns, with much of the base left visible. A deep solid color gives the motif a stronger visual setting: use an open check or a defined floral section so the viewer can follow its outline.
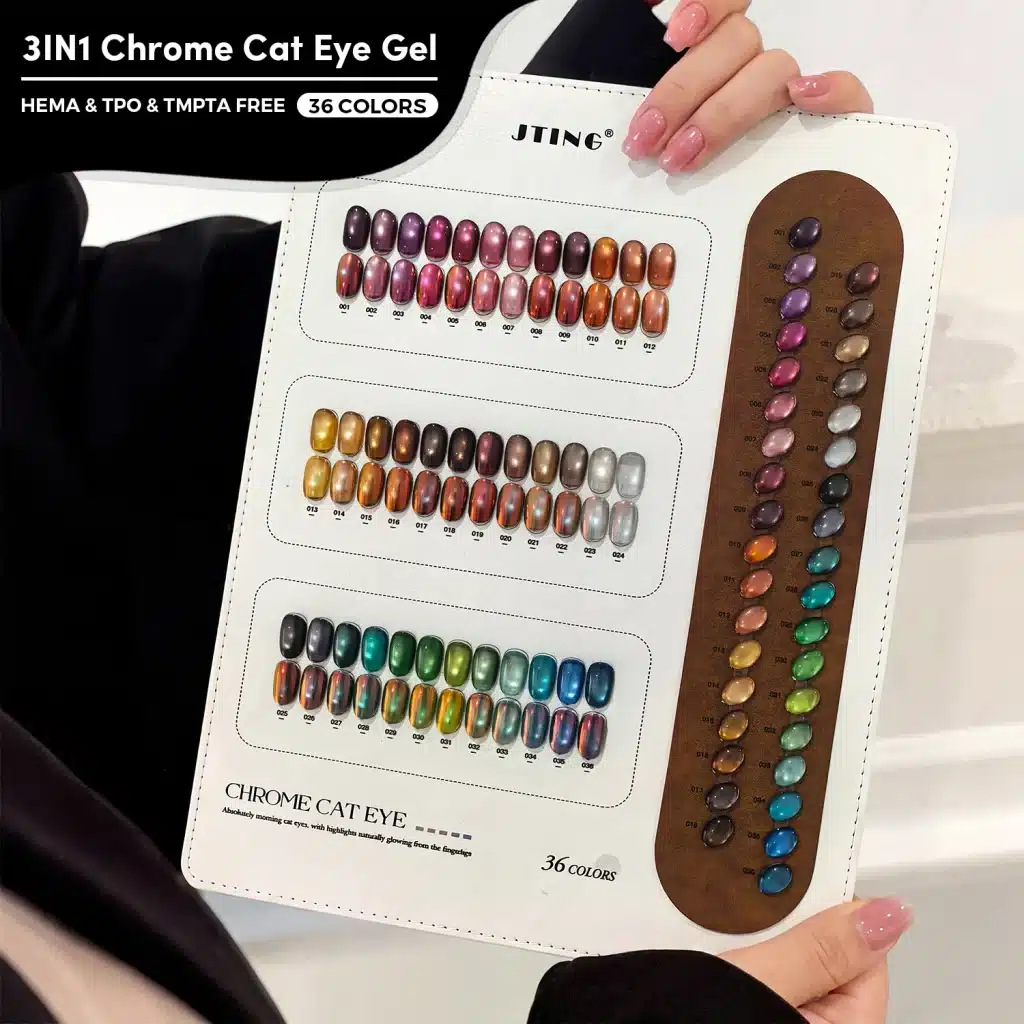
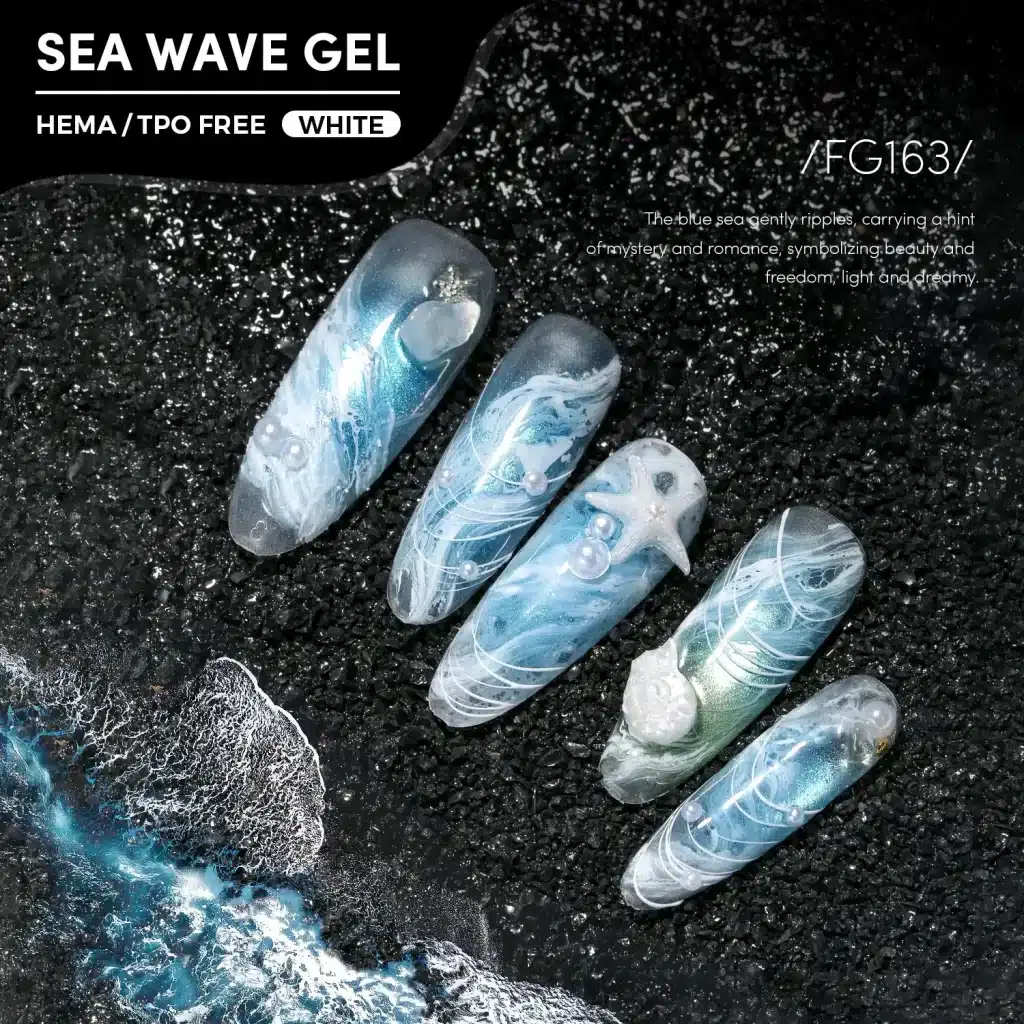
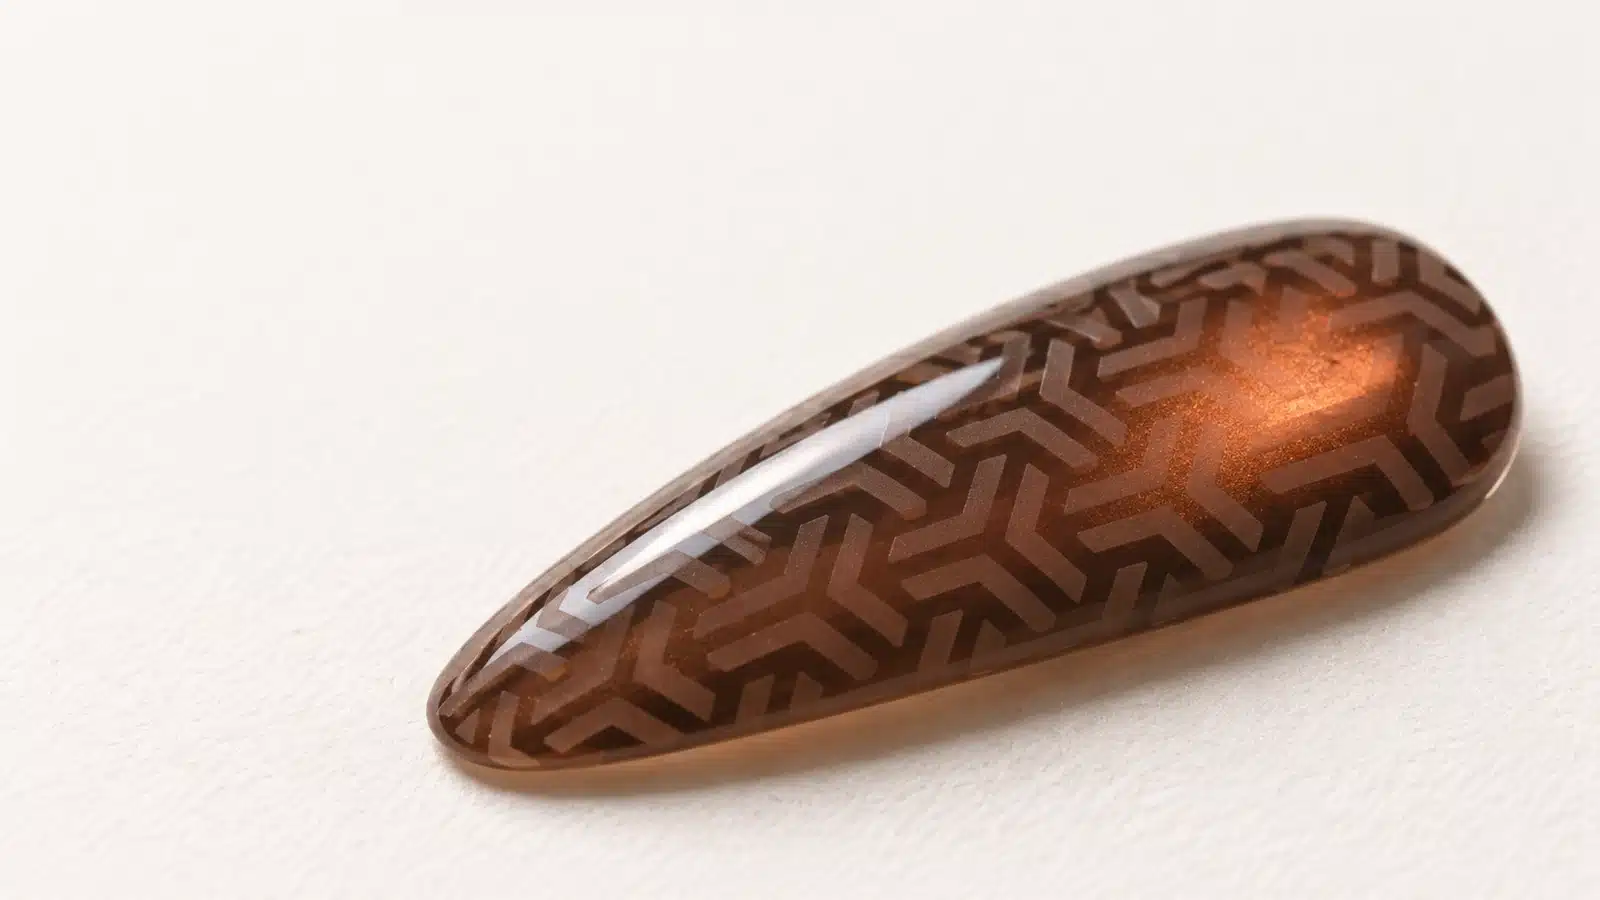
On a cat-eye gel base, the moving highlight and the stationary pattern provide different kinds of detail. A narrow stamped panel leaves room to see both. Covering most of the nail produces a more textured look, but gives the underlying light effect less uninterrupted space. Choose the balance to suit the finished design you want to show.
For a distributor, these three examples connect the stamping gel to existing nude and solid-color ranges and cat eye gel collections. Display each result beside the base shade used, with a plain companion tip where space allows. Customers can then select a complete look and identify the color they need, even when the gel and tools are sold separately.
For example, build a compact collection around a nude with a side check, a deep red with a central floral section and a cat-eye shade with a narrow patterned band. Each example has a different purpose, so the selection remains useful even when customers prefer only one color family. When refreshing a seasonal display, changing the base shades gives the familiar technique another visual context. Keep the demonstrated shade names available so buyers can reproduce the advertised combination.
03. Choose Fine Lines, Checks or Dense Motifs
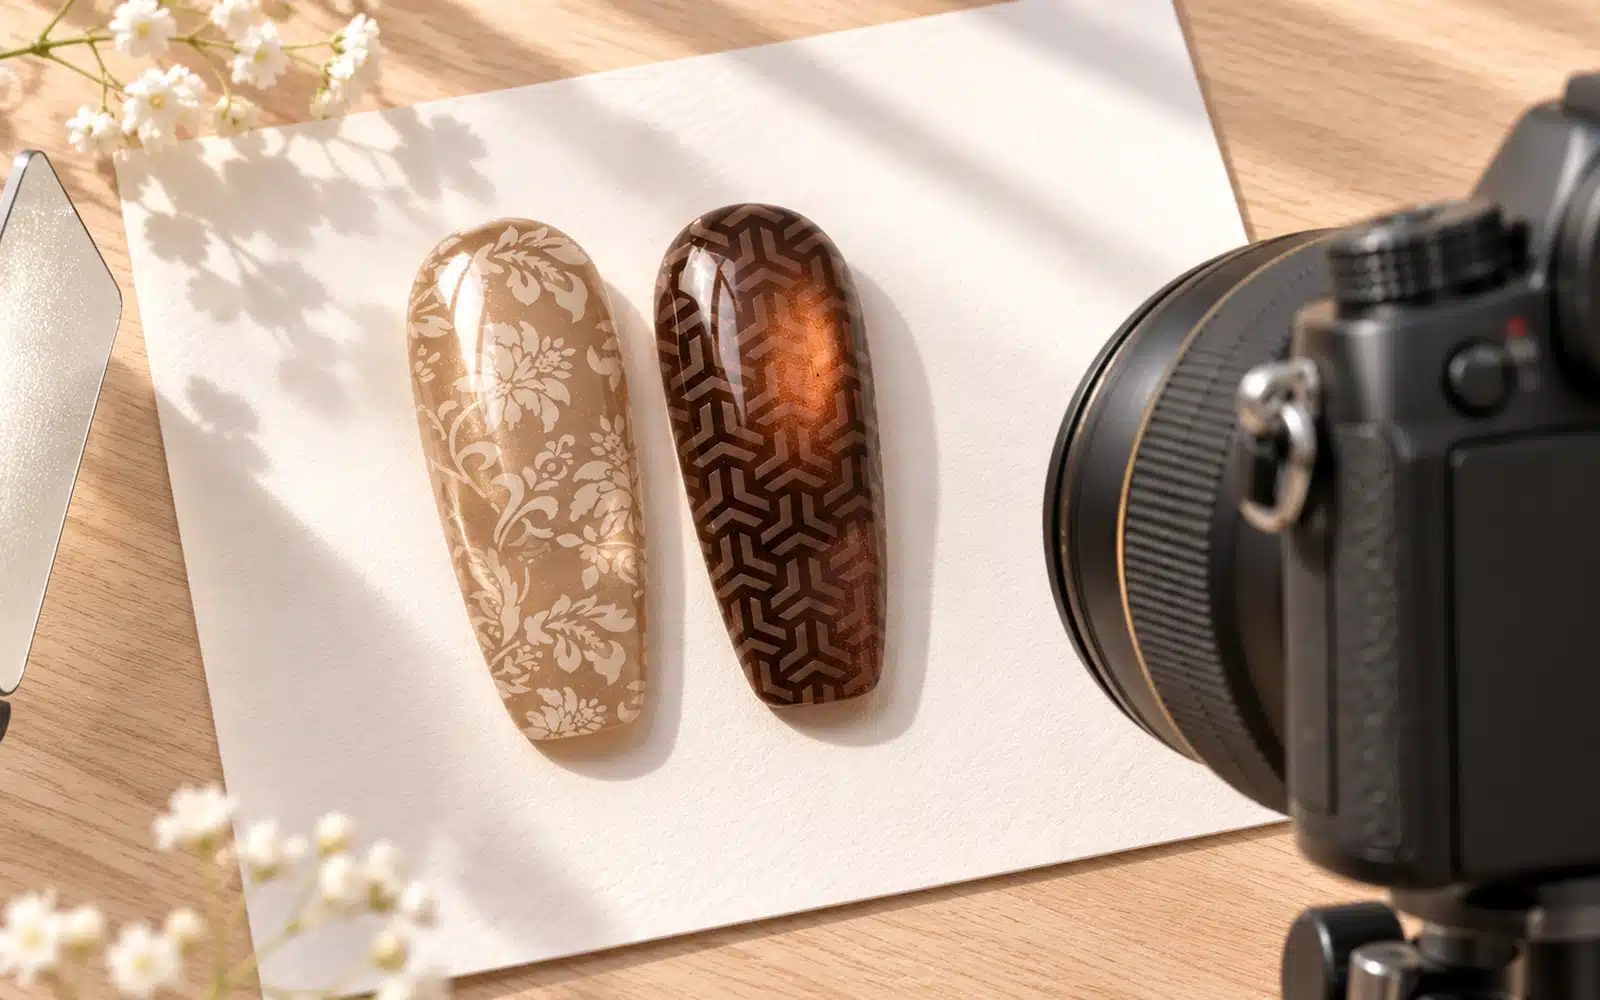
Fine lines and open checks create a restrained graphic accent. A narrow band works well when the base shade should remain the main feature. Repeated checks create a more continuous surface pattern, while floral or vintage motifs give a feature nail a recognizable focal point. The choice is about the amount and arrangement of detail, as well as the engraving itself.
Build a small design selection around different visual roles: one open motif for a simple accent, one repeat for a coordinated manicure and one denser motif for a statement nail. This gives a salon supplier more to explain than a row of similar patterns and helps a brand organize tutorial content around distinct finished looks.
Inspect the details that define each design. Fine lines should remain continuous, check intersections should stay distinct, and the main shape in a dense motif should still be recognizable on the finished nail. A large plate engraving does not need to be transferred in full; selecting a small, well-defined section can make it more useful across different nail sizes.
When choosing plates for a training assortment, consider how many usable placements an engraving offers. A repeat with several clear sections can support both a narrow accent and wider coverage. A single large illustration may offer fewer options on short nails. This is a practical distinction for buyers comparing plate selections: the number of engravings alone does not show how many designs suit the nail sizes their customers work with.
04. Match Pattern Scale to Nail Shape and Length
Pattern scale changes the character of a manicure. On a short oval nail, a side panel or small central motif leaves a clear border of base color. On a medium nail, a centered detail can become the focal point. A longer almond shape provides space for a repeat running along the nail, but does not require every part of the surface to be covered.
Preview placement through the clear stamper. Start with a recognizable part of the engraving and judge its position on the narrowest nail in the intended set. A design that fits a broad display tip may need a smaller section on a little finger. Cropping the motif deliberately gives a more coherent result than letting its main feature disappear at the sidewall.
Show short and long examples in your catalogue rather than presenting every design on oversized display tips. A salon buyer can then see how the technique fits the nail lengths its clients request. For a coordinated set, repeat a visual element—a band, a flower or a grid section—while adjusting its placement to each nail.
05. Set Up a Repeatable Stamping Workstation
Arrange the steel stamping plate, scraper and clear silicone stamper in working order, with prepared practice tips close by. The operator should be able to fill the engraving, remove excess gel, pick up and position the motif without searching for the next tool. Keep used tips and discarded gel away from the clean working area.
Prepare and clean each tool according to its own instructions. A plate with several similar engravings is easier to use when the selected motif is identified on the demonstration card. Place one finished example where the operator and customer can both see it.
For a customer demonstration, prepare the underlying color and top coat beforehand so the session can focus on the stamping stage. Explain that preparation is already complete; the live transfer is one part of the full manicure process. Keep a fresh practice tip available for a second attempt and enough space to show the stamper before it touches the nail.
06. Pair the Base Color, Top Coat and Stamping Gel
Before applying the stamping gel, complete the gel color and the underlying top coat, curing each according to its own directions. Transfer the clear pattern onto the fully cured top coat. The transferred stamping gel then has its own lamp-curing step.
To compare two underlying top coats, prepare two tips with the same color and engraving. Change only the top coat and compare the transferred edges and any gaps. Record the combination used for the approved swatch.
When choosing base and top coat options, remember that the underlying top coat and the stamped motif perform different jobs in the design. The first completes the base manicure; the second adds the local matte pattern. This distinction matters when a customer asks whether “no-wipe” means a preparation step can be omitted. Here it describes the cured stamping gel finish, not permission to skip the supporting gel system's instructions.
For a supplier building an application guide, identify the base products used in the demonstration instead of describing every surface as interchangeable. Buyers who already carry a gel color and top coat can use that combination in their sample trial. The result then answers a useful business question: how will this effect fit the products their accounts already use?
07. How to Use Stamping Gel on a Steel Plate
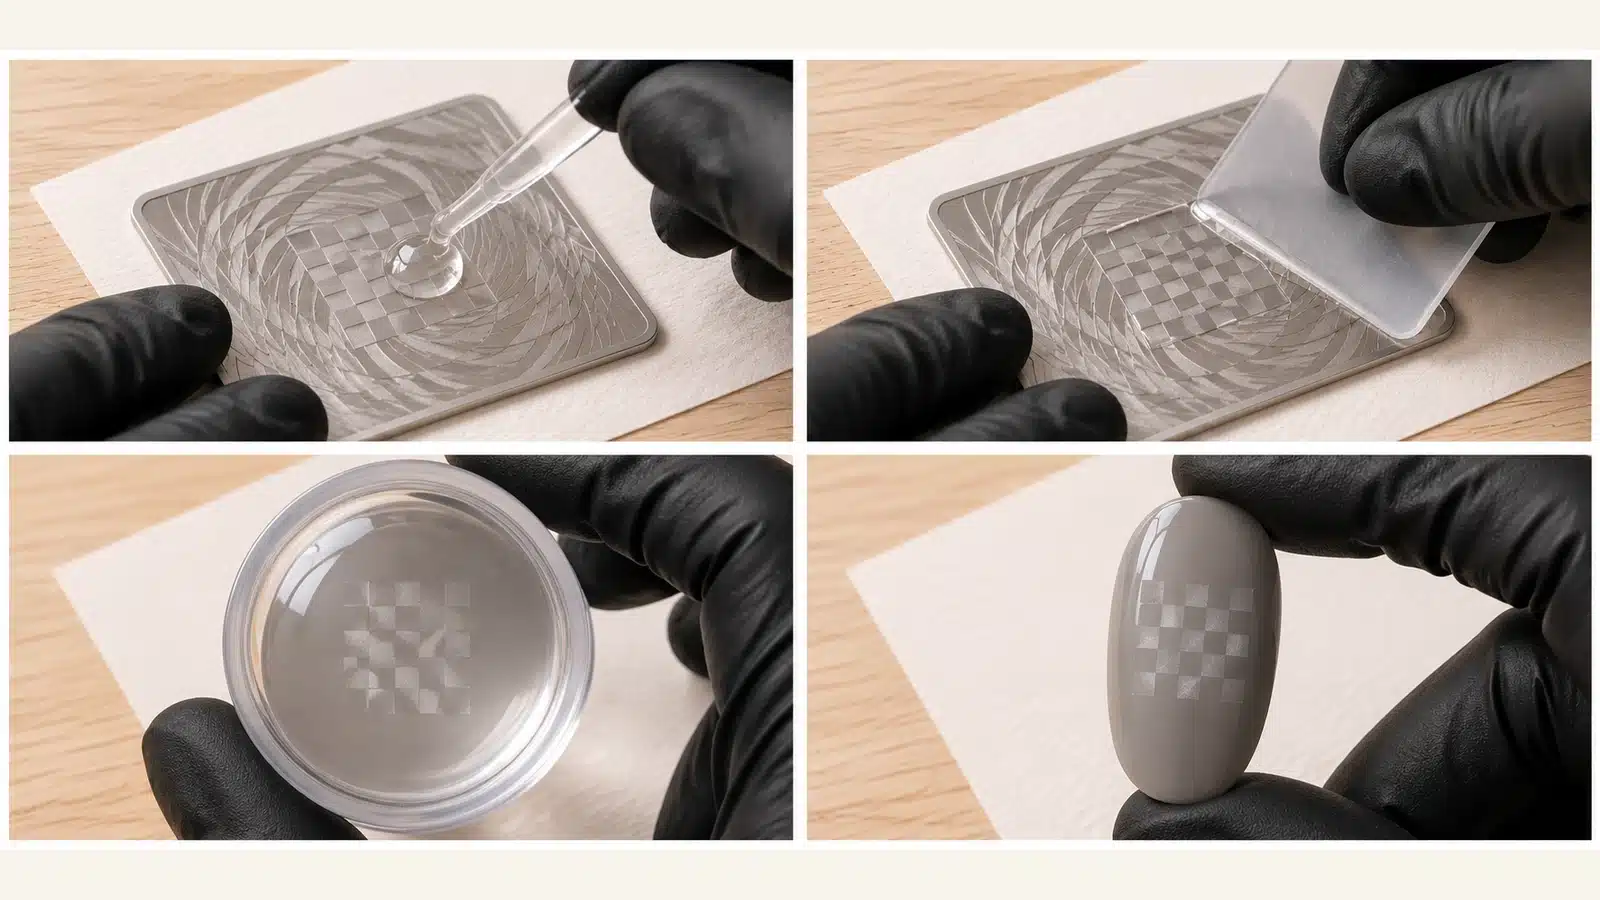
- Prepare the base. Finish a practice tip or manicure with your chosen gel color and a fully cured top coat.
- Fill the engraving. Apply the clear stamping gel over the selected design on the steel plate.
- Scrape and pick up. Scrape away the excess and promptly lift the design with the clear silicone stamper. Check that the outlines and intersections are intact.
- Transfer and cure. Align the motif, press it onto the nail, and cure the transferred design under the lamp following the product instructions. Keep uncured gel off the skin.
On the first run, choose an open pattern and use the centerline or free edge of the nail as a placement reference. If the outline breaks before it reaches the nail, start with the pickup checks below.
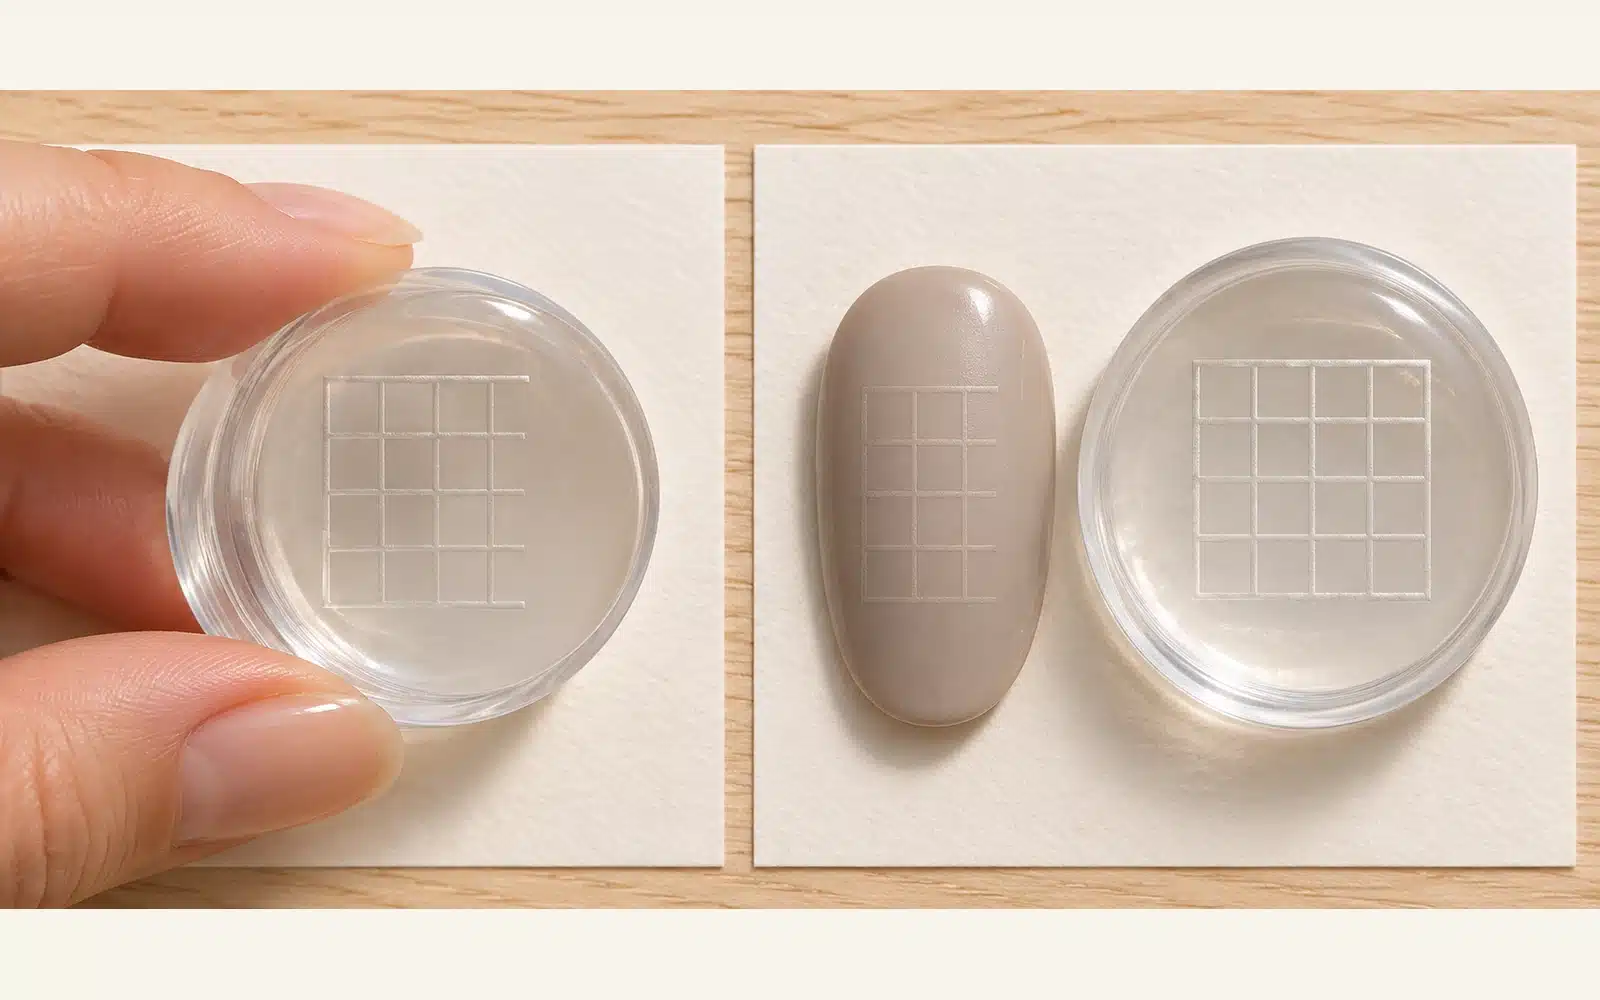
Pay attention to the image on the stamper before positioning it. This is the last clear view of the entire picked-up motif before contact with the curved nail. Identify the main feature and decide where it should sit, especially when using only part of a larger engraving. An intact pickup and deliberate placement make it easier to separate a material-transfer issue from a design-positioning issue.
In a tutorial, show this pause rather than editing directly from scraping to the finished nail. Include the actual curing step and the completed matte finish. A short video can remain concise while showing the decisions a technician needs to repeat the design; simply showing a perfect final tip leaves those decisions unexplained.
08. Troubleshoot Incomplete Pickup and Distorted Transfers
If stamping gel is not picking up cleanly, check where the first visible defect appears. A line that is already missing on the stamper requires a different check from a line that disappears when the design reaches the nail.
If several lines disappear in the same place, run the same motif again before moving to another plate. Note whether the gap follows the same part of the engraving or shows up only when the design reaches the curved side of the tip. If the full design transfers but reads faintly, compare it under the same light on a deeper base. Record the first point at which the two results differ. That observation is more useful for training and supplier follow-up than a single photo of the final nail.
| What You See | First Place to Look | Next Comparison |
|---|---|---|
| Missing sections on the stamp | Fill across the engraving, excess gel on the plate and contact during pickup | Repeat the same motif, changing one factor |
| Complete pickup, but missing edges on the nail | Alignment, contact across the curved surface and motif size | Try the same pattern on a practice tip of similar curvature |
| Pattern present but difficult to see | Base color and viewing angle | Place a control tip beside it and check both under side light |
Record the plate, stamper and surface used before changing tools. This gives a trainer or supplier enough information to reproduce the issue.
Distortion needs a different comparison from missing detail. If a grid is complete but its squares become stretched or its lines lean, compare its shape on the plate, on the stamper and on the nail. Note the stage at which the geometry changes. Review the contact movement at that stage before switching to a new motif. Changing the engraving, base and stamper together makes it difficult to identify which change helped.
For distributor support, a short sequence showing these stages is more useful than asking the salon to describe the gel as “not working.” It gives the person providing guidance a specific starting point. Keep this diagnosis separate from the design choice: an accurately transferred pattern can still need a different scale or placement to suit the nail.
09. Preserve Matte Relief after Curing
Once the motif has cured, leave it unwiped and skip the additional top coat over the stamped area. The gloss around the motif helps the shallow matte detail stand out.
View the nail straight on to judge the outline and from the side to see the relief. A narrow band leaves more of the original finish visible. A larger motif shows more texture, but its edges still need to read at normal viewing distance.
Treat the contrast between the surrounding finish and the stamped area as part of the composition. If the brief calls for a local matte detail, carrying the underlying glossy finish around that detail helps explain the effect visually. Show customers a full-nail view as well as the close-up so they can judge its subtlety. The term “3D” here describes shallow raised patterning; a display should communicate that scale clearly rather than suggest the height of a sculpted flower.
10. Add Stamped Details to a Finished Gel Manicure
A clear stamped accent extends the design choices around a finished gel color. Build the salon menu around how much detail the client wants: a single feature nail, two complementary accents or a pattern repeated across several nails. These are different service options, even when they use the same jar and steel plate.
A single accent keeps the selected color prominent and introduces the matte texture in one place. Two accents can use the same engraving in different positions, such as a narrow band on one nail and a larger section on another. A multi-nail design creates a stronger theme and needs more placement work to keep the pattern balanced across different nail widths.
For cat-eye manicures, leave clear areas around the stamped motif so the highlight remains visible. For a solid-color collection, show the same accent over two or three existing shades to demonstrate a change in mood without changing the pattern. A salon supplier can use these examples in a design card accompanying its color display.
Present the plain manicure beside the accent options, with the number of decorated nails stated in the menu. Customers can choose the level of detail, and technicians have a defined scope for booking and pricing. Keep the examples specific—such as a two-nail matte check accent—rather than describing every option simply as “3D nail art.”
11. Estimate Time and Material Use for Salon Services
Time a single accent and a full set separately. Record setup, plate work, transfer, lamp time and rework. Track hands-on time and elapsed time in separate columns so the service estimate reflects both staffing and appointment length.
Weigh the jar before and after several comparable services. Divide the weight used by the number of services to estimate gel consumption per service, including gel discarded during scraping. For the gel cost, multiply the average grams used by the purchase cost per gram. Add labor and other consumables separately.
Keep failed attempts in the same trial as successful ones so rework is reflected in the estimate. A two-nail accent and a multi-nail repeat should have separate records: the number of pickups, alignment work and covered area can differ. A dense pattern is not automatically the more expensive service; the time needed to position and reproduce it matters too.
Use these observations to set service tiers around a defined design and number of decorated nails. For salon suppliers, a worked costing sheet is a useful teaching aid, with each account entering its own labor rate and purchase costs. Avoid presenting one universal number of services per jar when the designs and scraping waste vary.
12. Build and Approve a Repeatable Swatch Set
Use the same fine-line motif on two bases that represent your catalogue. Then add one denser design on the base you expect to promote. Save the approved swatches beside their reference photos so that a distributor or another technician can reproduce the same comparison.
Give each finished tip a reference code and keep a duplicate if samples are going to several accounts. If a result needs revision, record the change before repeating it. Keep the plate and base shade the same when comparing two stampers, then save the approved tip beside its reference photo.
Separate visual approval from practical adoption. The first asks whether the outline, texture and contrast match the collection you want to sell. The second asks whether the intended operator can reproduce that design with the proposed tools. A striking sample that depends on an unfamiliar plate or an unexplained technique needs a better teaching package before it becomes the lead image for a launch.
Include a sample made by a second operator in the review. Differences can reveal a placement detail or preparation step that the original demonstrator did not explain. Use the outcome to improve the instructions, then retain the sample that represents the method you will actually teach. This makes approval useful to sales and training teams as well as purchasing.
| Record | What to Capture |
|---|---|
| Design and materials | Plate and motif ID, practice tip shape, base shade, top coat and stamper |
| Process | Operator, lamp and curing instructions used |
| Finished appearance | Continuous lines, distinct intersections, clean edges and matte relief visible under side light |
| Decision | Approved, revise or repeat, with the reason and a reference photo |
13. Train Salon Teams and Distributor Reps
Give sales representatives a clear explanation of the result: the base supplies the color, the steel plate supplies the pattern and the clear stamping gel supplies the matte relief. A representative should be able to show the same motif over a solid color and a cat-eye base, then explain which products create each part of the look.
Technician training needs a different focus. Demonstrate the engraving, the pickup on the stamper and the transfer to the nail as separate visible stages. Let the learner repeat a simple accent before moving to a denser motif or a curved side placement. If a line is missing, identify the stage where it disappeared rather than repeating the entire process without a diagnosis.
Use a compact teaching pack: a finished tip, the matching plate reference, a short sequence of process images and the product curing instructions. For distributor training, add the contents of the offer being sold. This helps the rep answer both “How is this effect made?” and “What does my customer need to order?” without turning a sales demonstration into a lengthy technical lesson.
14. Photograph Matte Detail for Catalogues and Listings
A product listing needs to answer four visual questions: Is the gel clear? Where does the color come from? What does the matte relief look like? Which items are supplied? Build the image sequence around those questions, starting with a finished design that reads at normal viewing size.
Follow with a before-and-after pair to show the change in finish, and a side-lit close-up to reveal the shallow relief. For a cat-eye sample, add a short clip as the tip turns or two clearly labelled viewing angles. Keep exposure, framing and magnification consistent within comparisons so the photography does not exaggerate differences in depth.
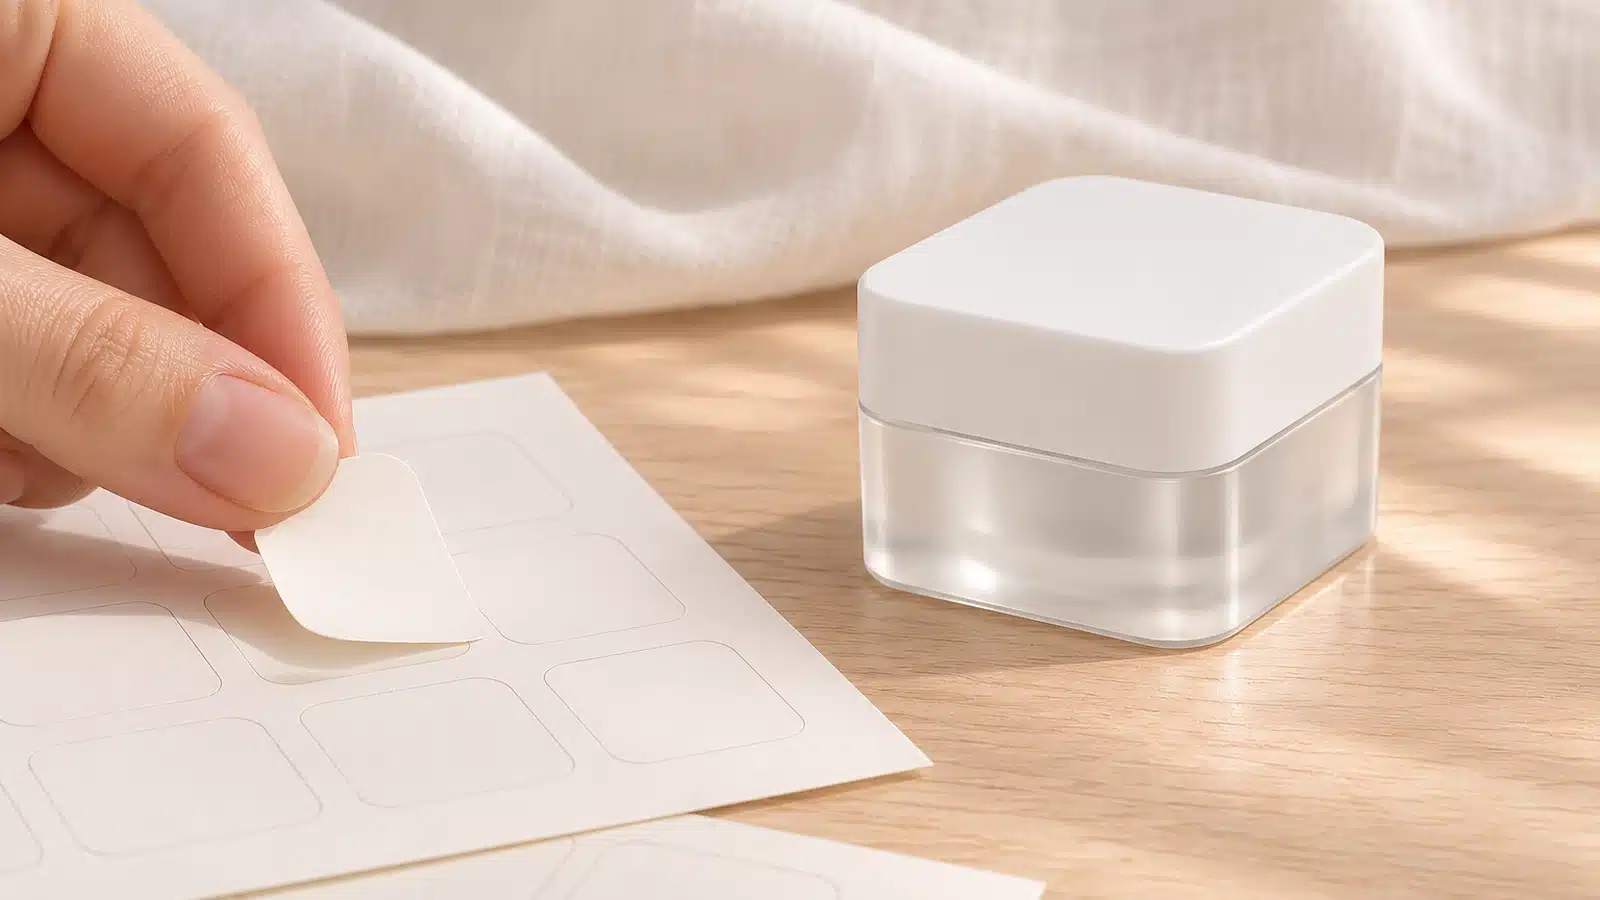
Include a photo of the 5 g jar and identify the base shade separately. A full workstation image is useful for explaining the technique, while a contents image should show the actual selling unit. State whether the plate, stamper and color gel shown in a demonstration are included or sold separately.
JTING provides product photography and brand support to help prepare these materials for your range. For wholesale catalogues, connect the finished look to the relevant base-color listing and the application guide. For salon-facing content, show the whole manicure as well as the close-up: the larger view helps customers judge how prominent the pattern will be when worn.
15. Choose a Single Jar or a Coordinated Stamping Set
Plan the selling format around what your accounts already own. Salons with plates, scrapers and stampers can add a single jar to their existing setup. A color-led display can pair the clear gel with selected shades from your range, while a teaching offer can bring together the gel and the tools used in its demonstration.
These are ways to organize your own range and merchandising. A coordinated display does not have to be a boxed kit: you can sell the gel separately and link customers to the base shade and tools. That keeps the entry choice simple for experienced stamping customers while giving new users a complete shopping list.
If you develop a kit, decide its contents and component sourcing before promoting it. List the clear gel, each base shade and every tool individually, then calculate the complete kit cost. Use a dedicated contents photograph so customers can distinguish the kit you assemble from a display of separately sold products.
Keep replenishment easy. Give the gel its own reorder option even if the first purchase is part of a coordinated offer. Existing customers can replace a consumable without buying another plate or stamper, while new accounts can still follow the complete demonstration setup.
16. Align Private Label Packaging with the Approved Design
Private label stamping gel needs packaging that explains the effect as well as identifies the brand. Make the clear gel and matte stamped finish easy to distinguish from a colored painting gel or a hand-sculpting material. Use a finished design to communicate the application, with the underlying shade identified where relevant.
JTING provides custom jar labels, outer packaging, product photography and video. Use those materials together: the label identifies the product, the instructions explain preparation and curing, and the photography shows the texture and finished manicure. A design card can connect that result to other colors in your range without crowding the small jar label.
Review the label at actual size for readability. Put the fuller application sequence on an insert or linked guide, keeping the essential product information accessible on the packaging. The instructions should follow the same sequence shown in the demonstration: prepared and cured surface, transfer, then curing of the stamped gel.
For your launch images, use the approved design and the actual selling unit. A consistent product name across the label, catalogue and reorder listing makes it easier for salon customers to find the same gel again.
Plan the information for each sales channel at the same time as the artwork. A distributor may need a concise product sheet for its representatives, while an online wholesale listing needs an application image, contents description and clear ordering information. Reuse the same approved product explanation across those formats, adapting its length to the space. This keeps a private label launch recognizable without forcing the entire application guide onto a small label.
17. Compare Quotes and Plan the First Order
Compare wholesale stamping gel quotes against one brief. State the number of 5 g jars needed, including jars allocated to your own kits or demonstrations. Cost separately sourced tools and other kit components alongside the gel quote. For private label, specify the jar label and outer packaging so JTING can quote the minimum order quantity for that configuration. Include the destination and any product documents your buyer requires.
Ask for sample timing, production timing after sample and packaging approval, and estimated transport time as separate entries. Compare landed cost per sellable jar or complete set. To estimate contribution per unit before overhead, subtract landed cost and applicable channel and fulfillment fees from the planned selling price.
Use trial orders and customer commitments to estimate the first buy. Separate accounts that already stock stamping tools from accounts that need a complete setup. Reserve sample and training jars before calculating sellable stock.
For a pilot launch, distinguish confirmed customer demand from stock allocated to demonstrations and stock held for new inquiries. These quantities serve different purposes. Training jars help introduce the technique, but they are not evidence of repeat sales. After launch, follow which accounts move from sampling to ordering and which reorder the gel; that information provides a stronger basis for the next purchase than the number of people who watched a demonstration.
Compare quotations on the same packaging and delivery basis. A lower jar price can sit alongside different freight, packaging or selling-unit costs. Keep those costs visible when comparing the finished offer. If a planned launch depends on private label artwork, allow for the approval stage in the schedule instead of counting only the bulk production period.
18. Check Incoming Stock and Plan Reorders
On arrival, check quantities, label versions and packaging against the purchase order. Use the retained approval swatch and its recorded materials to check a representative transfer. If the result differs, photograph the two samples together and include the batch and order references when contacting the supplier.
For replenishment, separate consumables from reusable tools. The gel is used during each service; an existing plate or stamper can remain in the customer's setup. A first order organized around demonstrations may therefore have a different mix from later orders focused on replacement jars.
Track standalone jar sales, jars used in your own kits and training stock separately. Combine those figures when planning the next gel order, but use actual tool sales to decide whether more accessories are needed. This avoids treating every gel reorder as demand for another complete setup.
Plan the reorder date around the remaining sellable stock, recent usage and the agreed production and transport schedule. Keep sample jars separate from sale stock so a busy training period does not unexpectedly reduce the quantity available for customer orders.
19. Questions Buyers Ask about 3D Matte Stamping Gel
Is the Stamping Gel Colored?
The gel is clear. The color or cat-eye effect in a finished design comes from the base underneath.
Can You Stamp over a Cured Gel Top Coat?
Yes. Transfer the clear motif onto the fully cured top coat, then cure the transferred gel according to the product instructions.
Does the Pattern Need Another Top Coat?
No additional top coat is needed over the cured motif to retain the matte relief. The cured pattern also needs no wipe.
What Tools Do I Need for Nail Stamping?
Use a steel stamping plate, a scraper and a clear silicone stamper.
Should I Sell the Gel Alone or alongside Stamping Tools?
A single jar suits customers who already own the tools. For new users, show the plate, scraper and stamper needed to reproduce the design, either as separately sold items or as a kit you have assembled. State the contents of the actual offer clearly.
How Are Minimum Quantities and Lead Times Confirmed?
JTING confirms the order minimum for the gel and selected packaging. The quote separates the sample schedule, production after approval and estimated transport time.
Can I Order the Gel with My Own Label?
JTING provides private label jar labels and outer packaging. Share your required quantities and packaging so the quote reflects the intended configuration.
20. Plan Your Stamping Gel Samples with JTING
Bring a new matte texture to the colors your customers already use. Request JTING No-Wipe 3D Matte Stamping Gel samples and wholesale pricing for your range, with JTING-branded supply or private label development.
Share your intended quantity and destination to start the quotation. If you already have a base shade or design in mind, include it with your inquiry so the sample discussion can focus on that look.