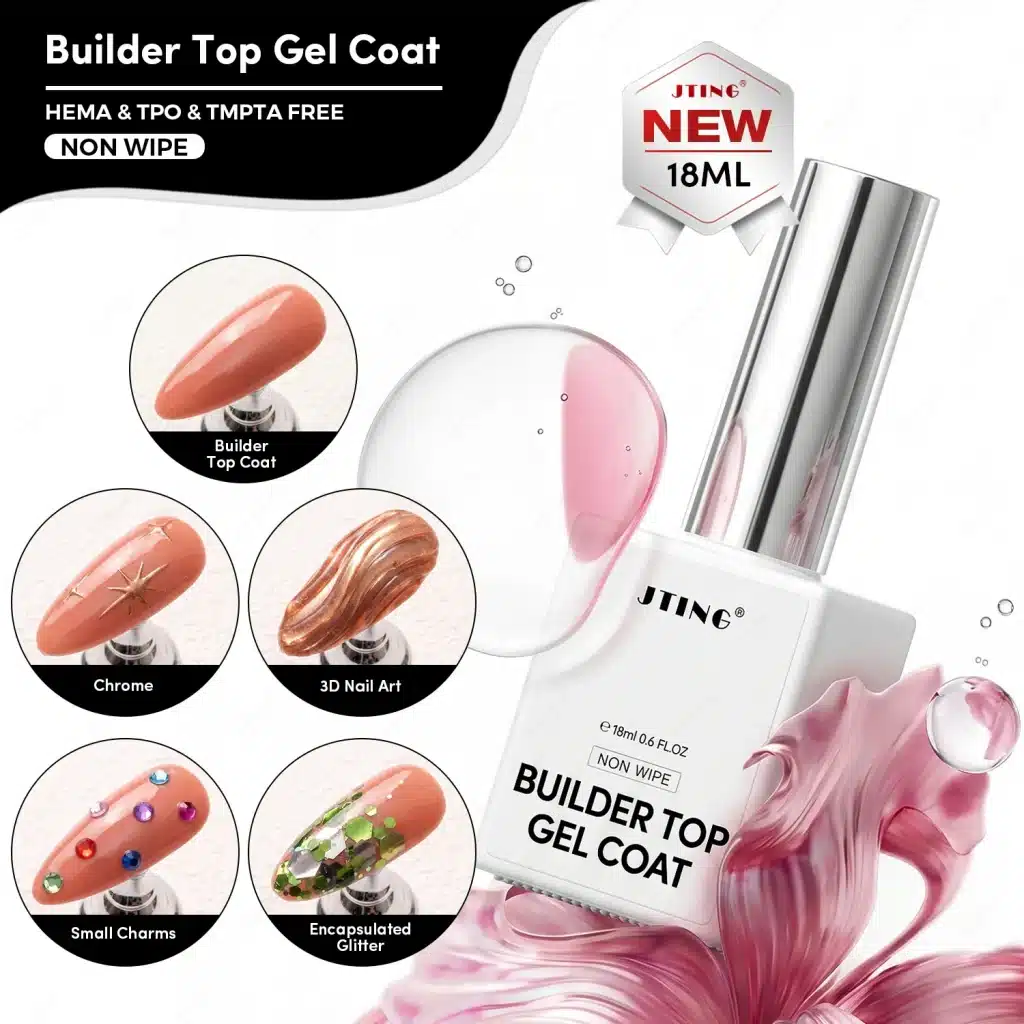
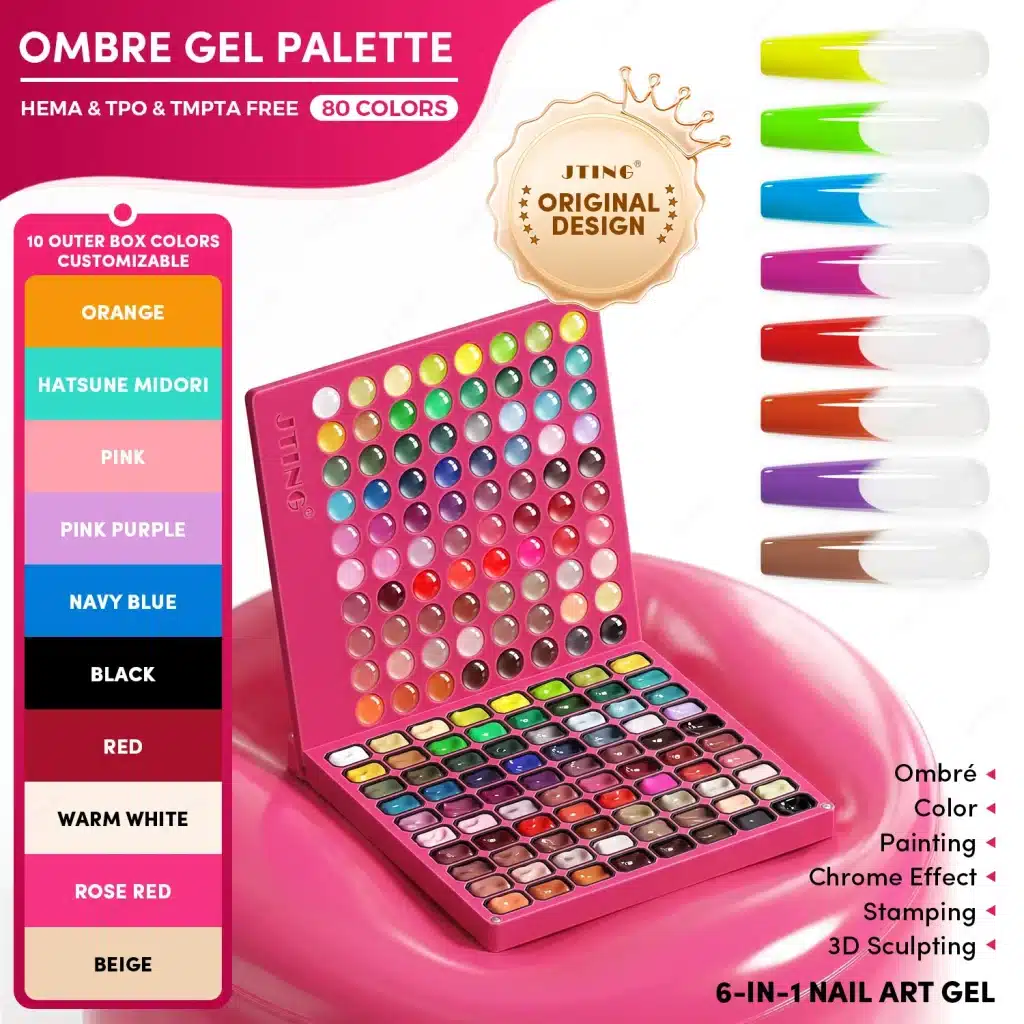
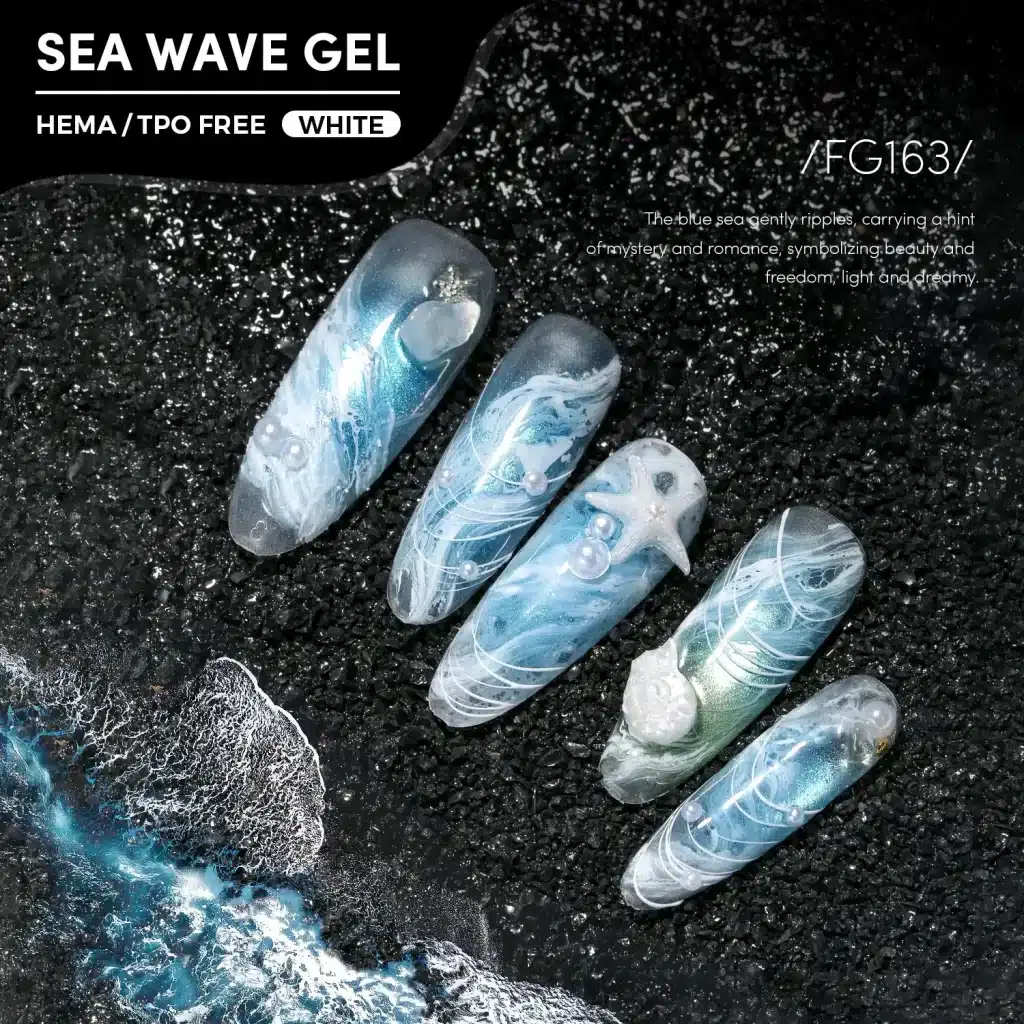
A soft ribbon of light and a clear, bead-like highlight can begin with the same broad product category: magnetic gel polish. Yet velvet and glass cat eye nails communicate different visual priorities. Velvet emphasizes a broad, fabric-like glow; glass emphasizes transparency, depth and a concentrated reflection. For a professional buyer, understanding that distinction is more useful than treating either name as a complete product specification.
A photograph alone rarely explains the whole result. The gel's color and magnetic characteristics, the base underneath, the way the magnet shapes the uncured layer and the lighting all contribute to what appears on screen. Two similar bottles can therefore produce noticeably different presentations, while one suitable product may support more than one visual direction. The useful buying question is not simply which finish is trending, but which product and application system can deliver the intended look clearly and consistently.
For nail brands, distributors and salon suppliers, the decision has three parts: choose the appearance, confirm the application needed to achieve it and decide which shades add something useful to the range. This guide covers each step, with magnetic styling methods, product comparisons, sample approval criteria and a collection-planning example.
1. Quick Answer: What Are Velvet and Glass Cat Eye Nails?
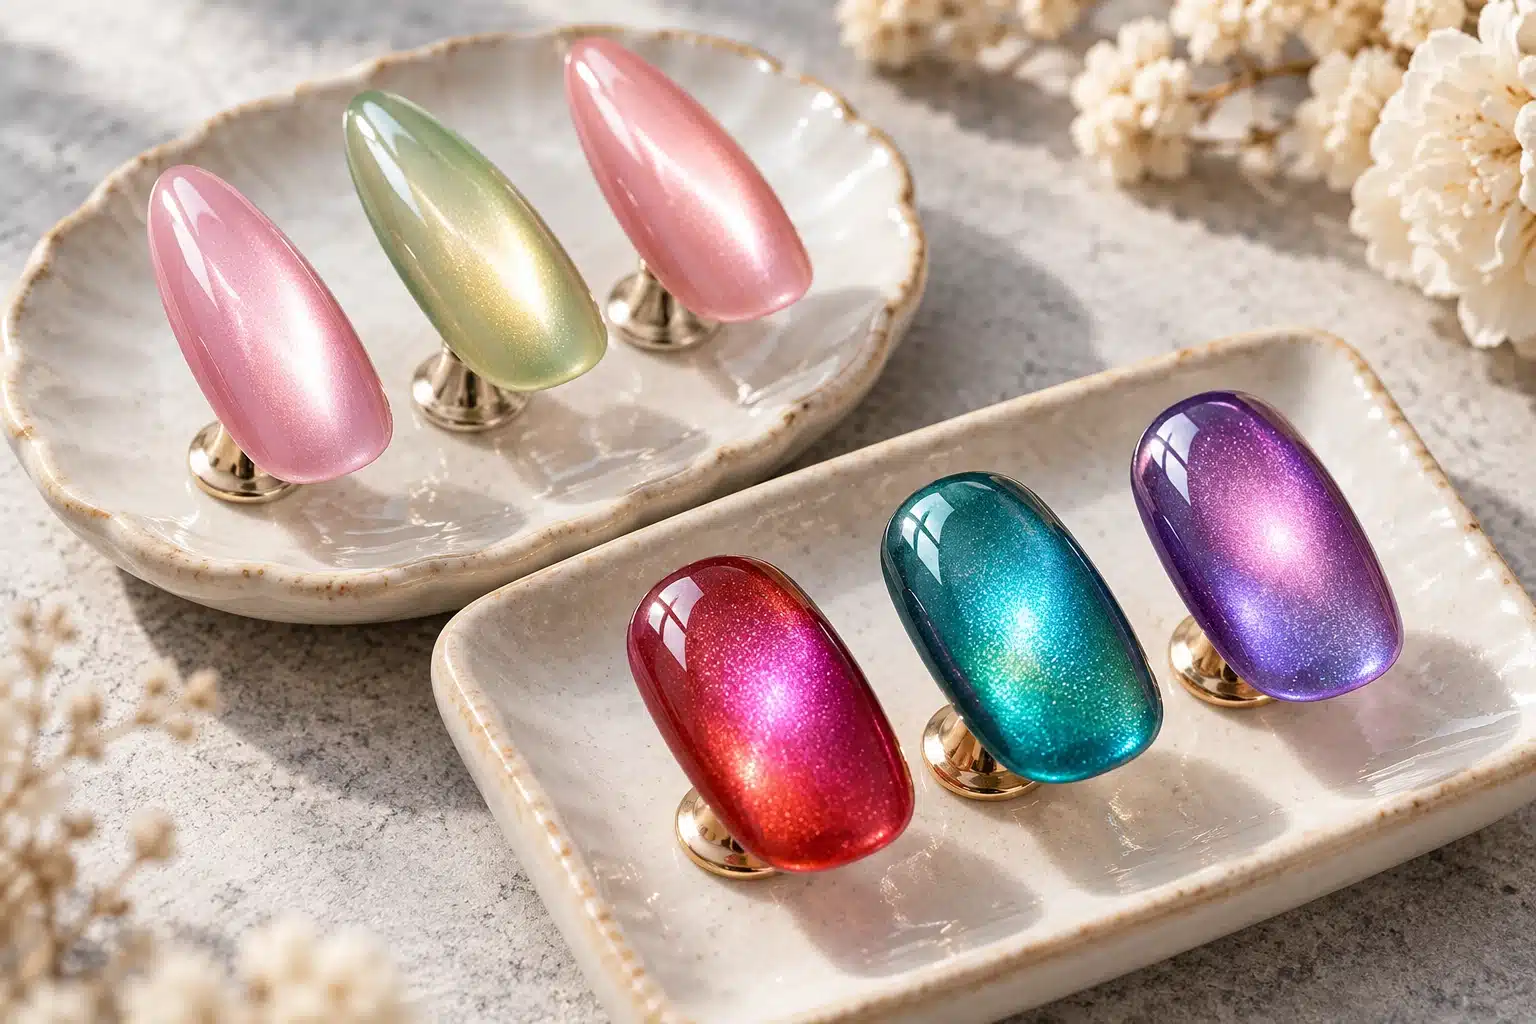
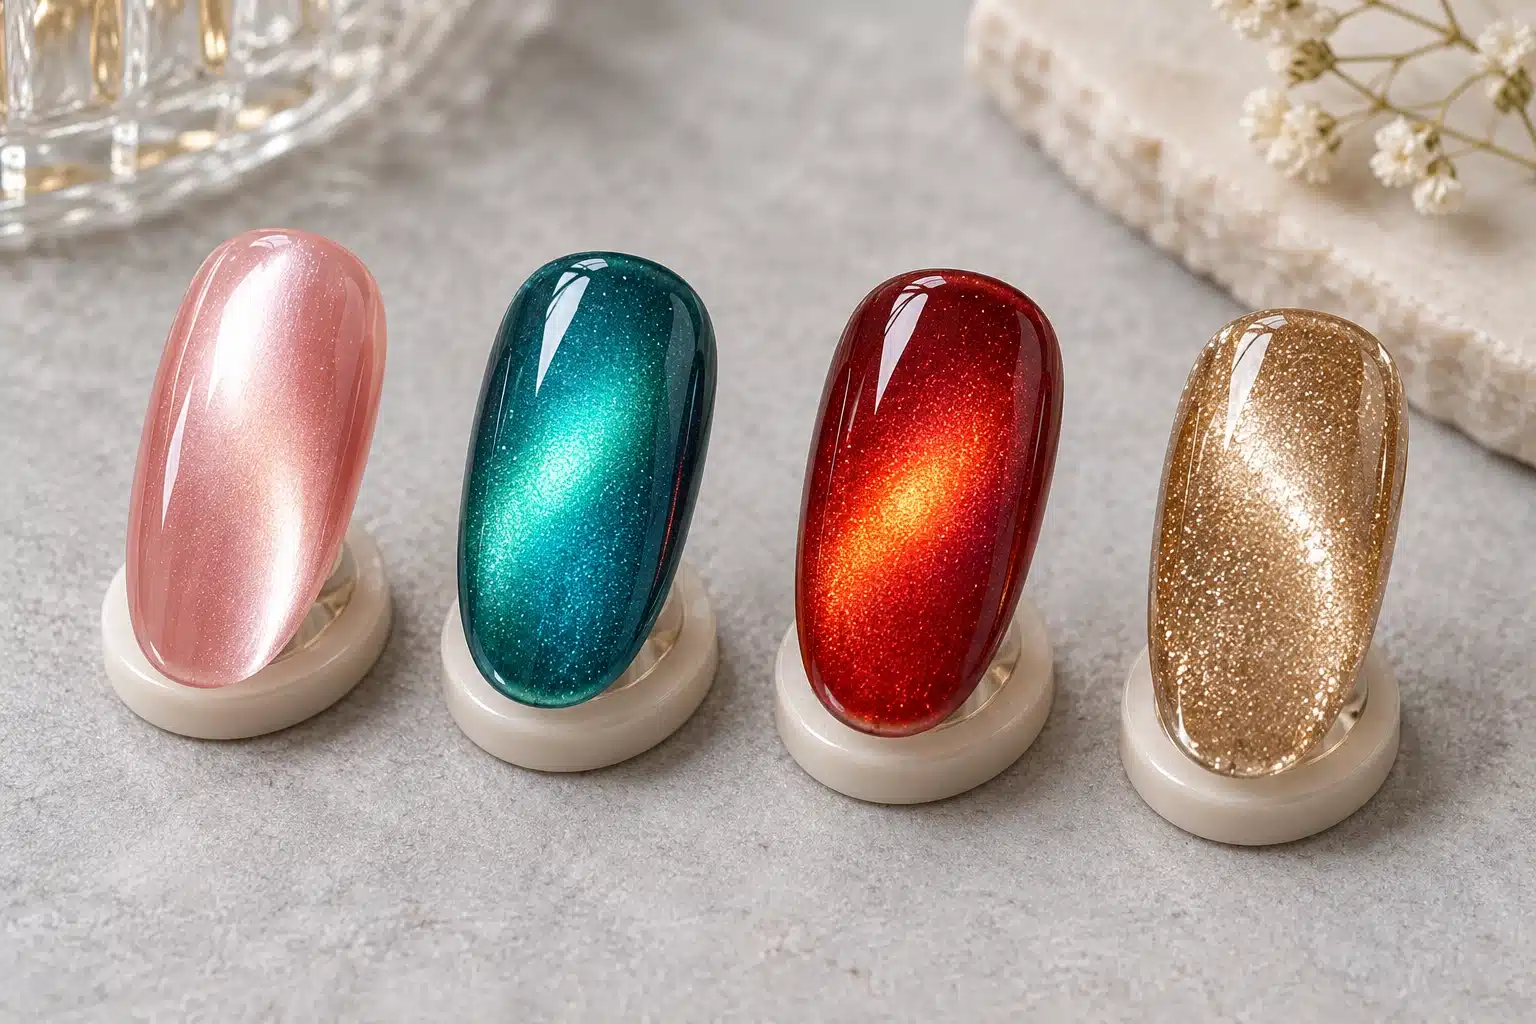
Velvet cat eye nails are magnetic nail looks with a broad, softly distributed shimmer that changes as the nail moves. The resemblance is optical: light appears to sweep across the nail like the changing sheen of velvet fabric. It does not mean the cured nail has a fuzzy texture or a matte surface. A glossy finish can preserve this soft internal glow while giving the surface a crisp reflection.
Glass cat eye nails emphasize a translucent, dimensional appearance, often with a rounded or bead-like highlight. The colored background remains part of the effect instead of functioning only as an opaque backdrop. The result may suggest tinted glass, a polished bead or light suspended beneath a clear surface. Those comparisons describe appearance, not a promise about coating thickness or a separate chemical class.
Both belong within the broader language of cat eye gel polish, where a magnet shapes responsive particles in a workable gel layer before curing fixes the arrangement. A classic narrow cat eye stripe is one possible outcome, not the definition of every magnetic manicure. Wider glows, curved highlights and other arrangements depend on the selected material and how it is used.
One Look Can Carry More than One Name
A transparent pink manicure can have both a broad velvet-like sheen and a rounded glass-like center. Calling it velvet does not erase its clarity; calling it glass does not prove it uses a different formula. Conversely, a dense, glitter-rich magnetic product should not automatically be presented as interchangeable with a delicate translucent one. The shared category explains the mechanism, but the visible result still needs description.
Which Direction Should You Sample First?
- Choose a velvet-style reference when the priority is a wide, soft shimmer rather than a strong isolated stripe. Compare how evenly the glow travels across the intended nail shape.
- Choose a glass-style reference when colored transparency and a floating or rounded highlight matter most. Confirm whether the tint comes from the magnetic gel or an additional layer.
- Choose a magnetic-plus-reflective reference when distinct sparkle under direct light is part of the brief. Assess the ordinary-light view too; it serves a different purpose from a restrained velvet finish.
2. Why These Magnetic Nail Looks Matter to Professional Buyers
Velvet and glass effects offer two useful ways to organize a magnetic assortment: by the softness of the light and by the clarity of the color. Recent nail editorial features have highlighted broad velvet finishes and glass-like cat eye alongside seasonal colors. For professional buyers, these references provide a starting point for choosing new looks to sample and comparing them with the ranges their customers already use.
Build a Range around Visible Differences
Consider a salon supplier assembling a compact display for neutral manicures. A translucent rose with a floating highlight, a taupe with a wide silver glow and an opaque charcoal with a defined stripe can serve different design briefs even though all are magnetic. By contrast, three almost identical pinks shown under different lamps may create the impression of variety without giving the technician three meaningfully different options.
For a private label brand, the distinction also affects product storytelling. A glass-focused collection can be organized around tint, clarity and depth. A velvet-focused collection can be organized around luminous coverage, softness and the relationship between shimmer and background. Choose the direction that gives your range a recognizable identity and makes the difference between neighboring shades understandable to the professionals selecting them.
Match the Product to the Professional Workflow
A distributor selling individual bottles and a supplier selling coordinated systems face different communication tasks. The bottle listing needs to make clear whether the displayed finish uses an additional color underneath. A system listing should identify what each layer contributes. Otherwise, a buyer may compare the price of one magnetic bottle with the price of a complete layered result and assume they are equivalent offers.
Imagine a training supplier preparing a glass-effect kit. If the display requires a particular transparent overlay, that overlay belongs in the system description rather than being invisible in the photography. For a salon chain planning a broad velvet-style service, the more relevant starting point might be a magnetic color that already contains the intended background tint. Neither approach is inherently better; each creates a different stock list and service sequence.
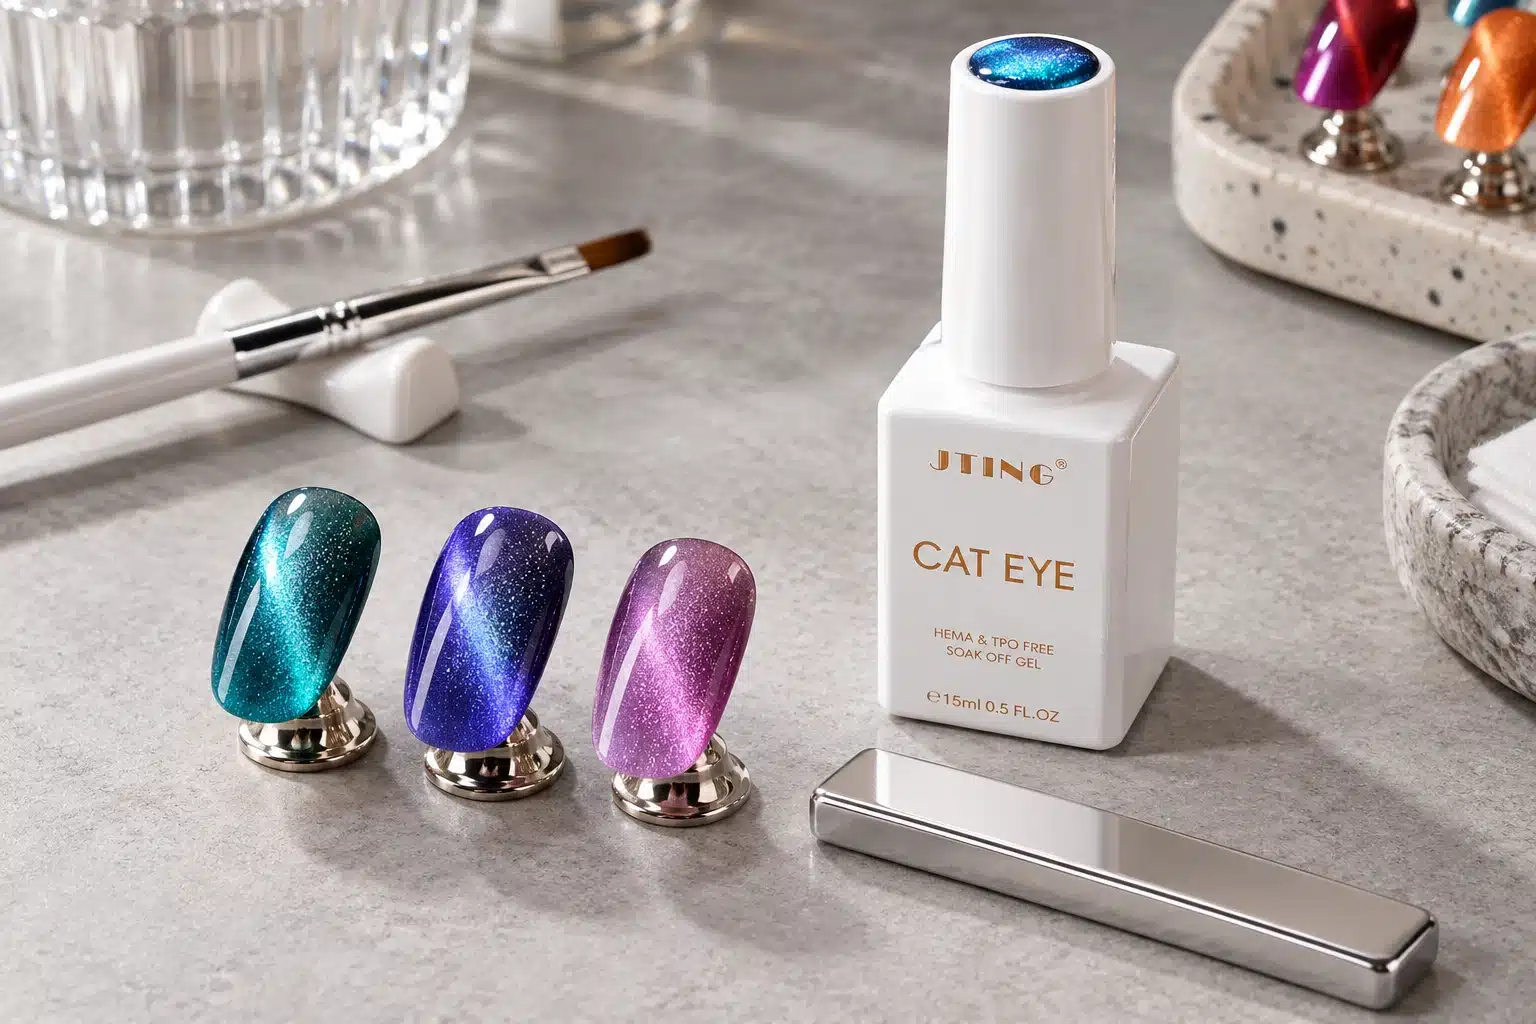
Clear assortment language also helps sales teams answer a practical question: what makes this shade different from the one beside it? Useful answers include a clearer colored base, a wider light field or a more glitter-rich appearance. JTING's cat eye gel polish category is a starting point for exploring magnetic directions, while the actual selection should follow the collection's visual brief.
3. Velvet, Glass, Cat Eye and Reflective: Understand the Names
These terms do not all describe the same property. Cat eye refers to a magnetic effect family. Velvet and glass describe ways that light and color appear within a finished manicure. Reflective describes an optical characteristic that may accompany a magnetic effect or exist without it. Keeping those meanings separate prevents a naming shortcut from becoming an inaccurate product claim.
| Term | Useful Visual Meaning | What the Name Does Not Establish |
|---|---|---|
| Cat Eye | A magnetically arranged highlight that shifts with the viewing angle. | A required narrow stripe, a particular background color or every possible magnetic pattern. |
| Velvet | A broad, soft-looking field of shimmer with a fabric-like light transition. | A matte top coat, a fuzzy surface or a universal formula specification. |
| Glass | Translucent color and apparent depth, sometimes with a rounded luminous center. | An unusually thick application or automatic compatibility with any jelly overlay. |
| Water-Light | A clear, fluid-looking glow that may overlap with velvet or glass descriptions. | A separate standardized chemistry or an identical appearance across all shades. |
| Reflective | Distinct sparkle that should be assessed under its relevant lighting conditions. | Magnetic responsiveness, a fine velvet texture or a concentrated cat eye beam. |
Separate Shimmer from Magnetic Response
Shimmer can make a nail luminous without producing a movable magnetic pattern. Reflective glitter can add bright points without creating a soft, continuous light field. Chrome powder describes another material and application route; its shine is not evidence of magnetic behavior. A product may combine more than one optical feature, but those features should remain distinct in the buyer's description.
For example, a glitter-rich gold magnetic finish might be appropriate for a sparkling evening collection while missing the restrained character of a sheer nude velvet brief. That is not a quality ranking. It is a difference in visual density and purpose. The buyer should be able to describe whether the eye notices individual bright particles, a smooth luminous field or a strong shaped highlight first.
Use Product Names as Starting Points
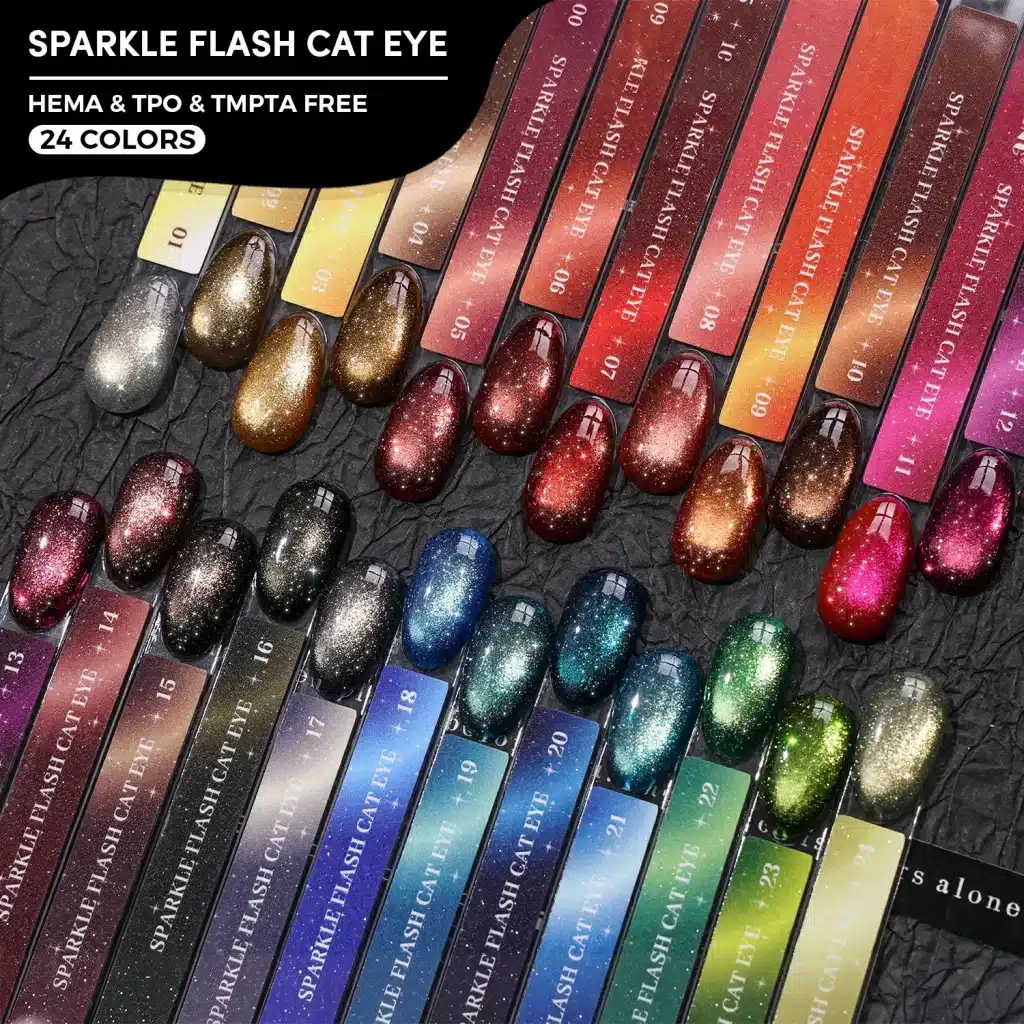
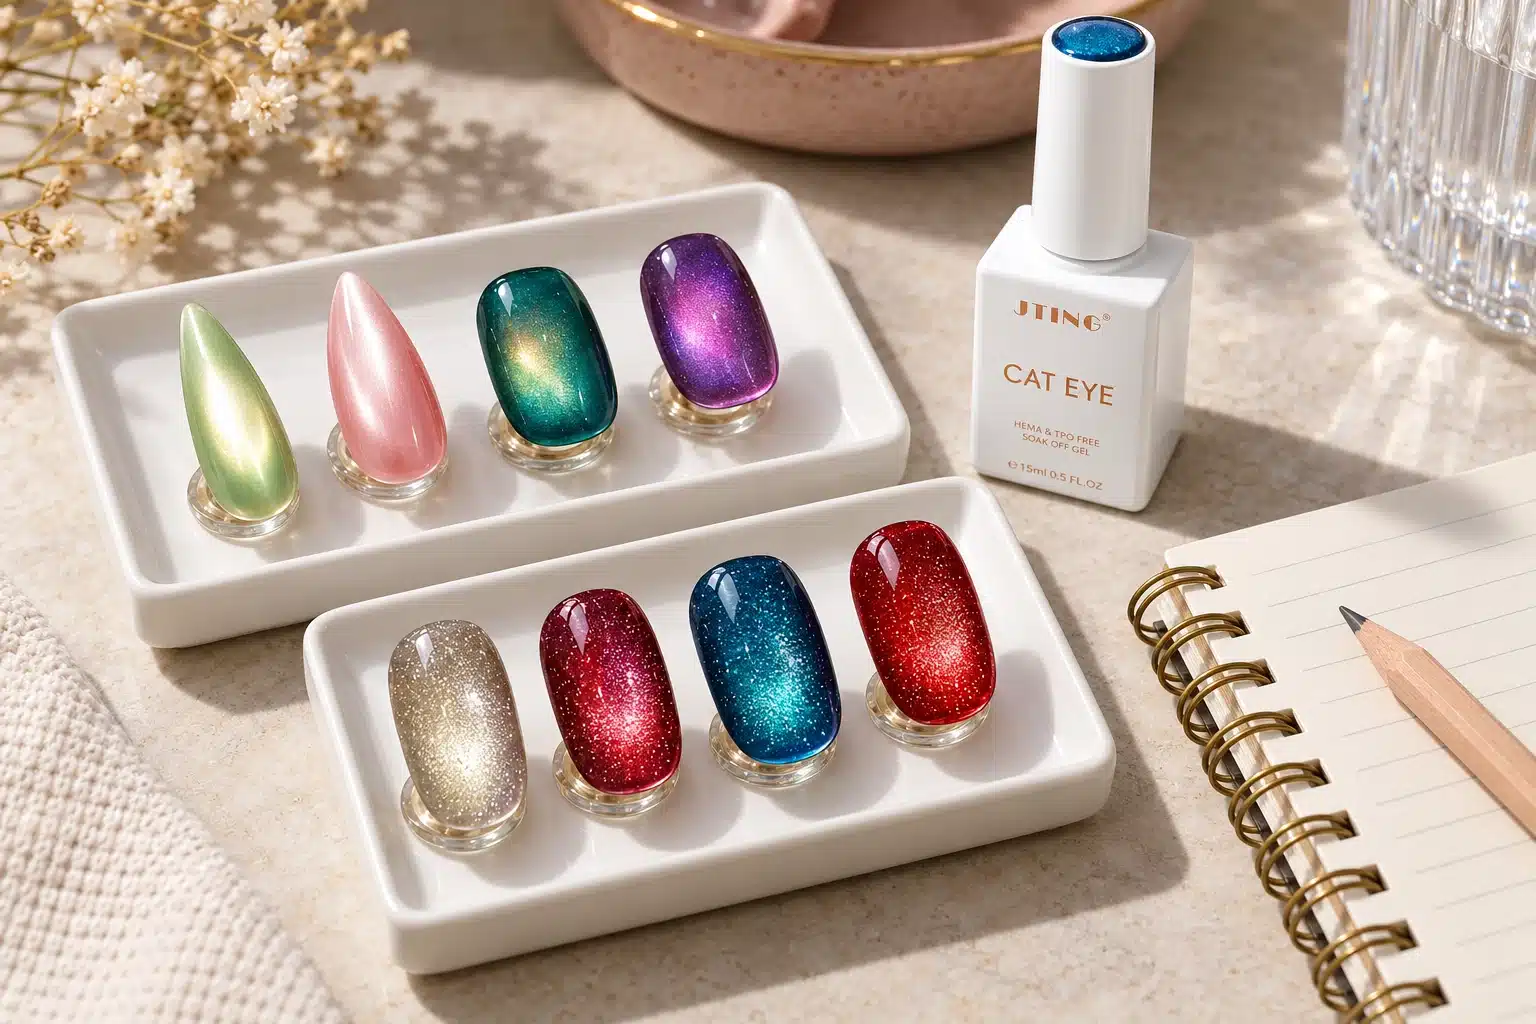
JTING's Glass Aurora Cat Eye offers a glass-oriented starting point, with translucent colored swatches and rounded highlights. Water Light Cat Eye provides a water-light direction with broad luminous bands, while Sparkle Flash Cat Eye adds a glitter-rich magnetic comparison. Shortlist by the appearance you need, then approve the specific shade and application rather than treating the collection names as equivalent specifications.
A concise collection label can combine the familiar name with an observable qualifier: translucent rose glass cat eye, soft silver velvet glow or reflective gold magnetic sparkle. Such wording gives professionals something concrete to compare. It also avoids forcing an overlapping look into a rigid category that the finished manicure does not support.
4. Compare the Effects under the Same Lighting
A magnetic finish is a moving relationship between illumination, nail curvature and viewing angle. A bright highlight in one photograph can disappear when the hand rotates, while a subdued finish can become luminous under a more directional source. Compare products within the same lighting setup before deciding that one has greater depth, a wider glow or more visible sparkle.
Start with equivalent presentations: the same tip shape, a disclosed base color and a consistent background. Keep the camera exposure and light position comparable. An especially long curved tip and a short flatter tip do not present highlights in the same way. Similarly, a pale magnetic layer over black should not be treated as a direct color match for the same layer over nude.
| Viewing Condition | What to Look For | Useful Buyer Interpretation |
|---|---|---|
| Soft, Diffuse Light | Background tint, transparency and the continuity of a broad glow. | Whether the everyday appearance fits a soft velvet or translucent glass brief. |
| Directional Light | The highlight's width, edge definition and relationship to darker areas. | Whether the shaped light reads as a stripe, a broad field or a rounded center. |
| Slowly Changing Angle | How the light travels across the curve and whether the tint remains visible. | Whether apparent depth survives movement instead of depending on one flattering still. |
| Direct Flash Comparison | Changes in discrete sparkle relative to the same finish without flash. | Whether reflective sparkle is a separate feature rather than the whole visual story. |
Distinguish Surface Reflection from Internal Glow
A glossy top coat reflects the light source at the surface. The magnetic pattern appears within the colored layer beneath it. In a photograph, these can overlap and create a very bright white area. Watch how they move as the nail turns: a sharp surface reflection is not, by itself, evidence of a stronger magnetic response or a more dimensional formula.
Picture a buyer comparing two champagne shades for a salon display. One shows a dramatic white oval under a lamp; the other shows an even golden sheen. Under matched diffuse light, the first may reveal a much darker base while the second retains a softer appearance. The appropriate choice depends on whether the collection needs dramatic contrast or gentle luminosity, not on which photograph looks brightest.
A useful product presentation can therefore include both a calm view of the color and a moving view of the magnetic light. Flash imagery can add information for a reflective product, but should not replace the ordinary-light view. This gives the buyer a fuller visual description without turning photography into an unsupported performance claim.
5. What Determines the Finished Magnetic Effect?
The finished look comes from a system of interacting choices. The gel supplies the tint and responsive optical material; the magnet shapes the workable layer; the base influences contrast; and the nail's curve changes the way light is seen. Understanding those roles makes a product brief more precise without pretending that a trend name reveals the formulation.
Transparency, Color and Shimmer Character
A transparent colored base allows more of the underlying shade to participate in the appearance. A more opaque base places greater emphasis on its own color. Fine-looking shimmer can create a visually continuous field, whereas more distinguishable sparkling points create a different texture. Particle appearance in a photograph cannot establish an exact particle size, loading level or composition.
The relationship matters more than any single adjective. A clear gray base with bright silver luminosity may suggest depth through contrast. A milky pink background may soften that contrast and make the same general direction feel more diffuse. Neither transparency nor opacity is automatically superior; the desired balance should follow the collection's color story.
Magnet Shape and Position
Different tool geometries create different field arrangements, so the tool is part of the visual system rather than a generic accessory. Position and orientation influence where responsive material gathers and how the highlight is distributed. A broad-effect tool and a straight bar should not be assumed to produce the same light shape from the same gesture.
The essential sequence is to shape the magnetic appearance while the relevant layer remains workable, then cure according to that product's instructions. This principle does not supply a universal distance, exposure duration or movement pattern. For purchasing purposes, record the tool type behind the display result instead of assuming that any cat eye nail magnet will reproduce it.
Layer Thickness, Curvature and Finishing
Application thickness changes how much color and optical material lie in the light path. It must remain within the selected system's instructions, not become an improvised way to chase greater depth. A glass-like appearance is an optical goal, not a reason to apply an oversized coat. Complete curing requirements still govern each layer.
Curvature also changes the presentation. A rounded tip can carry a highlight differently from a flatter surface, which affects how broad or concentrated it appears. The finishing layer then contributes surface gloss and clarity. A matte finish is a separate surface choice; it should not be specified merely because the requested magnetic look is called velvet.
For a range brief, translate these variables into a simple description: sheer cool pink, fine-looking silver glow, broad highlight, glossy surface, shown on a short oval tip. That description is actionable for product discussions because it separates the desired result from assumptions about how every supplier must formulate or apply the material.
6. Choose the Base Color and Layering System
The base color is part of the finished design, not merely preparation hidden underneath. A dark background can emphasize contrast, a nude can integrate the effect with a restrained palette, and a translucent colored system can preserve a lighter impression. Separate the required adhesion base coat from an optional background color: they have different jobs, even when a product system combines functions.
| Background Direction | Visual Purpose | Collection Application |
|---|---|---|
| Black or Deep Color | Emphasize the contrast between the luminous area and its surroundings. | A dramatic magnetic edit where a defined light pattern takes priority. |
| Nude or Soft Neutral | Place the glow within a quieter, coordinated color palette. | A salon assortment organized around understated magnetic finishes. |
| Translucent Tint | Retain visible color depth without relying on a fully opaque backdrop. | A glass-oriented range in which clarity is part of the design brief. |
| Compatible Jelly Overlay | Adjust the apparent tint above the magnetic layer. | A coordinated layered system with the overlay identified as a separate component. |
Decide Where the Color Should Come From
A magnetic gel may provide enough background color for the intended look, or the design may depend on another colored layer. That distinction affects shade naming and collection planning. If a rose result depends mainly on a rose overlay, the magnetic bottle alone should not be described as delivering that exact finished shade.
For example, a brand developing a translucent berry collection could consider a colored magnetic material or a compatible layered combination. The first makes the tint part of the magnetic product; the second separates tint control from the light effect. The choice should reflect the intended professional workflow and the documented system, not an assumption that additional layers always improve depth.
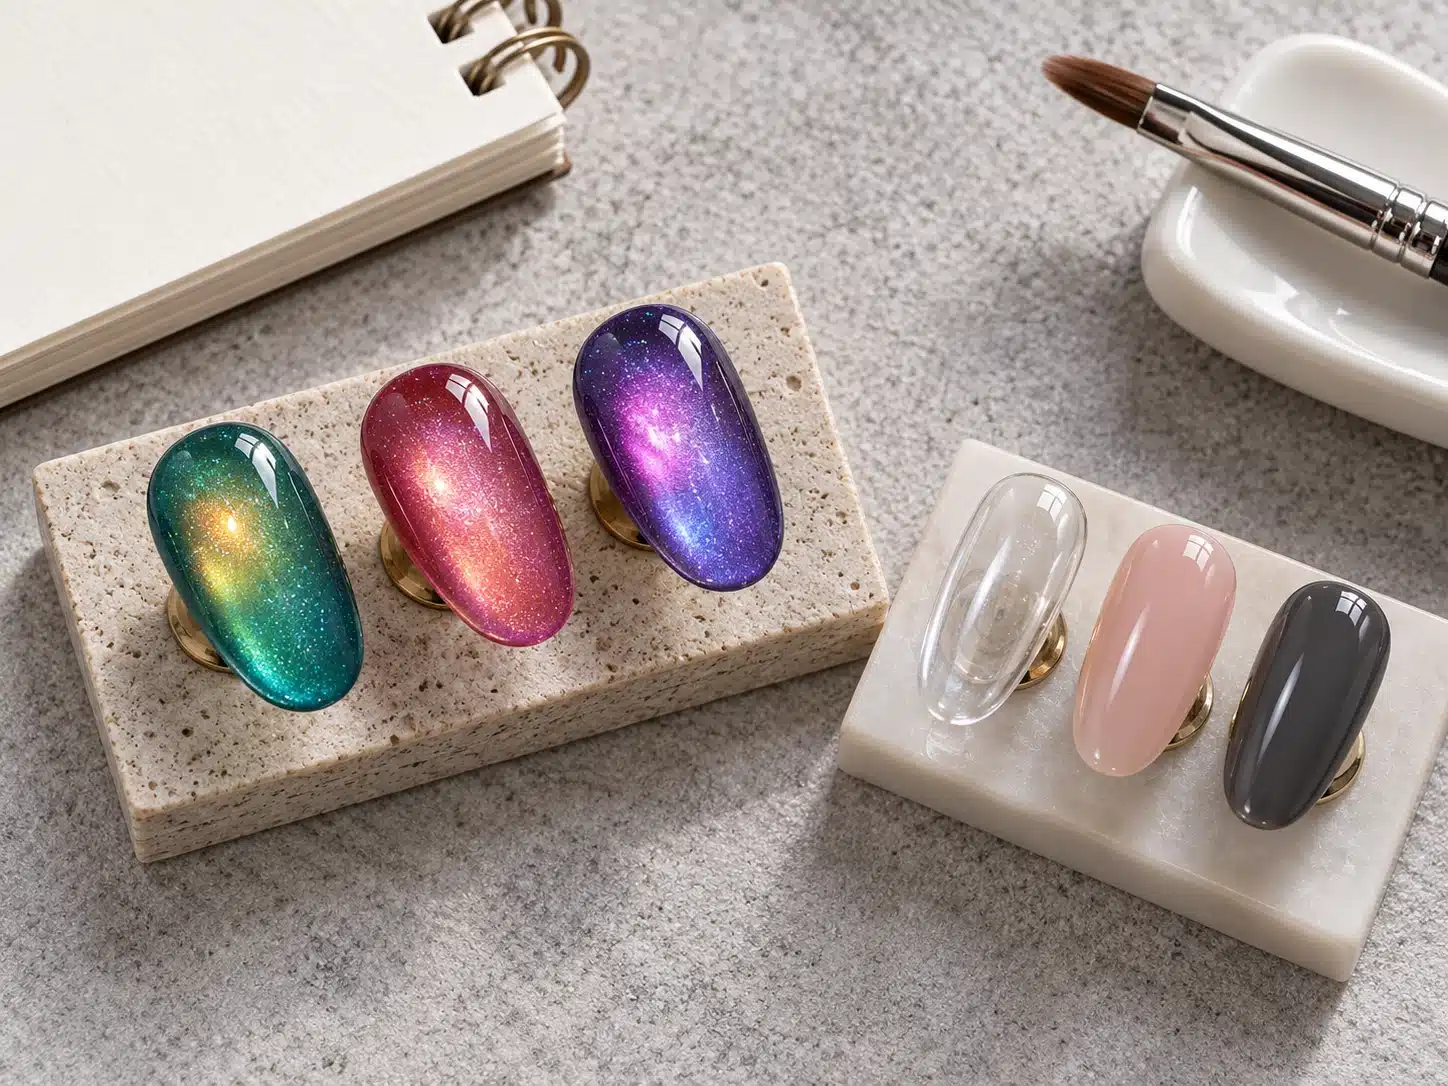
A coordinated palette does not require identical layering. Champagne and plum can share a glass-inspired identity while needing different backgrounds. On the display chart, identify which shades require an additional color and which obtain their tint from the magnetic gel itself.
Preserve the Role of Each Layer
A jelly overlay may enrich or alter the perceived color, but its transparency also affects how clearly the magnetic highlight remains visible. More color is not automatically more glass-like. JTING's jelly gel nail polish guide provides background on translucent color; any magnetic pairing still needs a compatible, specified application system.
Keep the product description tied to the actual arrangement: adhesion base, optional background color, magnetic layer, optional compatible tint and finishing layer. Use only the components required by the selected system. This makes the finished look understandable as a professional design choice and keeps the distinction between a single product and a layered effect clear.
7. Magnetic Styling: Beams, Side Highlights and Wider Glows
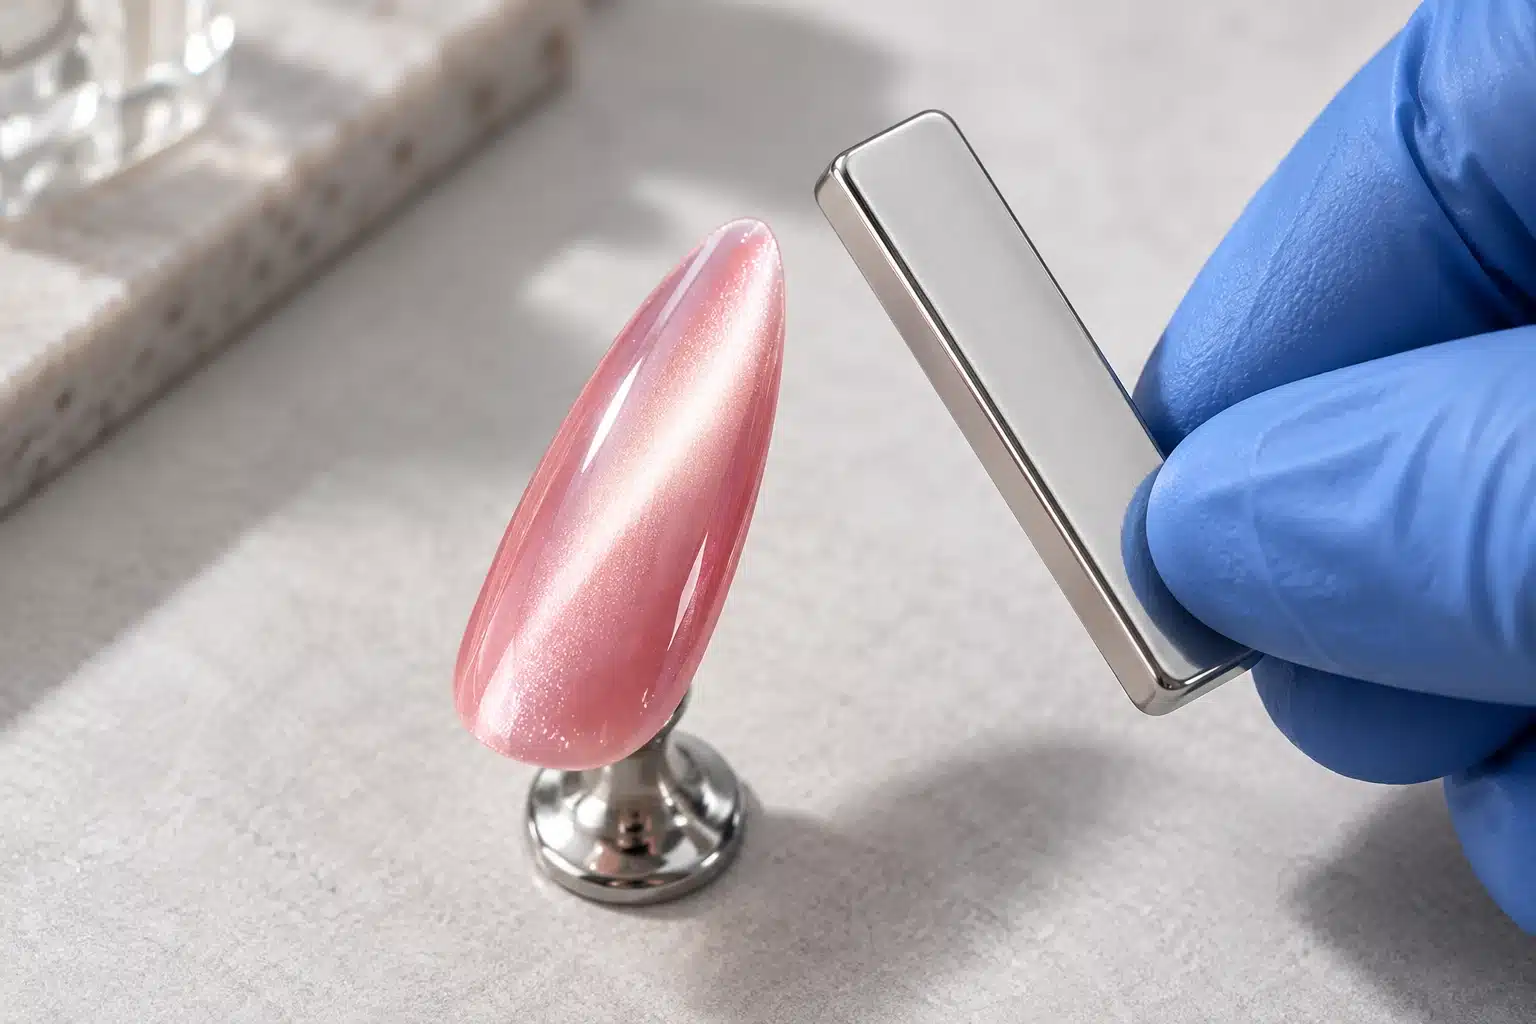
A cat eye magnet is part of the application method. Its shape, orientation and position help determine where the bright region appears while the gel remains workable. Two operators can therefore produce noticeably different samples from the same bottle. Before comparing formulas, give the operators the same visual target and record which tool each uses.
Begin with an uncomplicated detached swatch. Keep the gel layer even, use the product's specified preparation and bring a compatible magnet near the sample without touching the coating. Watch what changes as the tool moves rather than repeating an unexplained motion from a short video. A highlight moving toward an edge, spreading across the center or disappearing from the camera's view provides useful information about that particular setup.
| Visual Target | What to Observe | What to Record |
|---|---|---|
| Defined beam | The position, width and continuity of a concentrated bright region | Tool shape, orientation and final position relative to the nail |
| Side highlight | A luminous edge with readable color across the remaining surface | Which side was styled and how the result looks from the opposite angle |
| Wider glow | A broad area of shimmer with a gradual transition into the surrounding color | Coverage across the center, sidewalls and curved parts of the sample |
| Rounded halo | A curved or rounded light region that shifts as the sample turns | Sample shape, viewing angle and the complete magnetic sequence |
Choose a Tool for the Demonstrated Method
Bar, round and purpose-designed U-shaped magnets create different working arrangements. Their effects cannot be reduced to one universal distance or a rule that a particular side always creates velvet. Use the supplier's demonstration as the starting point, then identify the tool clearly in your own training materials. A generic photograph of a magnet beside a bottle is insufficient instruction.
Keep tool evaluation practical. Can a trained operator reach the desired position without touching the gel? Is the handle comfortable at the intended nail length? Does the tool leave room to inspect the sample? Test those points with detached swatches before recording a service demonstration. Avoid improvised rotating attachments or setups that make control more difficult.
Finish Styling before the Full Cure
Shape the magnetic layer at the stage specified for the product, normally while it is still workable and before its final cure. Once you have approved a pattern, complete the prescribed curing sequence. If the pattern changes before exposure, record the delay and working conditions. Extra material or an abbreviated cure should not become the default correction.
The gel nail polish curing guide explains how application and complete curing conditions should be reviewed together. Keep those requirements with the magnetic styling demonstration supplied for the selected product.
8. How to Create a Velvet-Style Cat Eye Look
The target for velvet cat eye nails is a broad, softly changing luminous area rather than a single narrow stripe. It is a visual impression of fabric-like depth on a finished coating. A suitable gel, the selected magnetic method and the shape of the nail all contribute. Start with a reference that shows the look from more than one angle so the operator knows what must be reproduced.
Prepare a Repeatable Demonstration
- Select the sample and target. Identify the gel, shade and intended finished appearance. For a soft neutral demonstration, decide whether the reference is translucent pink, a covered nude or a colored magnetic layer over a separate background.
- Complete the prescribed foundation. Follow the product's preparation and base instructions. If a background color is part of the approved method, complete that stage before adding the magnetic layer.
- Apply the magnetic gel evenly. Distribute the product within its specified application limits, including the edges. Pooling can make the visual comparison uneven and changes the coating that must be cured.
- Develop a wider luminous region. Follow the demonstrated tool sequence, observing the center and both sides. Adjust the magnet deliberately to soften an overly concentrated highlight rather than repeatedly sweeping without checking the result.
- Inspect, cure and finish. Turn the sample slightly to examine the transition between light and color. Once the intended pattern is formed, complete the product's full curing and finishing procedure.
Check the Glow across the Nail
A convincing sample should communicate more than a bright reflection in its center. Inspect the width of the luminous area, the transition at the sides and the way the effect travels when the nail turns. A glossy top-coat reflection can obscure those details in a still photograph. Move the sample and light separately to distinguish the surface reflection from the magnetic appearance underneath.
For a professional training set, retain one accepted sample and one short, uninterrupted application video. The video should show the actual amount applied, tool position and final appearance. When another operator repeats the method, compare both the finished look and the work required to achieve it. A beautiful result that depends on an unexplained last-minute correction is harder to teach consistently.
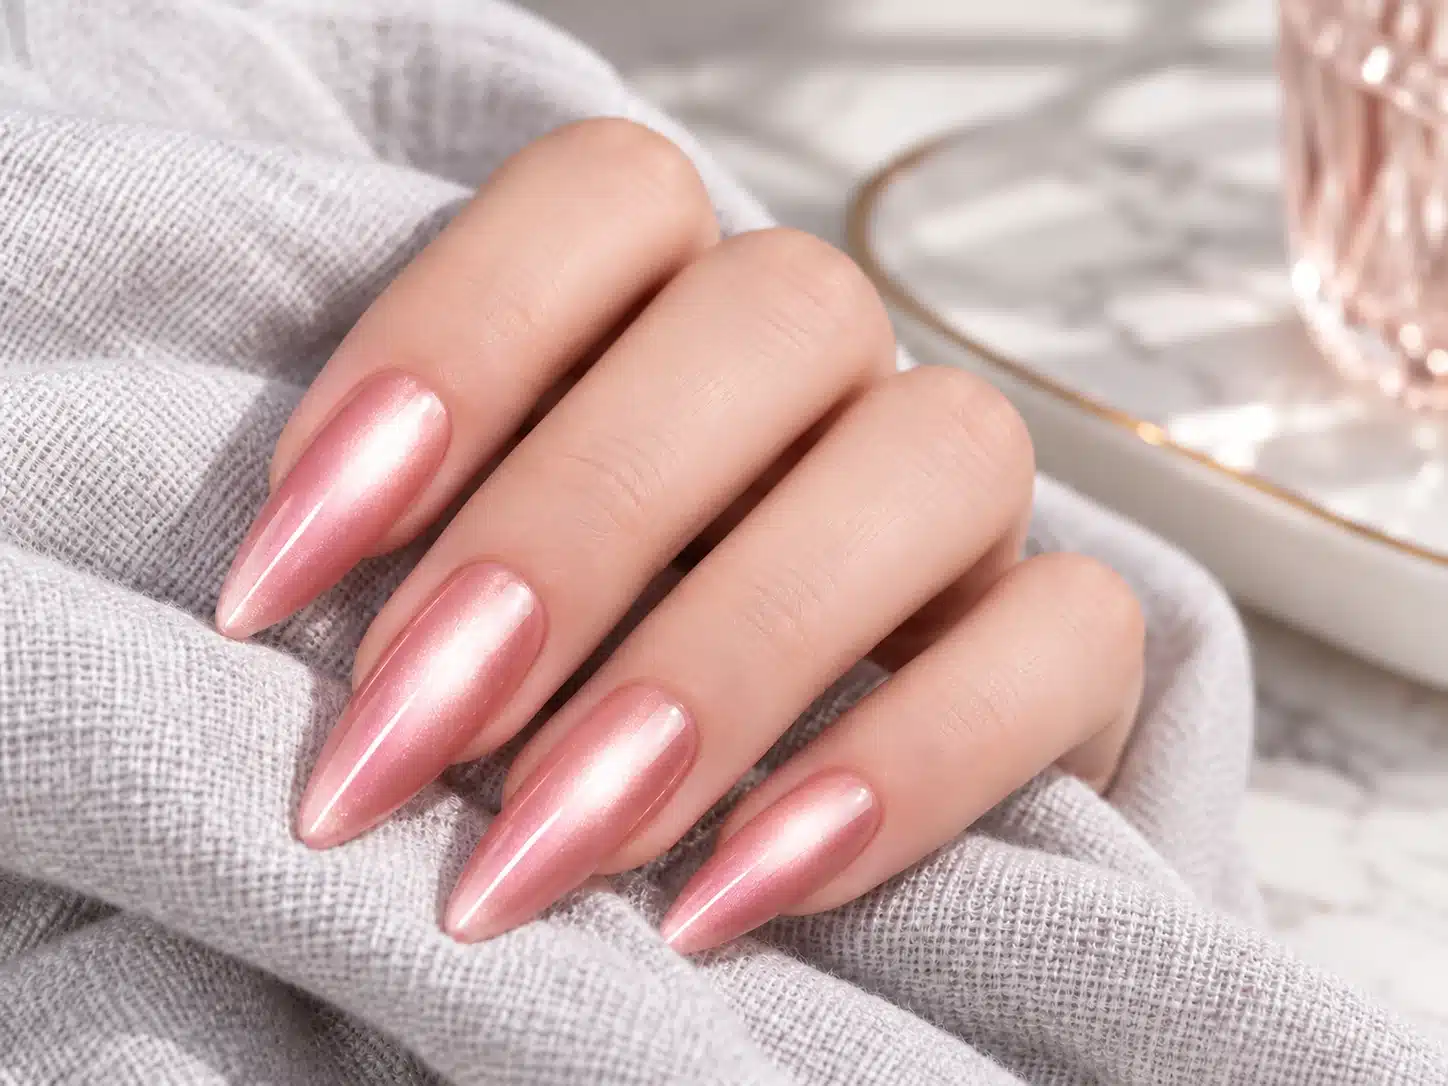
If the gel produces a persistent narrow beam instead of the requested soft field, return to the sample brief. Review whether the selected formula and shade support the target, whether the magnet is appropriate and whether the demonstration uses the same foundation. Velvet is a useful description of the desired result, but the word alone is not a complete product specification.
9. How to Create a Glass Cat Eye Look
For glass cat eye nails, buyers usually want readable color with an impression of light floating within it. Some references emphasize a rounded glass-bead-like highlight; others use clear-looking edges, colored depth or an aurora shift. Choose which of these matters to the project before selecting a gel. A request for glass nails can otherwise lead different suppliers to propose very different products.
Start with a Supported Product Route
One route is a magnetic gel already developed for a transparent colored or glass-like finish. Another is an approved layered design that combines a magnetic effect with a compatible sheer color. These routes have different material requirements and should be compared as complete applications. Adding a jelly layer is not mandatory, and a clear-looking result is not permission to build an unusually thick coating.
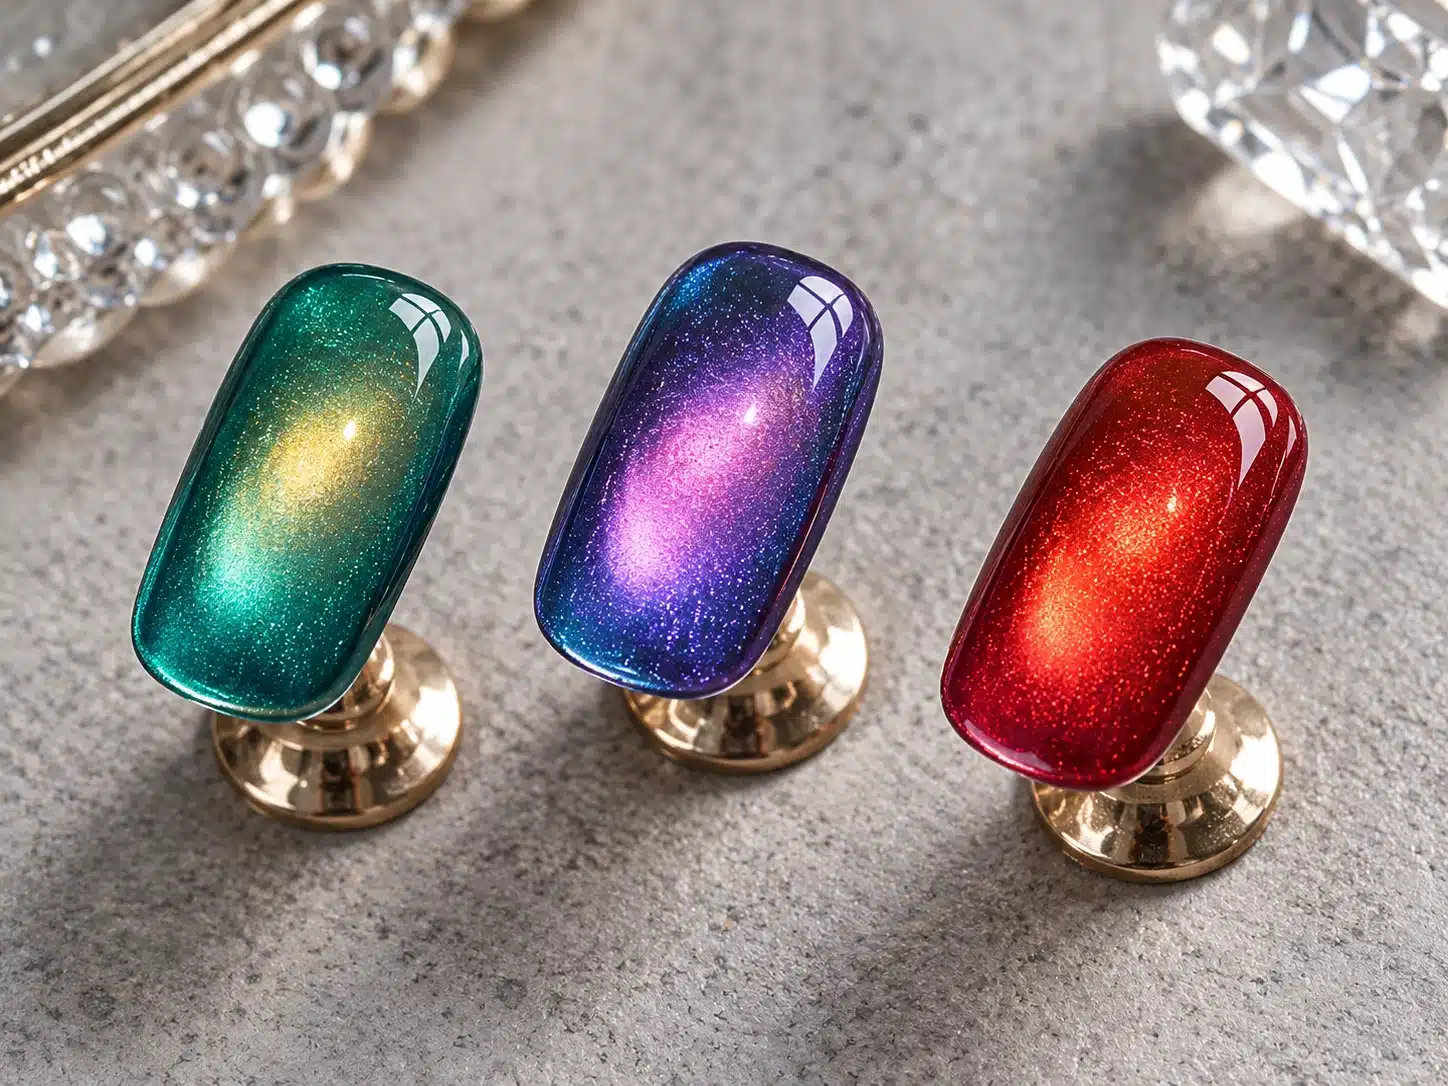
- Define the kind of depth. Use a reference with a front and side view. Identify whether the important feature is a rounded highlight, visible background, colored transparency or changing reflection.
- Prepare the selected background. Follow the product's specified system. Compare a clear-looking foundation and an approved colored background on separate swatches if both are relevant to the proposed range.
- Apply and style the magnetic layer. Keep distribution controlled, then use the demonstrated tool method to position the bright region. Inspect the surrounding color as well as the highlight itself.
- Complete each required curing stage. Where a compatible sheer overlay is included, apply it at its correct stage and follow its own instructions. Do not mix products together to imitate a reference.
- Evaluate the finished system. Apply the specified finish and compare the final result with the earlier magnetic stage. Record any change in color, contrast or apparent clarity.
Separate Glass Depth from Surface Bulk
A close-up photograph can exaggerate the dome of a nail or the width of a bright spot. Ask for a side view before deciding that more gel is needed. The structure should suit the intended service and the selected product's limits; the optical target should be achieved through an appropriate combination of formula, shade, background and styling.
A saturated transparent red, a pale pink and a teal aurora shade can each create a different glass story. Assess them individually rather than approving one color and extending its exact instructions to the whole collection. Your purchasing record should identify the selected shade, background, magnetic sequence and finish that produced the approved sample.
Review the final surface separately from the magnetic design. The gel top coat guide compares finish options and the application details to confirm for the chosen system.
10. How Nail Length, Shape and Viewing Angle Change the Look
A long almond reference and a short square sample present different areas and curves to the viewer. A highlight that looks balanced across one may dominate the other. This matters when a supplier's catalog uses long display tips but your customers mainly offer short natural-nail services. Request sample shapes that represent the intended application.
For short nails, review whether the light effect remains visible without covering every part of the underlying color. Check the corners of square tips and the sides of rounded tips. For longer shapes, look for continuity from the cuticle region toward the free edge, while keeping the structure within the product's approved use. Length alone does not make a formula more suitable for a magnetic design.
Compare the Same Viewing Sequence
Use three simple views for each sample: face-on, tilted left and tilted right. Keep the light and camera position fixed while the sample turns. Then, if necessary, repeat with a changed light position. This separates the effect of nail curvature from the effect of the lighting setup.
In a wholesale color chart, consistency is especially useful. Using the same tip shape and orientation lets buyers compare shades rather than different pieces of display hardware. A separate hand photograph can show how the range translates to a real service. Keep the reference chart and styled hand image together, with the product identities clearly connected.
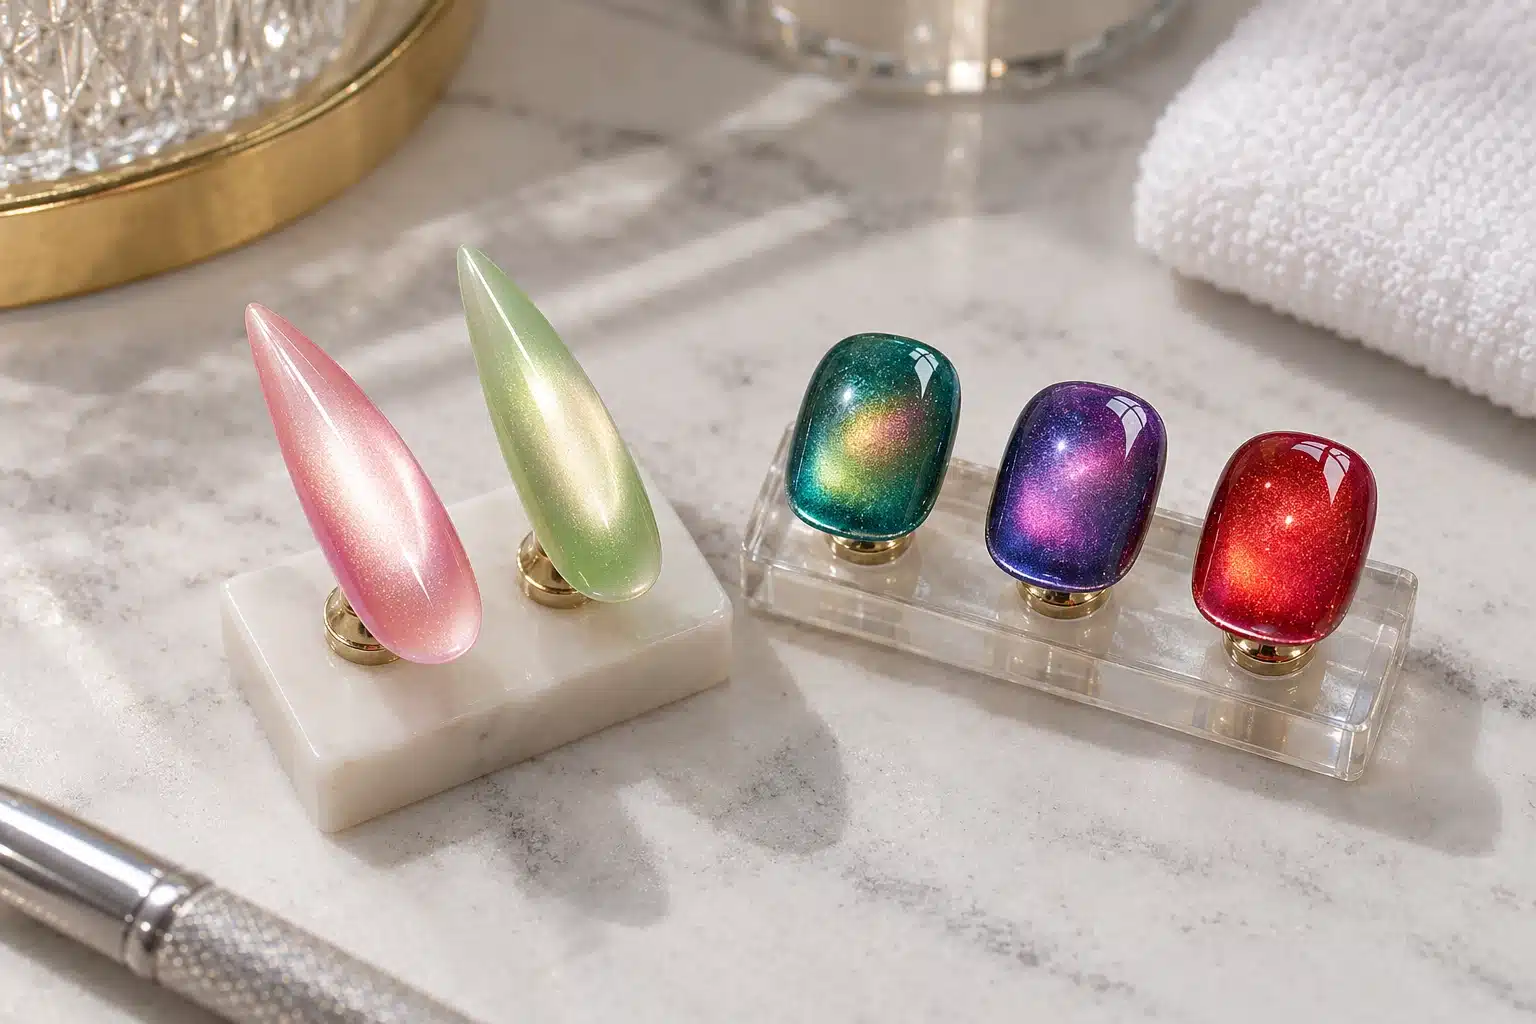
11. Twelve Velvet and Glass Cat Eye Design Directions
Use design references to describe the products and demonstrations your range needs. The following directions are assortment ideas, not a statement that every shade or gel can reproduce every design. Select the relevant examples, then evaluate them with the intended products and application method.
Nude Pink Velvet
Start with a soft pink or neutral background and a broad luminous area. Compare warm and cool undertones on the same tip shape. This direction gives a restrained starting point for a professional color menu, while the sample review establishes whether the magnetic glow remains readable without changing the intended nude appearance.
Champagne Side Light
Use a warm, pale metallic-looking highlight against a compatible neutral shade. Decide whether the desired result is fine shimmer or visible glitter, because both can look bright in a thumbnail. A side-lit design should be demonstrated from the opposite angle too, showing how much of the warm background remains visible as the hand moves.
Silver Full-Nail Glow
Build a reference around a wide silver magnetic appearance, with the background selected for the intended level of contrast. Photograph it under normal soft light as well as the presentation light. The buyer should be able to distinguish an evenly luminous nail from a dense reflective-glitter finish before choosing the sample.
Ruby Glass Depth
Choose a red direction that preserves the requested depth around the magnetic highlight. Compare a rounded center glow with a narrower light region rather than treating all red cat eye samples as interchangeable. If a sheer red overlay is proposed, retain an identified sample of the full layered system for shade approval.
Espresso Velvet
Use a brown or smoky neutral shade with a softened light transition. Check that the finish still reads as brown under the intended lighting rather than appearing black in every image. This example is useful when comparing a deeper neutral addition with the pinks and pale metallics already represented in a collection.
Emerald Glass
A green or teal magnetic design can emphasize colored transparency and a rounded moving highlight. Request the same shade on the planned background and on any alternative background being considered. That comparison helps establish whether the depth comes mainly from the selected gel or from an additional color layer that customers must also obtain.
Deep Blue or Plum Halo
Use a curved luminous region inside a deeper blue or purple color story. Inspect the outline at several angles; a still image may show a complete-looking ring that changes substantially when turned. Keep the desired halo shape in the approval reference and confirm the tool method needed to repeat it at the intended length.
Sheer Pink Glass
For a lighter direction, compare how much of the foundation remains visible beneath the pink magnetic layer. The target may be barely colored transparency or a more noticeable rose tone. Record the coat sequence that produces the chosen result, so the same shade name is not used for several different layered appearances.
Magnetic French Tips
Keep the underlying nail appearance and the magnetic tip as separate design requirements. The tip area needs enough definition to show the effect at its actual scale. Compare smile-line width, background contrast and the final top-coated result. The French manicure gel guide provides additional context for tip and foundation selection.
Velvet with a Fine Outline
Pair a completed magnetic design with a restrained outline using a suitable art product. Approve the sequence and scale of the detail rather than allowing it to conceal an uneven magnetic result. This is a useful extension for professional education because the base effect and the decorative finishing step can be demonstrated separately.
Coordinated Accent Nails
Combine a magnetic accent with compatible plain-color nails from the same visual palette. Review the undertones side by side after finishing; similar bottle colors do not guarantee a coordinated manicure. The example helps a distributor explain how an effect gel can sit beside an established color range without implying every product comes from one formula.
Reflective Party Contrast
Use a magnetic-plus-reflective product when the brief calls for a more conspicuous sparkle under direct light. Present both ordinary illumination and the brighter direct-light view. Keep this direction distinct from a smooth fine-shimmer reference, giving buyers a deliberate choice between optical softness and a glitter-rich statement effect.
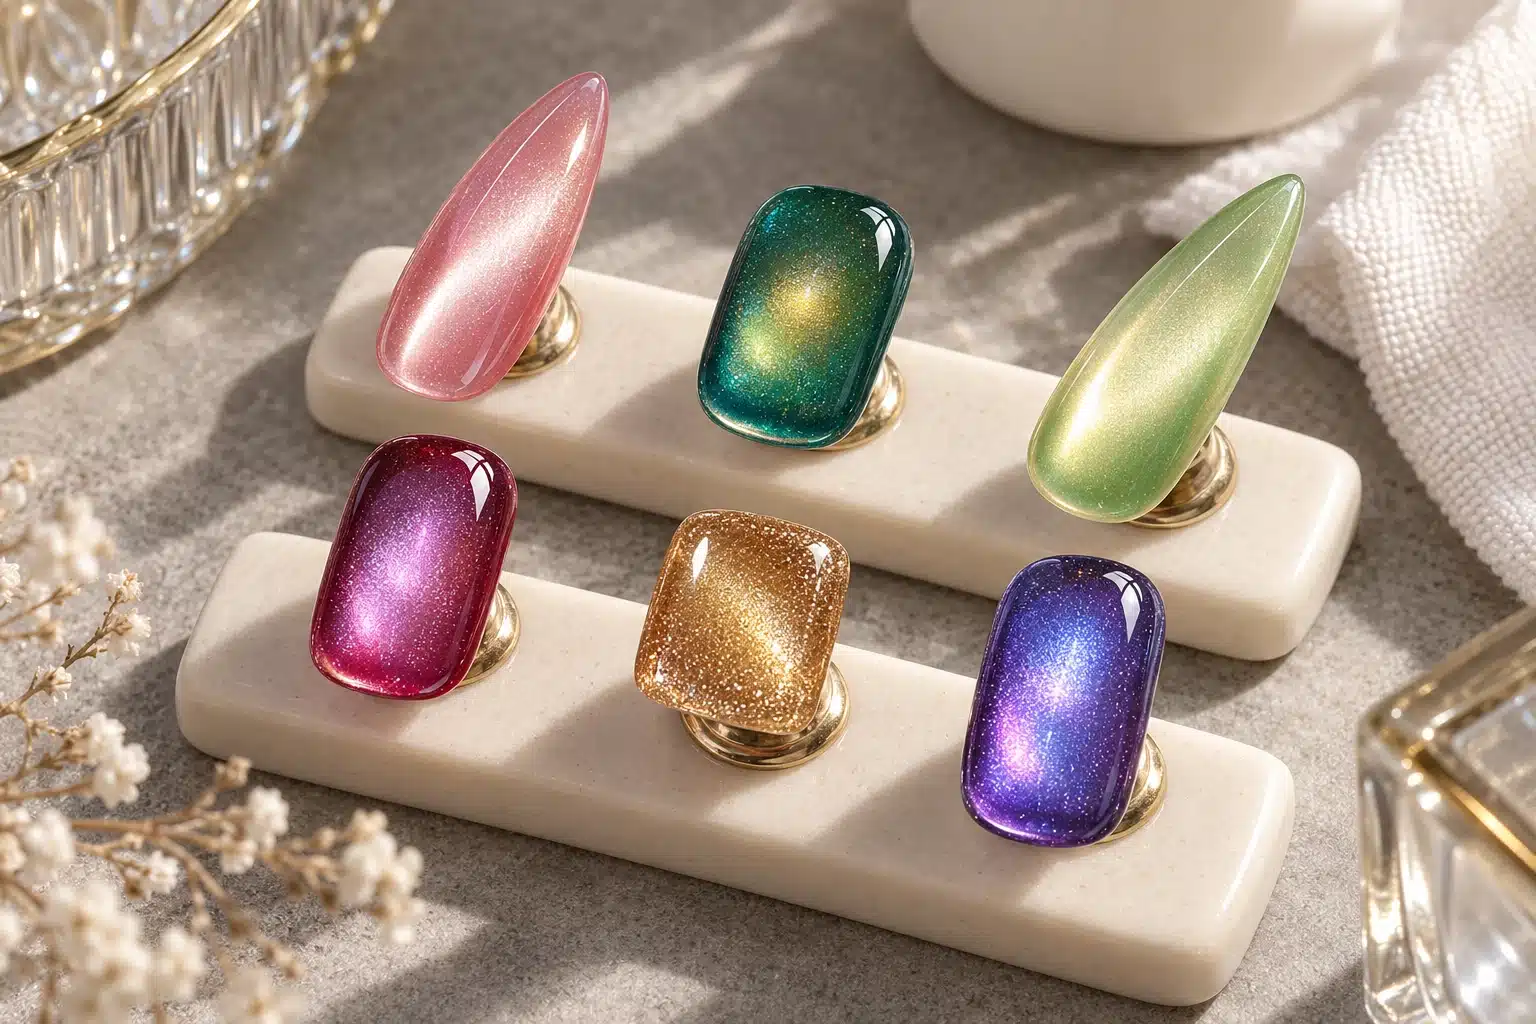
12. Build a Color Story for Your Sales Channel
Choose the role of each color before choosing the total number of bottles. A useful assortment might need a pale neutral for understated services, a light metallic direction, a saturated accent and a deeper shade that shows contrast. Those are planning roles rather than universal best sellers. The right balance depends on the customers, existing products and services your business supports.
Connect Color Families to Demonstrations
For a salon supplier, a small number of clearly differentiated demonstration looks can be more useful than a large chart without instructions. Pair each selected family with a sample showing the intended result. A brand developing a broader range may also need consistent shade names, packaging references and photography. A wholesaler extending an established catalog should identify which new roles are genuinely missing.
| Color Role | Examples to Evaluate | Selection Question |
|---|---|---|
| Light everyday direction | Pink, nude, pale champagne | Are undertone and transparency sufficiently different to justify each selection? |
| Clear-colored depth | Ruby, teal, green or plum | Does the approved application preserve the requested background and highlight? |
| Deeper contrast | Espresso, navy, smoky purple | Is the shade readable under the customer's normal lighting? |
| Statement effect | Magnetic gel with a reflective component | Is the direct-light sparkle wanted, and is its ordinary-light appearance also approved? |
Seasonal storytelling can organize these families without making the whole collection temporary. Browns and deeper reds can support an autumn presentation, while metallic and brighter reflective choices can contribute to an event-focused display. Keep an ongoing core and test additions against your own customer feedback. A trend article or social post does not establish the quantity a particular distributor should order.
Review neighboring shades together. Two pinks can differ meaningfully in undertone, clarity and magnetic highlight; two differently named colors can look almost identical in the final service. Ask whether each addition improves the customer's choice, supports a new look or fills a specific gap. That is a clearer basis for collection planning than selecting every attractive image independently.
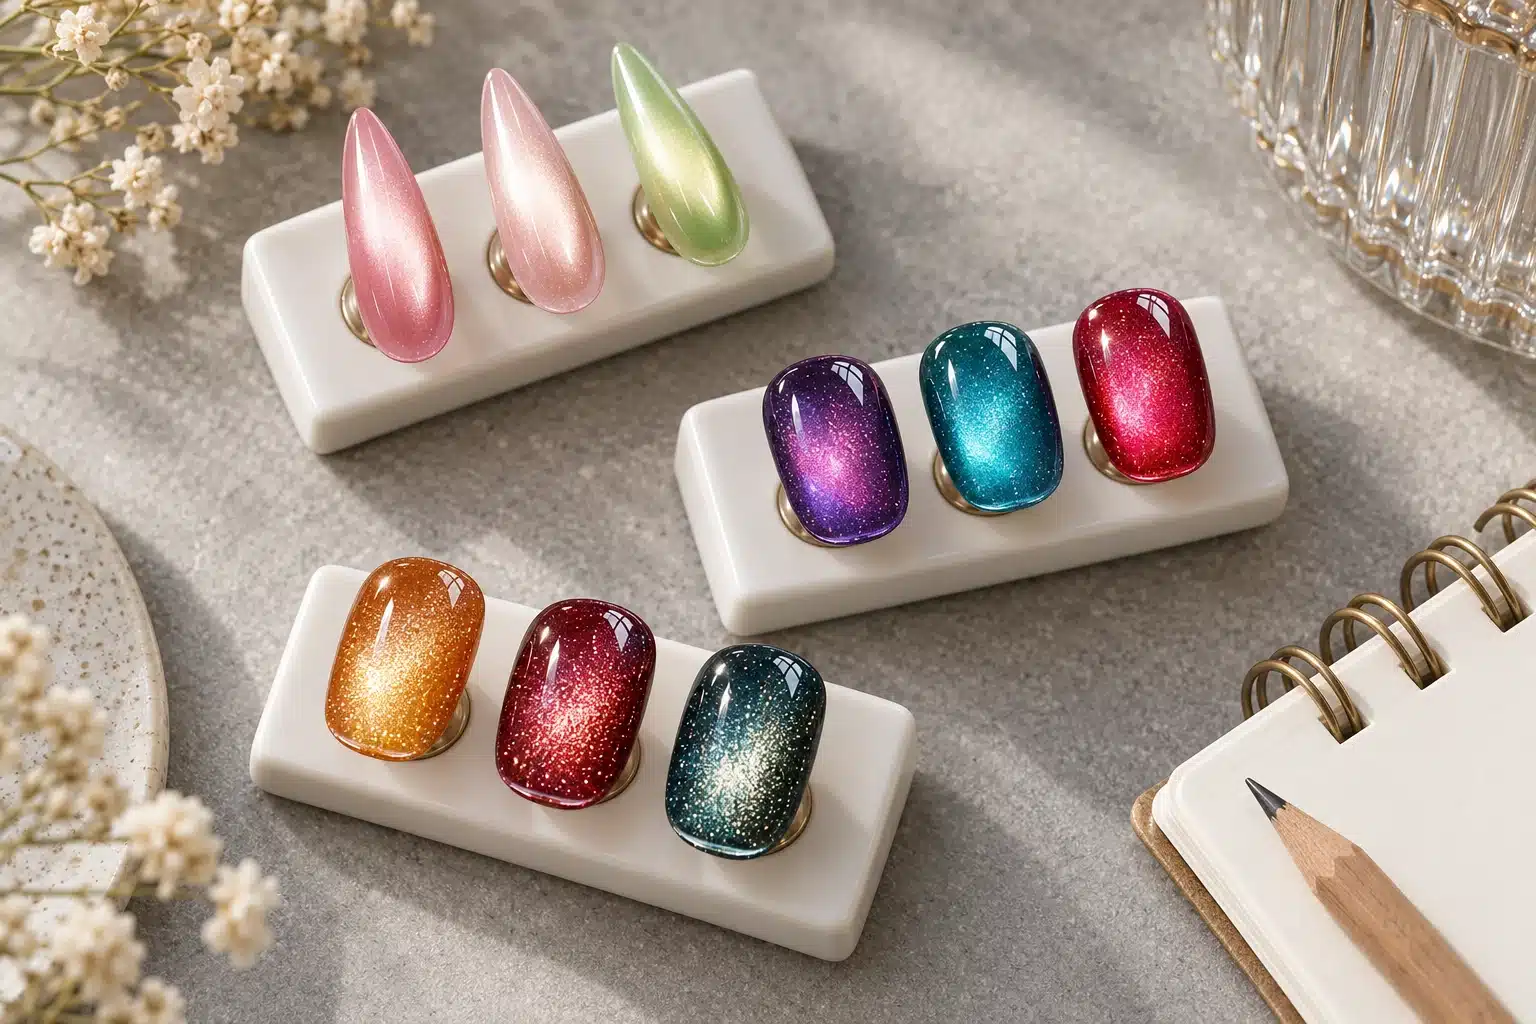
13. Choose a Gel That Matches the Intended Look
Use JTING's named collections as starting points for a product discussion, then connect the selected shades to the reference look. A product title helps narrow the search, while the finished sample establishes what your business intends to supply. The examples below serve different visual roles and should not be approved solely because all three belong to the cat eye category.
Glass Aurora Cat Eye for Glass and Aurora References
Consider the 16-color Glass Aurora Cat Eye collection when the range needs translucent color, glass-like depth and aurora highlights. Start with the shades closest to your proposed palette, then assess how clearly the tint remains visible around the magnetic highlight. Request the background and styling sequence for the chosen look so the display can be reproduced in customer demonstrations.
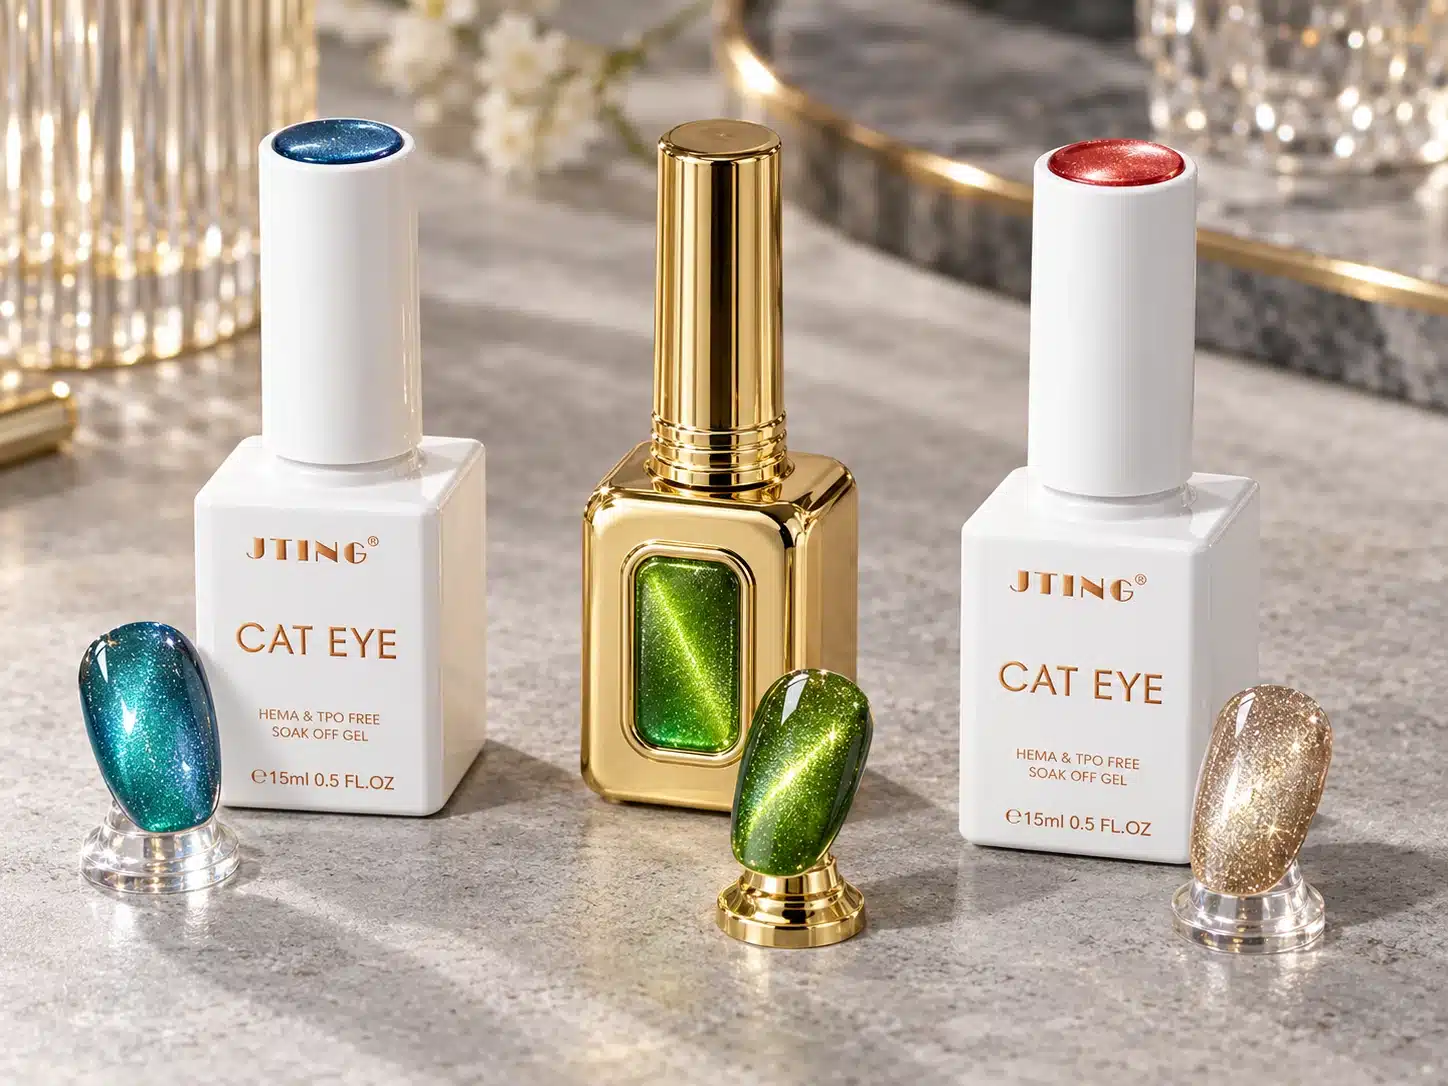
Water Light Cat Eye for Soft Luminous References
Consider the 48-color Water Light Cat Eye range for a water-light appearance with a broad luminous band. For a velvet-focused assortment, compare the width and softness of that band on the nail length your customers use. If the reference calls for shimmer dispersed more uniformly across the entire nail, request a demonstration of that specific result before selecting the shade.
Sparkle Flash Cat Eye for a Reflective Comparison
The 24-color Sparkle Flash Cat Eye collection combines a magnetic effect with reflective sparkle. It is relevant when a buyer wants to compare soft magnetic appearance with a glitter-rich, direct-light statement. Include both lighting views in the review and decide whether the reflective component supports the planned collection. It is an additional choice, not an automatic replacement for a fine-shimmer sample.
When shortlisting samples, send the actual reference image and describe the part that matters: a broader glow, less visible glitter, clearer colored edges or a rounded highlight. Identify any existing base and finish that your customers use. JTING can then discuss suitable products and the application information needed for those selections, while your sample review determines which configuration meets the intended brief.
| Collection | Starting Direction | Question for the Sample Review |
|---|---|---|
| Glass Aurora Cat Eye | Colored glass-like depth and aurora appearance across a 16-color range | Which selected shade, background and magnetic arrangement reproduce the desired moving highlight? |
| Water Light Cat Eye | Water-light luminosity and a velvet-style light band within a 48-color range | Does the demonstrated shade give the required glow width and softness at the intended nail length? |
| Sparkle Flash Cat Eye | A 24-color magnetic range with an additional reflective-glitter component | Is the ordinary-light magnetic appearance suitable, and is the brighter direct-light sparkle wanted? |
14. Why the Finished Nails Do Not Match the Reference Photo
A reference photograph records a particular combination of gel, background color, magnetic arrangement, nail shape and lighting. It does not identify the formula or reveal every layer. When a sample looks different, separate the underlying color from the moving highlight before requesting a new shade. A color adjustment cannot necessarily correct an unsuitable magnetic effect, and a different camera angle cannot correct an opaque layer that hides the intended depth.
Start with the approved application instructions and reproduce one variable at a time on labeled tips. Photograph the baseline before changing the background, magnet arrangement or finishing layer. This creates a useful comparison rather than a succession of attractive but unrelated swatches.
| Visible Symptom | What to Check | Evidence to Request or Keep |
|---|---|---|
| The Glow Is Too Narrow | Compare the intended broad light field with the magnet shape, orientation and movement used on the workable layer. | An uninterrupted positioning clip and front, left and right views of the finished tip. |
| The Nail Looks Flat | Check whether the magnetic highlight moves as the tip turns; separate weak movement from flat, diffuse lighting. | A slow tilt under one fixed light, followed by a diffuse daylight view. |
| The Color Looks Too Dark | Compare the background shade, layer count, coverage and camera exposure with the reference setup. | Matched tips over the specified backgrounds, photographed together with their layer records. |
| The Glass Depth Disappears | Review the transparency of the colored layers and any overlay; compare the complete stack rather than bottle color. | Separate labeled tips showing the magnetic finish alone and the approved overlay version. |
| The Glow Looks Uneven | Review application uniformity, nail curvature and whether the magnet reached each intended area consistently. | Close views across the center and sidewalls, plus the application sequence. |
| Sparkles Replace a Soft Glow | Check whether the selected product has a deliberately glitter-rich or reflective appearance. | Diffuse-light footage beside a directional-light view of the same sample. |
| The Pattern Changes before Curing | Observe handling between final magnetic positioning and lamp placement under the product instructions. | A continuous clip covering positioning, transfer and the finished result. |
| Only One Camera Angle Matches | Check whether the reference captures a brief highlight rather than the overall appearance. | A full gentle rotation with fixed lighting and exposure, not a selected still alone. |
Send the supplier the mismatch itself: circle the area that is too concentrated, too cloudy or too sparkly. Include a successful sample if one exists. "More velvet" leaves room for several interpretations; "a broader silver glow with less visible sparkle under diffuse light" gives the next sample a clear direction.
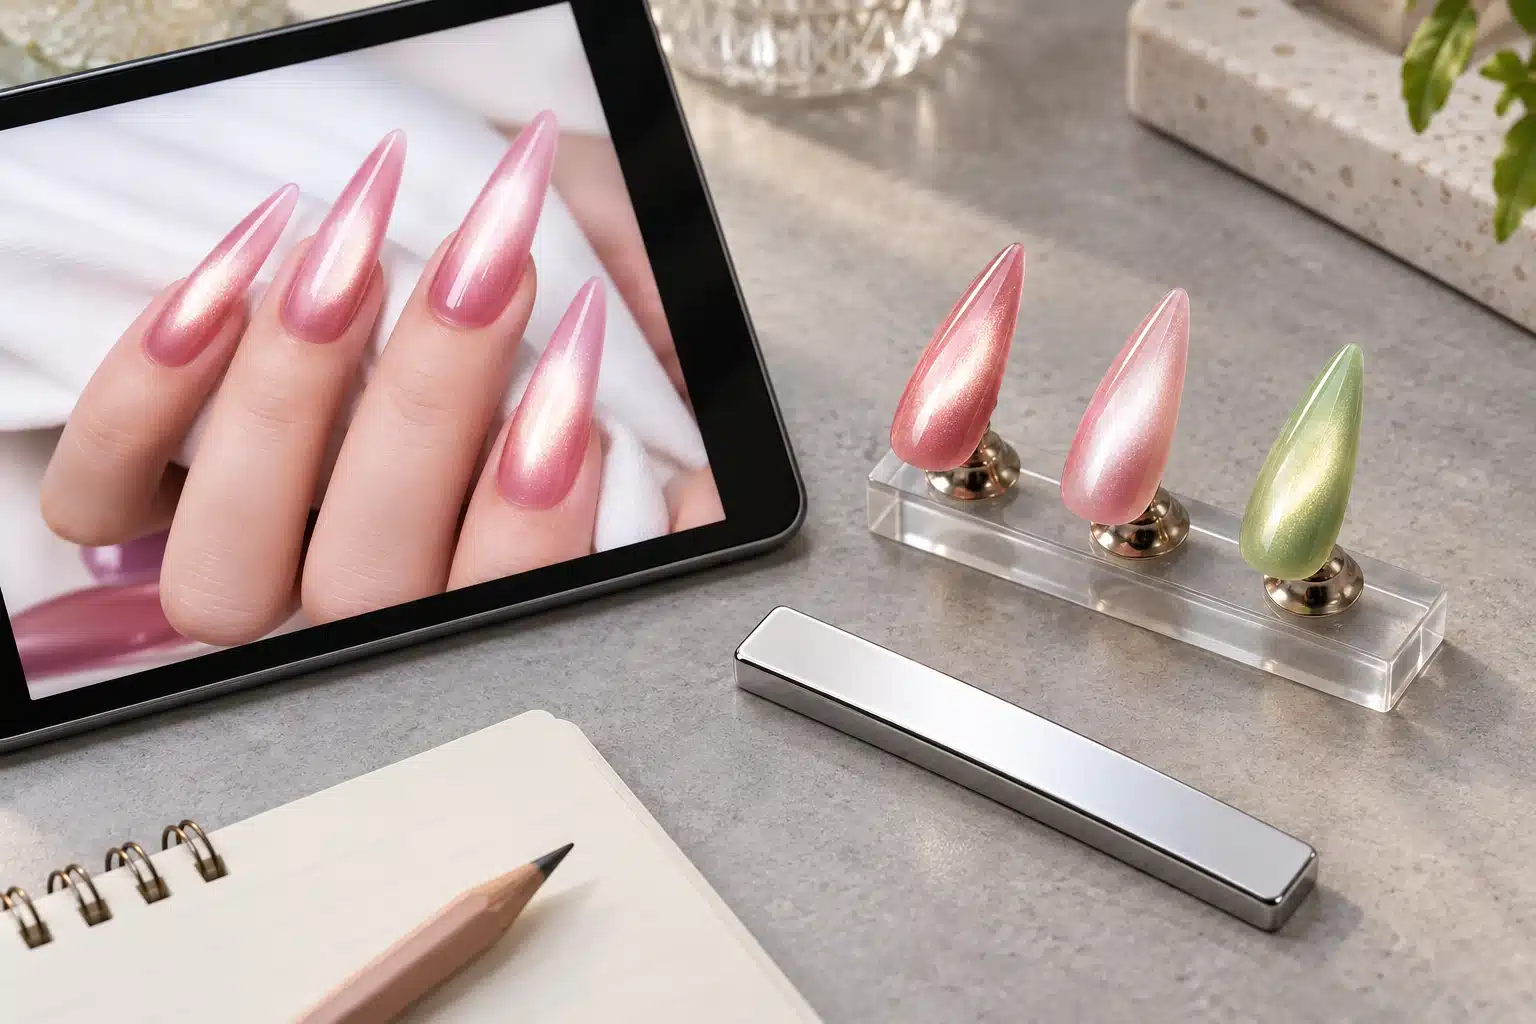
15. Show Magnetic Nail Effects Accurately in Photos and Video
A useful product image should help a buyer recognize both the underlying color and the light effect. One dramatic highlight can introduce a collection, but it should not carry the entire buying decision. Pair the appealing view with evidence of how the finish behaves when the nail moves away from that angle.
A Practical Shot List
- Neutral overview: photograph the finished sample under diffuse light against a restrained background. Keep the whole nail visible so buyers can judge coverage and overall color.
- Directional highlight: use a fixed directional light to show the magnetic glow. Retain detail in the brightest area rather than exposing it as a featureless white patch.
- Slow tilt video: turn the tip gently from side to side without moving the light. Show where the highlight travels and where the underlying color becomes visible.
- Front and side pair: record the same nail facing the camera and at an oblique angle. This is particularly useful for rounded, glass-like highlights.
- Background comparison: where relevant, show the approved light, dark or translucent background versions together. Identify each instead of letting the buyer assume they are different gels.
- Collection comparison: place neighboring shades on matching tips in one frame. Include the quieter shades, not only those that produce the strongest camera highlight.
- Reflective comparison: if a product combines magnetic and reflective attributes, show the same sample without flash and with the stated flash setup.
Keep white balance, exposure, camera distance and tip shape consistent within each comparison. Disable beauty filters and avoid color-changing edits. A neutral reference card can help reviewers spot lighting shifts, although different screens still display color differently. Save an unedited master alongside the final sales image so later questions can be checked against the original capture.
Label the shade, background, layer sequence and finish in the accompanying product information. If the photograph uses a compatible jelly overlay, say so. The buyer should be able to distinguish a single-product swatch from a layered design without reconstructing the service from reflections.
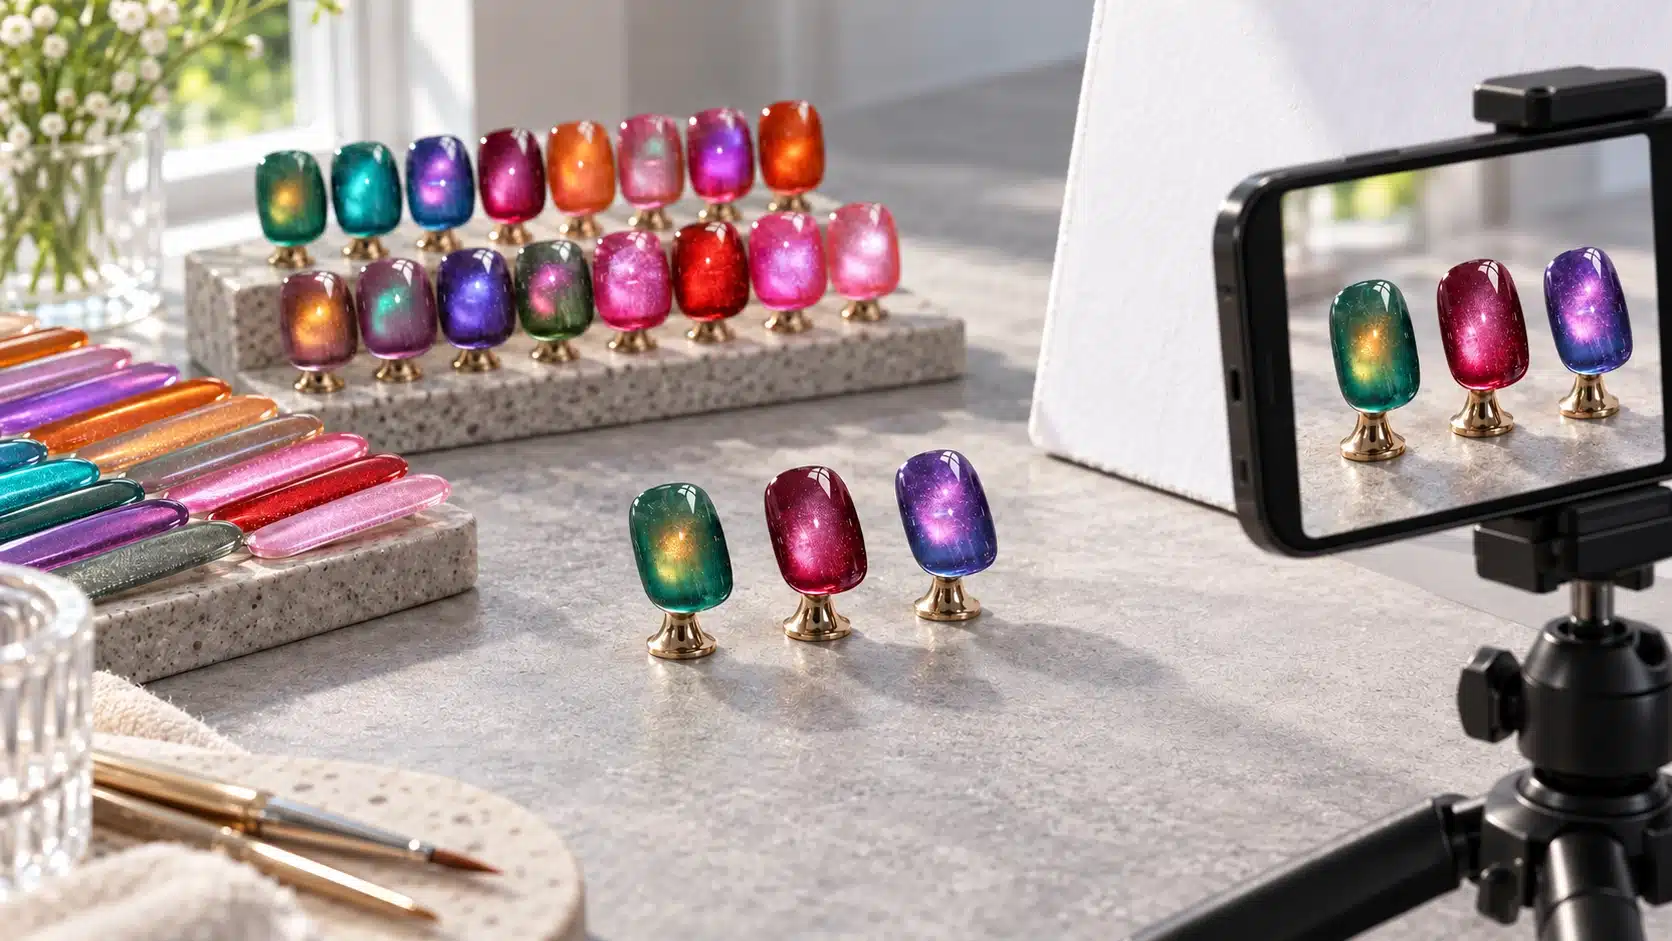
For an approval conversation, an ordinary, repeatable recording is often more useful than a highly styled campaign shoot. Reserve props and changing light for creative presentation; keep at least one straightforward comparison that your purchasing team, trainer and supplier can all reproduce.
16. Evaluate Samples before Choosing a Collection
Sample evaluation asks a different question from a nail tutorial. A tutorial explains how to create a look; a buying review determines whether a candidate deserves a place in the range. Establish the intended role first, then compare candidates under matched conditions rather than rewarding whichever swatch catches the brightest light.
Use an approved reference tip, a written layer record and the supplier's application instructions. Keep the selected base, finishing system, tip geometry and photography setup consistent wherever the comparison permits. Record necessary differences instead of forcing incompatible products into one application method.
| Buying Criterion | Comparison Question | Approval Evidence |
|---|---|---|
| Visual Role | Does this candidate deliver the requested soft glow, transparent depth or deliberate sparkle? | A named role and matched views beside the target reference. |
| Color Separation | Is it meaningfully different from the nearest shade when the highlight moves away? | Adjacent swatches in diffuse light and the same tilt sequence. |
| Magnetic Range | Can the intended tool arrangement produce the required highlight on this shade? | A documented demonstration of the approved effect, not a claim about every pattern. |
| Layer Dependence | Which backgrounds or overlays are necessary to reach the approved appearance? | A complete system record and finished reference tips. |
| Application Fit | Can the intended professional user reproduce the result with the selected brush and instructions? | Recorded observations from the buyer's own professional sample review. |
| Presentation Fit | Do comparison photos distinguish the shade under consistent, clearly identified lighting? | An unedited comparison set suitable for training and product selection. |
| Order Readiness | Are the shade identity, packaging configuration and required product documents clear? | A written approval record with unresolved points listed separately. |
Assess appearance, application and documentation separately. A beautiful swatch does not resolve an unanswered compatibility question, and a clear application record does not establish wear duration. Keep any wear observations tied to the actual layered system and review period.
Compare the Cost of the Complete Service
A lower bottle price does not necessarily mean a lower cost for the finished look. During your professional sample trial, record the amount used, any required background color or overlay, magnetic positioning time and corrections. Compare equivalent finished services, not one bottle against a layered kit. Keep curing time separate from hands-on work so the records show where the workflow differs.
| Cost Component | What to Record | How It Helps the Buying Decision |
|---|---|---|
| Materials per Service | Observed consumption of magnetic gel and every required supporting product. | Calculate material cost from actual usage and purchase price, rather than assumed services per bottle. |
| Hands-on Time | Application, magnetic styling and any correction time, measured using the same service scope. | Identify whether the look fits the salon's appointment structure and training needs. |
| Supporting Stock | Background colors, overlays, finish and tools needed for the advertised result. | Check whether customers can obtain the complete system and understand what is included. |
| Repeatability | Results from another trained operator following the same instructions. | Separate a teachable service from a result dependent on one operator's undocumented technique. |
For your own worksheet, material cost per service is the sum of each product's measured usage multiplied by its cost per unit. Add hands-on time at your business's labor rate where relevant. Do not infer bottle yield, wear duration or a profit margin from sample photographs; those require separate evidence.
Use an Approve, Revise or Hold Decision
- Approve: the shade has a distinct role, matches the agreed appearance and can be reproduced with the documented system. Confirm packaging and required documents separately before placing the order.
- Revise: the direction is useful but one visible feature needs adjustment, such as a highlight that is too concentrated. Specify the change and compare the next sample with the retained reference.
- Hold: the candidate duplicates an existing shade, depends on an unexplained extra layer or lacks essential application information. Resolve the issue before assigning it a launch position.
17. Plan an Opening Assortment without Duplicating Effects
Build the range around recognizable visual roles, then fill those roles with approved samples. Bottle colors alone can make two collections seem more different than they appear on the nail. Compare body color, transparency, highlight width and sparkle character together before assigning another place in the opening selection.
An Illustrative Twelve-Shade Starting Point
This example organizes twelve potential shades into six soft-glow roles and six glass-depth roles. Select the actual products and quantities after reviewing samples with JTING, adapting the balance to the colors and effects already offered in your range.
- Six soft-glow roles: a pale neutral, a warm rose, a cool pink, a muted mauve, a smoky taupe and a deeper berry. The goal is clear tonal separation with a related broad-glow presentation.
- Six glass-depth roles: a clear-looking neutral, a translucent pink, an amber direction, a lilac direction, a cool green and a deeper blue. The goal is distinct color depth and moving highlights, not simply six darker versions of the first group.
Review the two neutrals side by side. If their finished appearance is effectively the same in ordinary viewing, retain the stronger candidate and reopen the other role. Apply the same test to rose and pink: a distinction visible only in bottle photographs is a weak basis for separate collection positions.
Do not add reflective glitter merely to increase the shade count. It may deserve an optional extension if the buying brief includes a more pronounced sparkle effect. In that case, present it as a deliberate contrast with its own imagery rather than describing it as another fine-shimmer velvet neutral.
For a salon supplier, prioritize clear demonstration and straightforward shade selection. A private label brand may also need a coherent naming system and an identifiable launch story. A distributor may place greater weight on shade identification across sales teams. These priorities can change the selection without implying that one assortment is universally best.
Approve the collection as a group. View all selected tips together, remove near duplicates and identify any missing tonal role before committing to packaging artwork. A smaller, legible range is a better starting point than an expanded range whose differences require repeated explanation.
18. Private Label Packaging and Repeat-Order Consistency
Translate the approved effect into an order record before choosing decorative packaging. Keep the product identity, shade name, reference tip, complete application stack and approved video together. A name such as "Rose Velvet" is useful for customers, but it is not a sufficient specification for repeat production.
For private label gel nail polish planning, confirm the bottle, cap, brush, label and outer packaging as one configuration. Review the actual shade identification on the bottle and chart. A printed color patch cannot reproduce a moving magnetic highlight, so pair it with a clear shade name and accurate swatch photography.
Before a repeat order, compare the proposed batch with the retained approved reference under the same application and lighting conditions. Agree how differences in body color, transparency, highlight character and packaging will be assessed. Establish acceptable limits with the supplier rather than inventing a universal tolerance from photographs.
Keep artwork revisions and product revisions separately identified. Confirm any proposed substitution before acceptance, including a brush change that could affect application. Request current product information and destination-specific documentation where needed; an earlier order does not automatically resolve every requirement for a new market or revised configuration.
19. Frequently Asked Questions
Are Velvet Nails the Same as Cat Eye Nails?
Velvet describes a soft, broad-looking glow, while cat eye describes a magnetic nail effect that can take several visual forms. A velvet-style result can therefore belong within the cat eye family. The terms do not define identical formulas or a fuzzy surface. For purchasing, approve the actual moving highlight rather than assuming every product labeled cat eye produces the same velvet appearance.
What Is the Difference between Glass Cat Eye and Jelly Nails?
Jelly refers to translucent color; glass cat eye describes an optical impression involving transparency and a magnetic highlight. Jelly color alone does not establish magnetic response. A glass-style design may involve a translucent magnetic gel or a compatible layered system. When comparing samples, identify which layer supplies color and which supplies movement so the finished appearance can be reproduced rather than merely named.
Can One Magnetic Gel Create Both Velvet and Glass Effects?
Some magnetic gels can support more than one visual direction through different positioning or a compatible layer arrangement. That possibility is product-specific, not a rule for every cat eye gel. Ask for demonstrations using the exact shade you are considering. Compare broad glow, transparency and rounded highlights separately, and retain the application record for each result you intend to present to customers.
Do Cat Eye Nails Always Need a Black Base?
No. A black background is a design choice for some cat eye gel systems, not a requirement for all of them. It can increase contrast but also darken a translucent result. Follow the selected product's base-coat instructions and compare the relevant background colors on labeled tips. A required adhesion base coat and an optional black color coat are different layers.
Is Ordinary Glitter Gel Magnetic?
Visible sparkle does not prove that a gel responds to a magnet. Ordinary glitter, shimmer and magnetic response describe different attributes, although a product can combine them. Ask to see the workable gel shaped with the intended magnet and the resulting moving highlight. A glitter-rich finished photograph alone cannot tell a buyer whether the sparkle is magnetic or whether it suits a soft velvet brief.
What Makes the Magnetic Glow Narrow or Wide?
The formula's response and the magnetic field created by the chosen tool and its arrangement influence the visible pattern. Nail curvature and viewing conditions also affect how wide the glow appears. Different tool shapes can be useful for different goals, but no shape guarantees every result. Request a demonstration of the intended broad or concentrated effect on the actual sample shade before selecting the collection.
Why Does My Sample Look Different from the Photo?
The reference may use a different background, layer sequence, nail shape, light source or viewing angle. Camera processing can further alter color and highlight intensity. Compare the finished sample under diffuse and directional light, then review a slow tilt video. Ask for the reference's layer details before requesting a formula change; the mismatch may come from the setup rather than the shade itself.
Should I Use the Magnet before Curing?
Shape the magnetic effect while the designated layer remains workable, before its final cure. Follow that gel system's instructions for preparation, layer thickness, lamp and complete curing. Moving a magnet over an already cured finish is not a substitute for positioning the uncured magnetic layer. For professional training, document the sequence clearly without transferring another product's curing time to your selected formula.
Can I Add a Jelly Overlay to Cat Eye Gel?
A compatible translucent overlay may change the color and perceived depth of a magnetic design. Its opacity can also reduce the visible highlight, so evaluate the complete approved system rather than assuming any jelly gel will work. Keep a comparison tip without the overlay. For a collection that relies on layering, explain that requirement in the product information and confirm the specified curing sequence.
Can Velvet and Glass Effects Work on Short Nails?
Yes, both effects can be created on short nails with a suitable product and styling method. The smaller surface changes the room available for a broad glow or rounded highlight. Approve the selected shade on short tips, not only long display nails, and compare front and tilted views to check that the effect remains recognizable at the intended service length.
Is Reflective Gel the Same as Magnetic Gel?
No. Reflective sparkle and magnetic pattern formation are separate characteristics. Some products combine them, while others emphasize one rather than the other. Compare the same sample under diffuse light and a stated flash setup, then inspect a tilt video for magnetic movement. This prevents a bright flash photograph from being treated as proof of the soft, moving glow requested for a velvet collection.
Which Sample Video Should I Request?
Request a continuous slow tilt of a labeled finished tip under fixed lighting, accompanied by the background and layer sequence. Add a positioning demonstration if the desired magnetic pattern needs clarification. For reflective combinations, request a separate flash comparison of the same sample. Avoid relying solely on fast edited clips; a stable view should reveal both the strongest highlight and the quieter body color.
How Should I Compare Similar Collection Colors?
Place neighboring shades on matching tips with the same approved background and finishing system. Review them together in diffuse light, then record the same tilt movement under directional light. Compare the underlying color when the highlight moves away as well as the glow itself. Keep shades that serve visibly different roles, and reconsider pairs whose distinction depends only on separate photographs or inconsistent exposure.
What Reference Should I Keep for a Repeat Order?
Keep the approved physical tip, identifiable product sample, shade record, layer instructions and unedited comparison footage. Include the approved bottle, brush and packaging revision when those form part of the order. Store materials according to their relevant instructions and record approval dates. A social media screenshot can communicate inspiration, but it is too incomplete to serve as the only reference for repeat-order consistency.
Does HEMA-Free Mean Allergy-Free?
No. All JTING products are HEMA-free, but that does not mean allergy-free or establish other ingredient exclusions. Review the selected product's ingredient information and professional handling instructions. Avoid skin contact with uncured material and follow the specified curing system. Buyers should confirm the documentation and labeling needed for their destination market rather than treating one free-from statement as a complete product safety assessment.
What Should I Send a Supplier for a Velvet or Glass Collection?
Send a reference image or video with notes identifying the desired body color, transparency, glow width and sparkle level. Add the intended nail length, professional application system, collection roles and packaging direction. Separate essential features from flexible preferences. If the reference's layers are unknown, say so; the supplier can propose samples for comparison without treating the photograph as proof of a particular formula.
20. Turn a Reference Look into a Clear Product Brief
A strong brief translates visual inspiration into choices that can be sampled and approved. Describe what the buyer should see, not only the name of the trend. "Translucent rose with a broad silver glow, restrained sparkle and a visible color body when tilted" gives a clearer direction than "luxury velvet glass."
State the intended collection role, target nail length, required background, preferred application system and whether a separate overlay is acceptable. Include packaging preferences and destination market, while leaving unknown technical details open for confirmation. Mark the reference's essential qualities and identify what may change during sampling.
To discuss a collection with JTING, send your reference look and purchasing brief, together with the shades or visual roles you want to compare. Ask for a sample direction that separates soft glow, glass-like depth and optional reflective sparkle. The next useful step is a clearly identified comparison you can evaluate, document and use as the basis for an approved order.