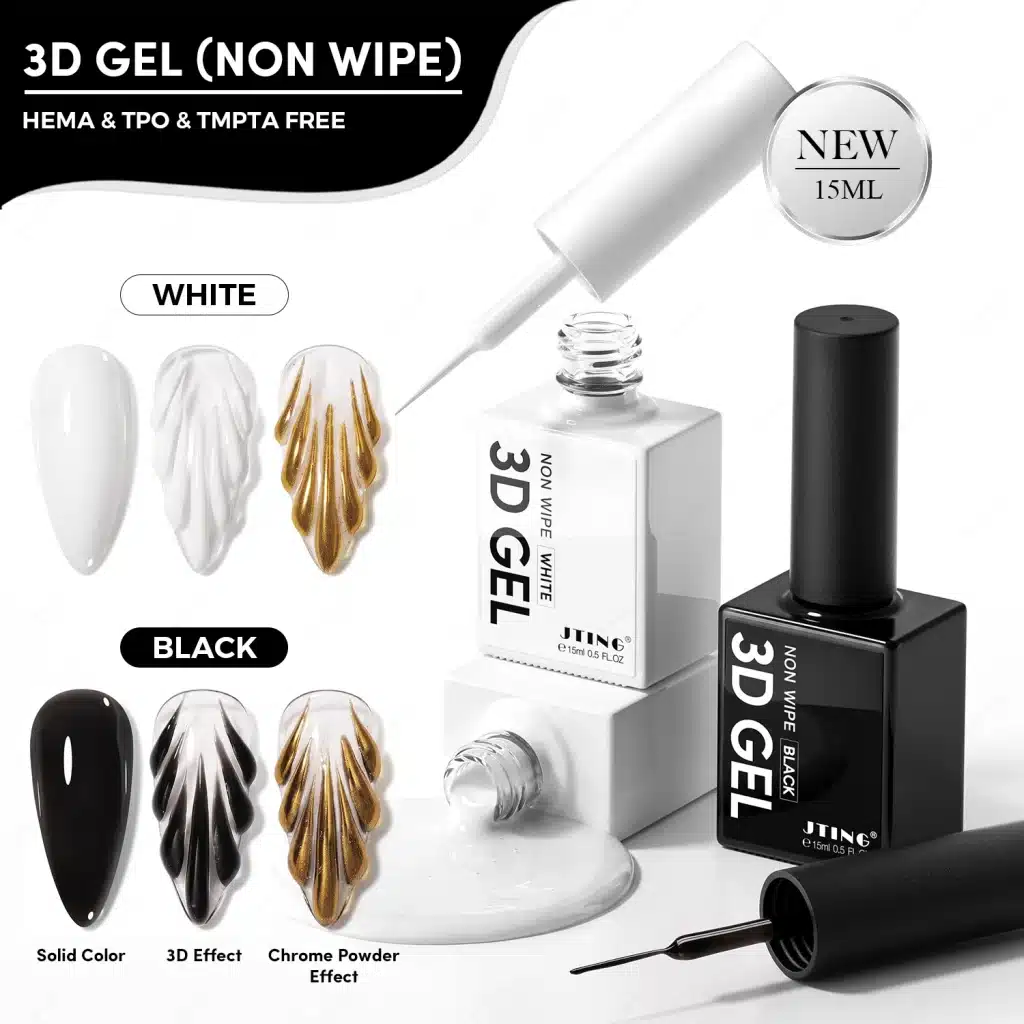
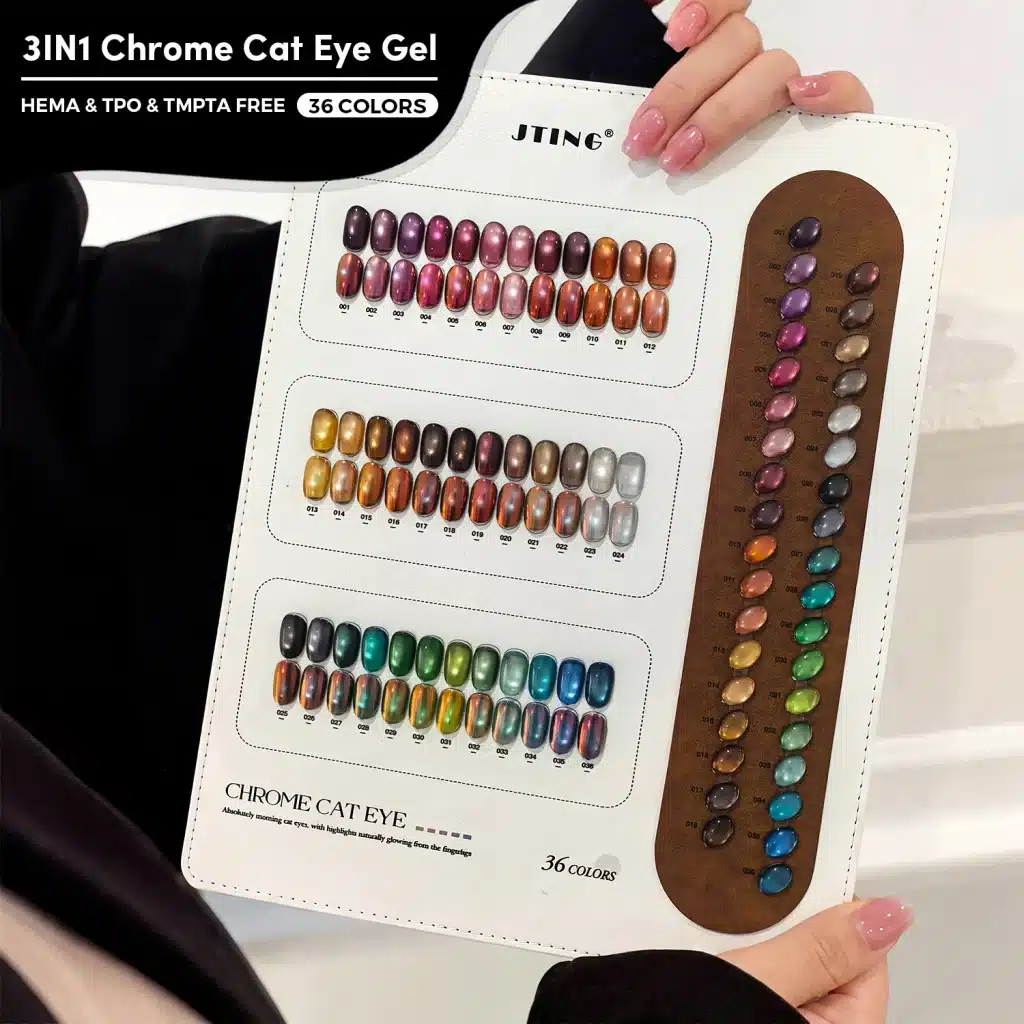
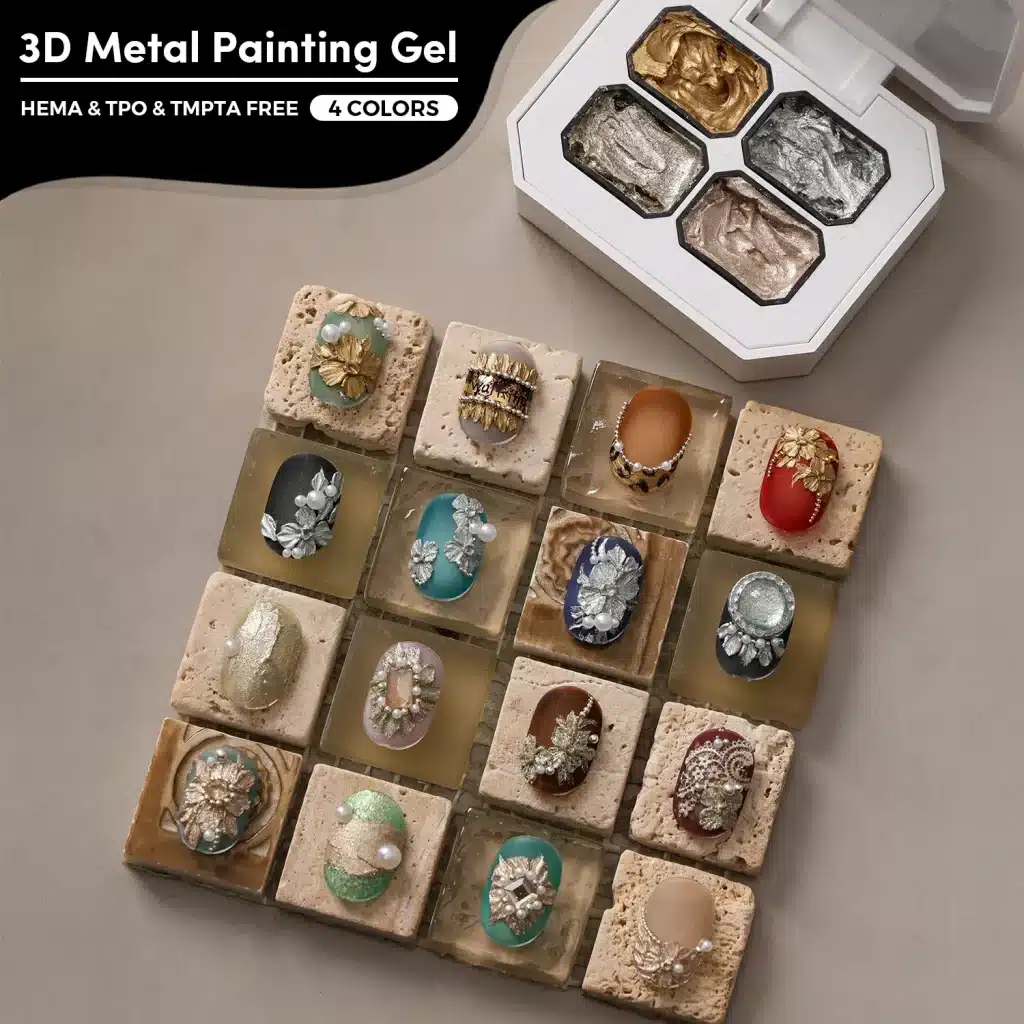
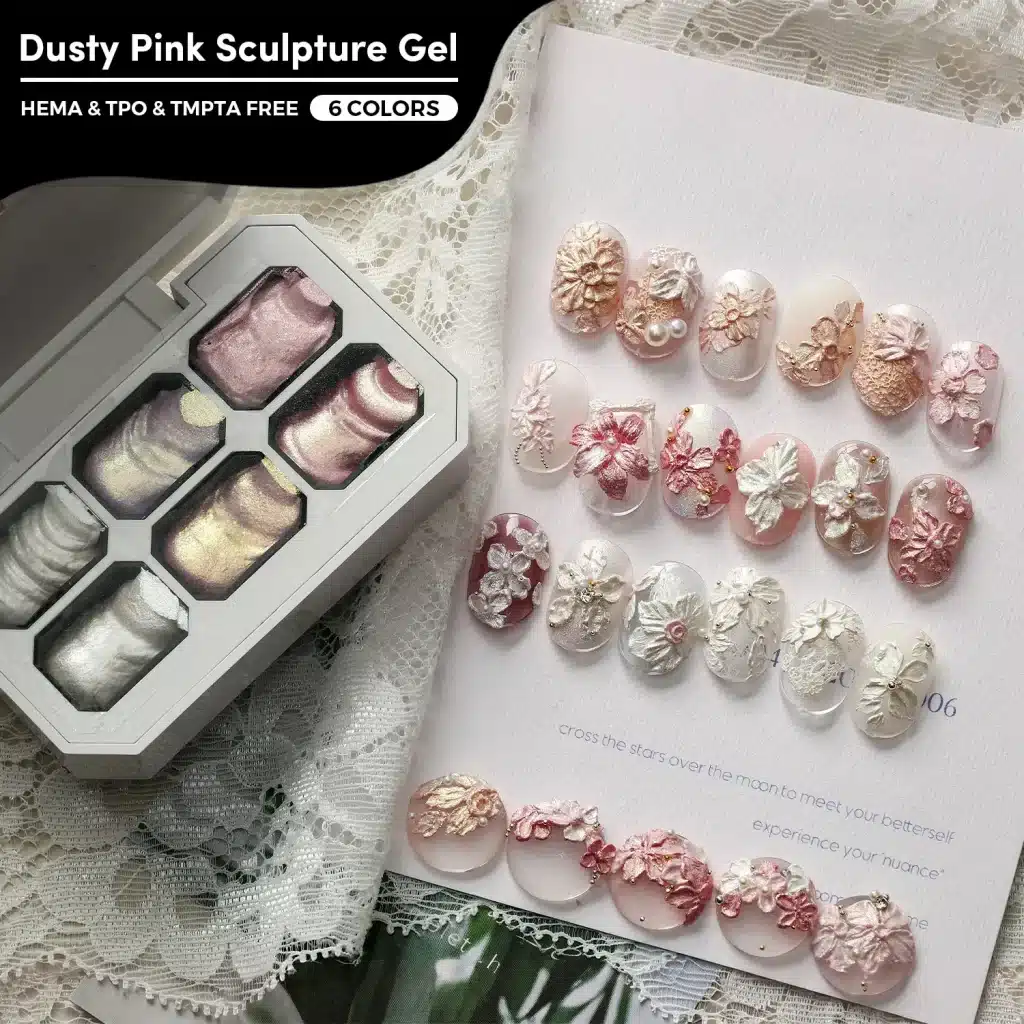
A dense black color, a translucent nude builder and a raised nail art detail place different demands on a gel formula. Understanding how each product is applied and cured helps nail brands, distributors and salon suppliers select suitable products, compare samples and provide professional customers with clear application guidance.
Gel nail polish curing should be considered alongside coverage, viscosity, working time, structure and finish. A color that is overloaded to achieve opacity, a builder used beyond its intended application or a decorative gel applied in an unsupported shape can all create difficulties that a longer timer setting alone will not resolve. The useful starting point is the product and the job it needs to do.
For brands and distributors, the buying decision includes coverage per coat, ease of application, service time and the support needed after launch. This guide explains what to compare across gel types, how to investigate common complaints and which sample records to agree with a supplier before ordering.
1. What Does Gel Nail Polish Need to Cure Properly?
Proper curing requires the correct gel, the specified application and the light exposure defined for that product. Color gel, rubber base, builder gel, painting gel and nail glue gel serve different functions; similar packaging does not make their application or curing instructions interchangeable.
For a professional buyer, the essential question is not simply how quickly the gel becomes firm. It is whether the product can deliver its intended coverage, structure, adhesion or finish through a reproducible process. Product instructions should identify the gel, application method, compatible light source, complete curing cycle and finishing steps.
- Choose by function. Identify whether the gel is providing a thin color film, a bonding layer, structural support, a surface finish or a dimensional detail.
- Control the application. Follow the specified layer approach rather than adding uncontrolled bulk to improve coverage or save time.
- Follow the specified curing conditions. Use a compatible light source and complete the product's prescribed sequence.
- Review the finished system. Assess the base, color, structure and top coat together when that combination will be supplied or recommended.
- Separate appearance from evidence. A smooth surface or an attractive swatch is a visual result, not a chemical measurement of curing.
A practical buying brief might ask for a brush-on nude overlay product with enough leveling time for the planned technique, compatible finishing products and written application instructions. This gives the supplier specific selection criteria: the service, working behavior and complete method your customers need.
2. Curing, Drying and Hardening Are Different
Conventional nail lacquer primarily forms a film as its volatile components evaporate. A light-curable gel develops its coating through a polymerization reaction initiated by suitable light. Calling both processes drying can conceal an important distinction: leaving a UV-curable gel in the air is not a substitute for its prescribed curing process.
Hardening describes a change in physical behavior: the material becomes firmer or holds its shape. That observation does not establish the extent of polymerization throughout the coating. Surface shine, a tap or a scratch cannot provide the chemical information needed to assess curing.
| Term | What It Describes | What It Does Not Establish |
|---|---|---|
| Drying | Film formation associated with solvent loss in conventional lacquer | A suitable cure for a UV-curable gel product |
| Hardening | A material becoming firmer or retaining its shape | The chemical condition across its full thickness |
| Curing | The product's light-initiated polymerization process | A universal exposure time shared by all formulas |
| Finishing | The specified cleansing, filing or top-coat stage | A way to repair an unresolved curing problem underneath |
When a supplier describes a gel as fully cured, ask which application conditions and assessment support that statement. It should not be read as a claim of 100% chemical conversion or zero extractable ingredients. Section 18 explains the difference between application observations and laboratory evidence.
Customer training should distinguish application, curing and finishing. Show the complete sequence and identify when a layer receives its final cycle. This helps educators demonstrate the process accurately and makes it easier for distributors to answer questions about the finished surface.
3. How Gel Formulation Shapes Curing Performance
A gel formula balances application and final-film properties. Its reactive components, initiating system, colorants and other functional ingredients work together. A change made to improve coverage, flexibility or handling can affect other properties, so curing should be evaluated with the finished formulation rather than inferred from a single ingredient.
Photoinitiators start the light-driven reaction when they receive suitable energy. Reactive monomers and oligomers form the developing polymer network. Pigments, effect particles and the geometry of the applied layer influence how light travels through the coating. Product evaluation needs to consider how these factors work together in the application being supplied.
Balance Coverage, Application and Curing
Consider a highly pigmented color gel. The buyer may want strong coverage, but the useful product must also spread evenly at its intended application weight and work with the specified curing sequence. If the sample only looks opaque when applied substantially thicker than instructed, the coverage expectation and application method need to be discussed together.
A builder gel presents a different balance. It needs enough working control for the intended structure without inviting excessive placement. A no-wipe top coat has another task: producing the specified final surface under its own application conditions. One formula should not be judged by a property that belongs to a different product role.
For custom development, describe the change you need in practical terms: less movement before curing, more even coverage at the specified coat thickness, greater flexibility or a different surface finish. Review the revised sample against the complete specification, including its application and curing method. A formula adjustment may require more than a change to the product description.
The broader gel nail polish ingredients guide explains formulation components in more detail. For curing decisions, the central point is that the relevant evidence belongs to the actual formula and application, not merely to the ingredient family printed on the bottle.
4. Pigment, Opacity and Color Coverage
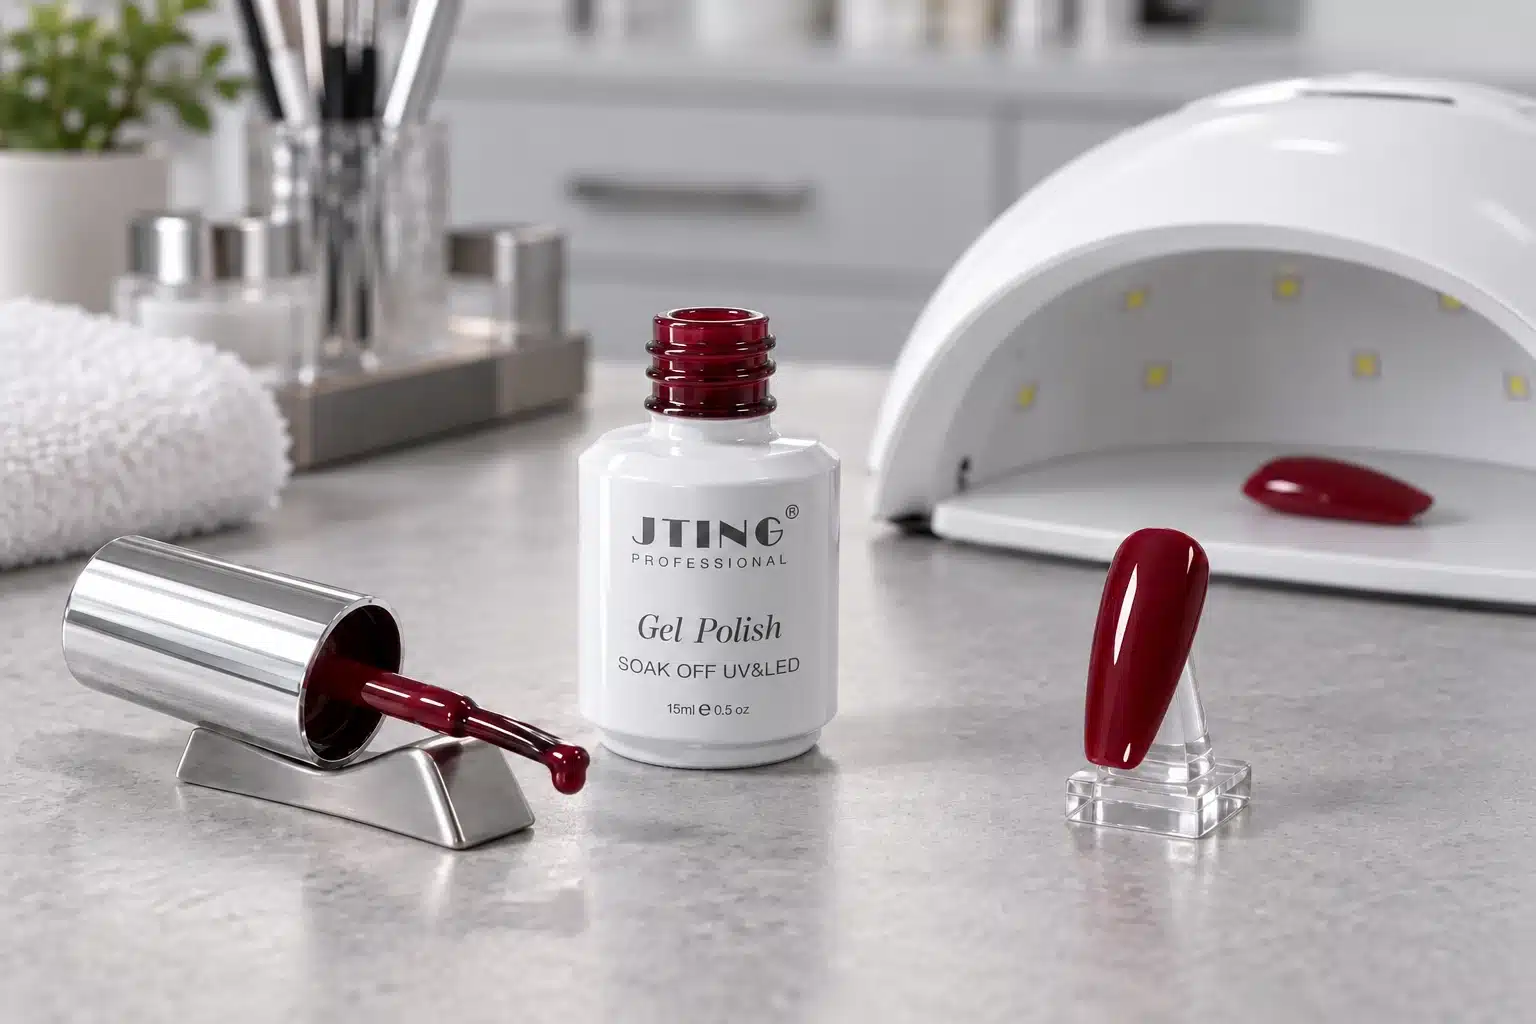
Color coverage describes what the eye sees; curing concerns the reaction in the applied material. These properties are related through the formulation, but one cannot stand in for the other. A product can look impressively opaque while still needing careful control of the amount applied.
Black, white, deep red, pastels and translucent colors create different formulation questions. A light-looking shade is not automatically easy to cure, and every dark shade should not be assigned the same additional exposure. Pigment chemistry, loading, dispersion and the rest of the formula matter alongside the visible color.
Black and White Need Their Own Sample Review
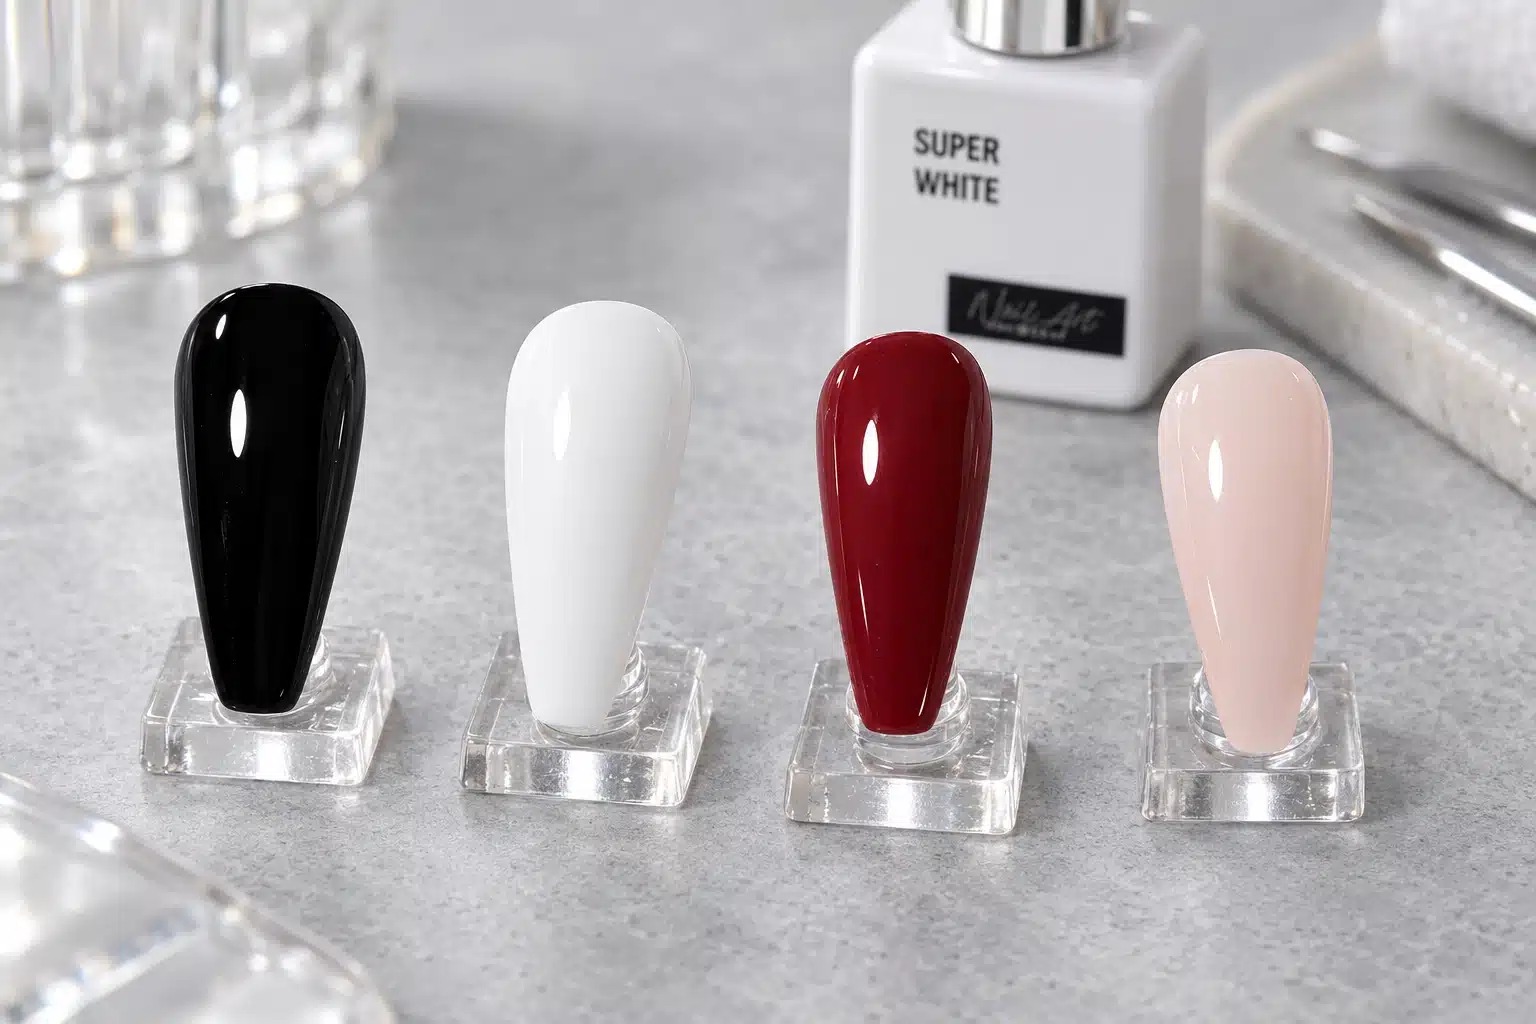
Include black and white in a color-range review when those shades are part of the collection. They are commercially important and often used for full coverage, fine artwork or French tips. Evaluate the exact role planned for each. A white painting gel used for a small graphic is not automatically a substitute for a full-nail white color coat.
Ask how the intended coverage is achieved within the supplied instructions. Where the methods are comparable, assess the same number of correctly applied coats and retain the shade references. Record any additional coat needed to reach the target appearance; applying a heavier layer than specified changes the conditions of the comparison.
Sheer Colors Require Consistency Too
Translucent shades are often selected for their visible depth rather than complete concealment. Assess the clarity, undertone and evenness of the intended layered result. The fact that the base remains visible does not remove the need for a complete curing sequence, and a sheer-looking product should not be given a shorter cycle based on appearance alone.
When planning gel nail polish color collections, group representative shades by their application demands rather than relying on color names alone. This helps the supplier understand the range you want and gives your training team a practical basis for demonstrating coverage.
Keep separate records for shade accuracy, coverage at the specified application and the confirmed curing conditions. A sample can meet the color target while still needing an application adjustment. Recording each result separately makes approval decisions and follow-up discussions more precise.
5. Layer Thickness, Viscosity and Brush Control
Viscosity describes resistance to flow, not a direct measure of how much product is on the nail. A fluid gel can pool around an edge, while a thicker gel can be spread into a controlled layer. The actual distribution of material matters more than whether the bottle is described as thin or thick.
For color products, uneven brush loading can create a heavier central strip or a ridge at the sidewall. For self-leveling products, material can move while the technician works on the remaining fingers. For structural products, volume is deliberately placed where the service requires it. Each situation needs an appropriate application method rather than an instruction to make every product as thin as possible.
Keep Color Application Separate from Structural Building
A color coat should not be used to create the support that belongs to a structural product. Adding more color gel to level an uneven base changes the color layer without solving the product-selection issue. Correct the underlying system with the material and method intended for that job before applying the color.
For a builder gel, retain the structure required for the intended service within the product's stated limits. A thin color-coat technique is not a substitute for the builder's application method. Evaluate material distribution, finished profile and curing conditions together.
Include the Actual Brush in Sample Approval
The brush affects how easily a trained user repeats the intended layer. Compare pickup, release, width and control with the packaging configuration you plan to supply. If a sample is assessed with a separate studio brush but the final product will use a bottle brush, record that difference and review the supplied configuration before approval.
Record where application becomes difficult. Does product accumulate near the free edge, retract from a prepared surface, move before curing or need repeated strokes? Specific observations help the supplier assess whether the brush, handling method or formula needs attention. Requesting a thicker gel alone may not address the problem.
Do not add household solvents, unapproved thinners or another gel to make a sample easier to apply. An altered mixture is no longer the supplied product. Its behavior cannot be used to approve the original formula or establish instructions for the collection.
6. How Long Should Gel Nail Polish Cure?
The correct gel polish curing time is the complete cycle specified for the selected product under its confirmed application conditions. A time cannot be assigned by product category alone: color gels, builders and top coats can differ within the same range.
A meaningful instruction identifies what is being cured, how it should be applied, the compatible light source and the required cycle. If the instruction simply says cure until dry, ask for clarification before using it as the basis for a commercial range. The same applies to a time copied from another brand or another product in a similar bottle.
Do Not Turn a Positioning Step into the Final Cure
Some professional workflows include a short exposure to keep a tip, magnetic pattern or decorative element in position. This positioning step is not automatically the final cure. The remaining sequence must still be completed as directed for that product and application.
For LED curing, record the gel name or reference, shade, application method and compatible device alongside the specified cycle. This allows a buyer to compare the sample conditions with the instructions that customers will receive. Changes in layer thickness or equipment should be recorded, not treated as equivalent trials.
Longer exposure should not become a routine way to compensate for an unsupported combination. If a product repeatedly wrinkles, stays visibly soft or produces an unexpected result under its stated method, stop treating it as an approved sample and investigate the conditions with the supplier. Covering the result with another layer does not establish that the material underneath is suitable.
When comparing service time, count the whole method: preparation, required coats, complete curing cycles and finishing. A shorter advertised cycle may offer little practical advantage if the product needs extra coats or more corrective work. Compare samples within their respective instructions and record the total process your customers would follow.
For distributors, labels, training videos and product sheets should present that same method, with positioning exposures clearly separated from complete cycles.
7. Base Coat and Rubber Base Gel: Match the Product to the Service
A base product has a different job from a color coat. Assess it with the intended preparation, nail surface and following layers. For a buyer, the priorities are controlled application, compatibility with the selected system and suitability for the service being offered.
Within a base range, distinguish a conventional thin bonding layer from a product specifically intended for leveling or reinforcement. A rubber base may offer a particular balance of flexibility and application body, but the name alone does not establish an extension length, a build thickness or a curing cycle. Confirm the selected product's limits before promoting a structural application.
Evaluate Clear and Colored Bases Separately
For a clear base, check how easily the specified amount can be distributed without contacting surrounding skin. For a tinted rubber base, also examine shade, evenness and coverage within the permitted application. Include representative cover shades in the sample plan rather than extending a clear-base approval to every color.
During product selection, ask whether the base requires a separate preparatory product, whether a slip or bonding layer is part of the method and whether a second leveling layer is allowed. Record the complete sequence so that the sample review and customer instructions describe the same application.
Keep preparation, nail type and finishing products consistent where the manufacturers' methods allow it. When two bases require different preparation routines, compare the complete systems and record that difference. Include the preparation products and training involved when deciding which option fits your range.
When selecting from JTING's rubber base gel range, specify the planned service, such as natural-nail reinforcement or a tinted overlay, and the handling your technicians prefer. Confirm the permitted applications for the selected formula before including them in your service menu or product training.
For a tinted-base collection, decide whether the base will be sold as a visible shade beneath top coat or mainly as a foundation for color. The first use makes undertone and even coverage central to shade approval; the second also requires a review with the color products you intend to recommend.
8. Builder Gel, Hard Gel and Poly Gel: Match Curing to Structure
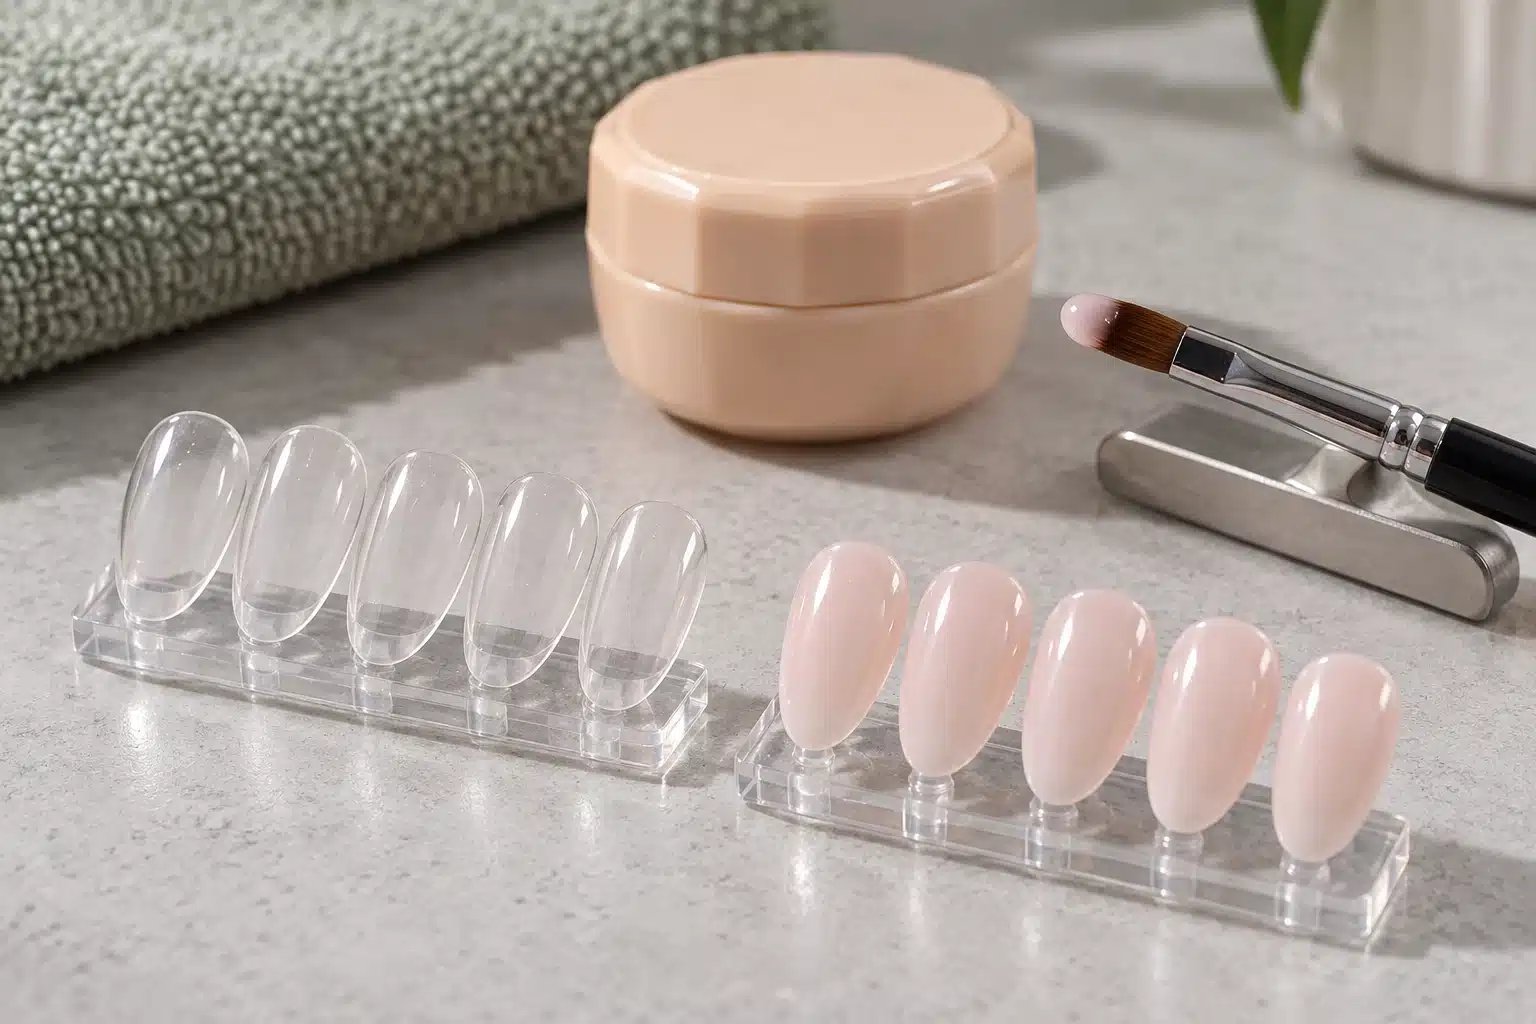
Structural products are selected for the shape and support they are intended to provide. An overlay, a refill and an extension are different applications. Their product distribution, access to light and finishing routines should be considered before a sample is approved for a particular service.
Builder gel is a broad category rather than one uniform formula. Packaging, flow and removal describe different attributes: a hard gel can be self-leveling or shape-holding, and a thick consistency does not establish whether a product is soak-off or file-off. Record these attributes separately when comparing products.
The descriptions below can overlap. For example, a jar builder may also be a file-off hard gel. Confirm the selected formula's intended length, working behavior and removal procedure instead of treating each label as a separate, interchangeable system.
| Product Type | Intended Application | Sample-Review Priority |
|---|---|---|
| Bottle builder | The approved overlay or reinforcement method | Brush loading, leveling time and permitted structure |
| Jar builder | The specified overlay or extension service | Leveling or shape retention, tool control and material distribution |
| File-off hard gel | Supported structural services with a file-off removal method | Intended length, working viscosity, finished profile and maintenance procedure |
| Poly gel | The supplied sculpting, form or tip procedure | Product quantity, prescribed working liquid and complete curing sequence |
Do Not Confuse Shape Retention with Curing
A shape-holding product resists movement while it is being sculpted; a self-leveling product flows to smooth its surface. Compare whether the working time suits your technicians and whether they can maintain the intended profile before curing. Neither behavior shows how far polymerization has progressed.
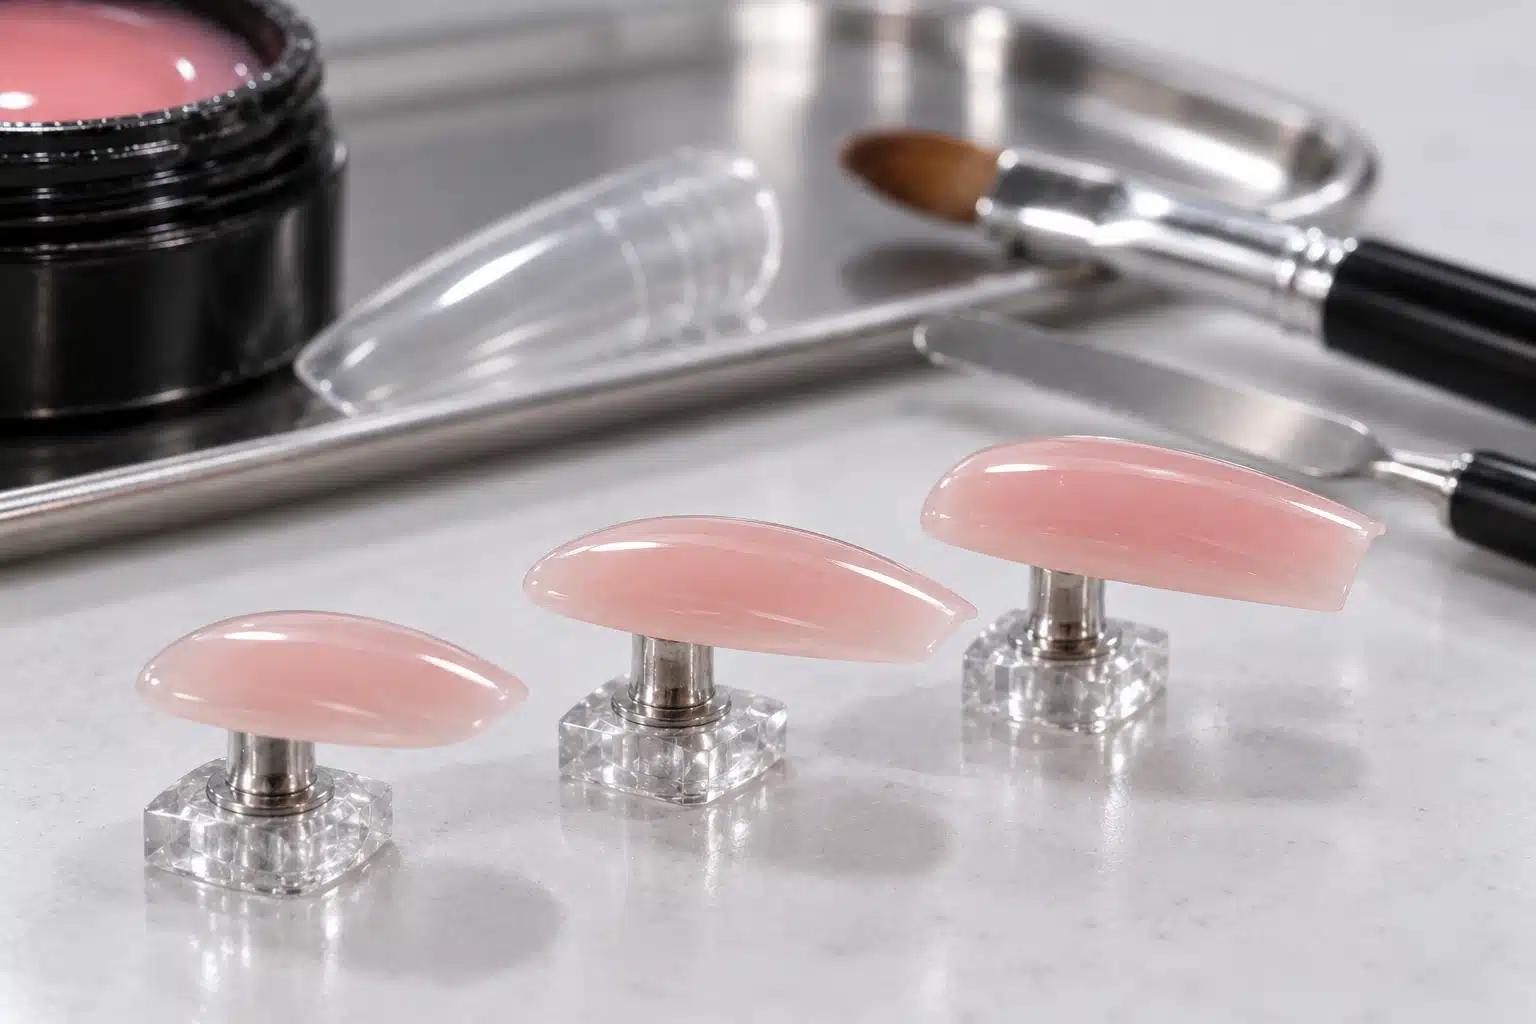
Assess the side profile as well as the top view. Record the apex, free edge and material distribution for the intended shape and length. Side-view references help the supplier compare the sample with the recommended structure and understand any feedback about movement, bulk or application control.
Review Tools and Supporting Liquids as Part of the Method
For Poly Gel, use the working method and supporting products specified for that formula. Slip solutions are not automatically interchangeable, and adding liquid to the bulk product changes the supplied material. Sample evaluation should reproduce the recommended method, with any supporting liquid identified in the record.
When shortlisting JTING builder gels or Poly Gel products, identify the intended length, shape, removal method and user skill level. A product that suits controlled overlays may not be the right choice for a long sculpted extension. The distinction belongs in both purchasing specifications and customer training.
The comparison of structural gel systems explains these product roles in more detail. For sample approval, assess the selected formula in the shape, length and service you plan to recommend.
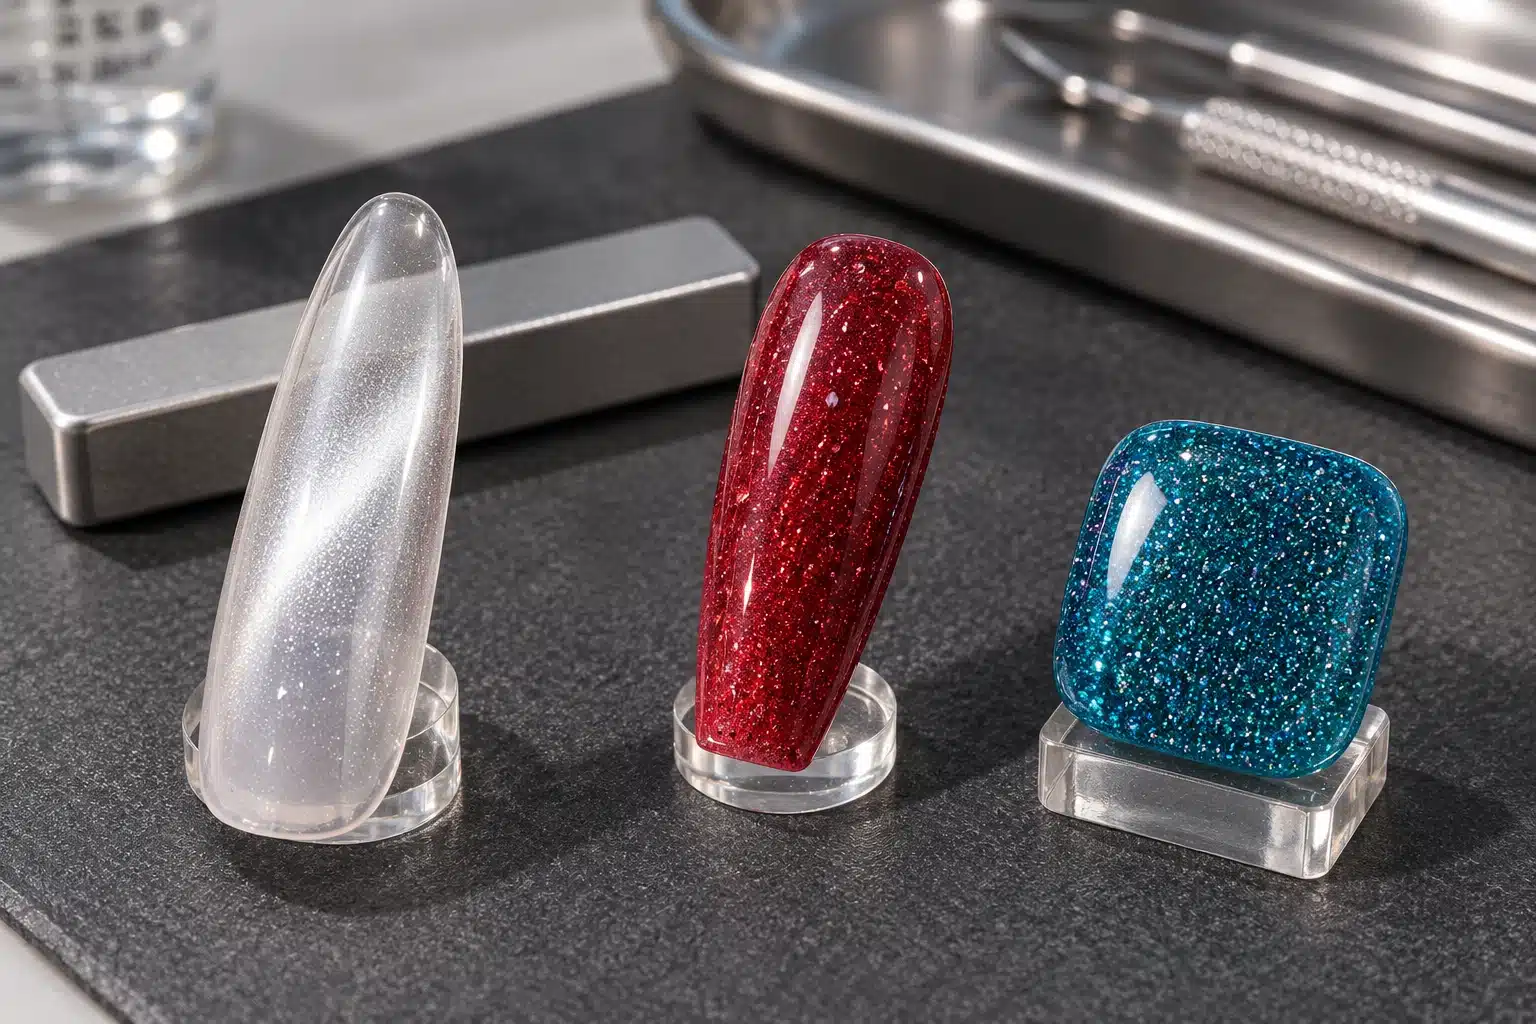
9. Cat Eye, Glitter and Reflective Gel: Evaluate the Effect and Application
For effect gels, evaluate the optical result alongside the method required to reproduce it. Record the shade, layer sequence, application amount and viewing conditions. This helps brands compare samples consistently and show customers what the finished effect looks like in normal use.
For cat eye gel, confirm whether a background color is required or optional for the selected formula and look. Include any background coat in the application record. A reference photograph alone does not establish which layers were used or whether the same sequence is suitable for another product.
Keep Magnetic Positioning and Curing in the Correct Sequence
In a typical magnetic application, the effect is arranged while the relevant layer is still workable, before its final curing cycle. The specific product instructions determine the sequence. An attractive pattern that shifts before exposure may indicate a working-method issue, not an instruction to increase the product load or shorten the full cure.
Compare how easily trained users reproduce the effect with the supplied brush and intended magnet. Note whether the pattern remains controlled during the instructed sequence and whether the finished service matches the approved swatch. These observations help buyers judge the demonstration and training needed for the range.
Control Layer Thickness in Glitter and Reflective Gels
Assess glitter and reflective gels at the specified application. If the desired look requires a denser effect than the sample provides, discuss particle coverage and formula options with the supplier instead of increasing the coat beyond its instructions. Record the number of coats used for the reference swatch.
Photograph the same sample under consistent everyday lighting and, where relevant, a separate direct-light setup. Label the viewing conditions so customers can distinguish the normal finish from the enhanced reflective effect. Keep those visual references with the application record.
Begin with the intended service when comparing cat eye gel polish and reflective gel. A subtle daily manicure and a dense statement effect may need different shade selections and demonstrations, even when both sit within a coordinated collection.
10. Painting Gel, Liner Gel and 3D Details: Match the Gel to the Design
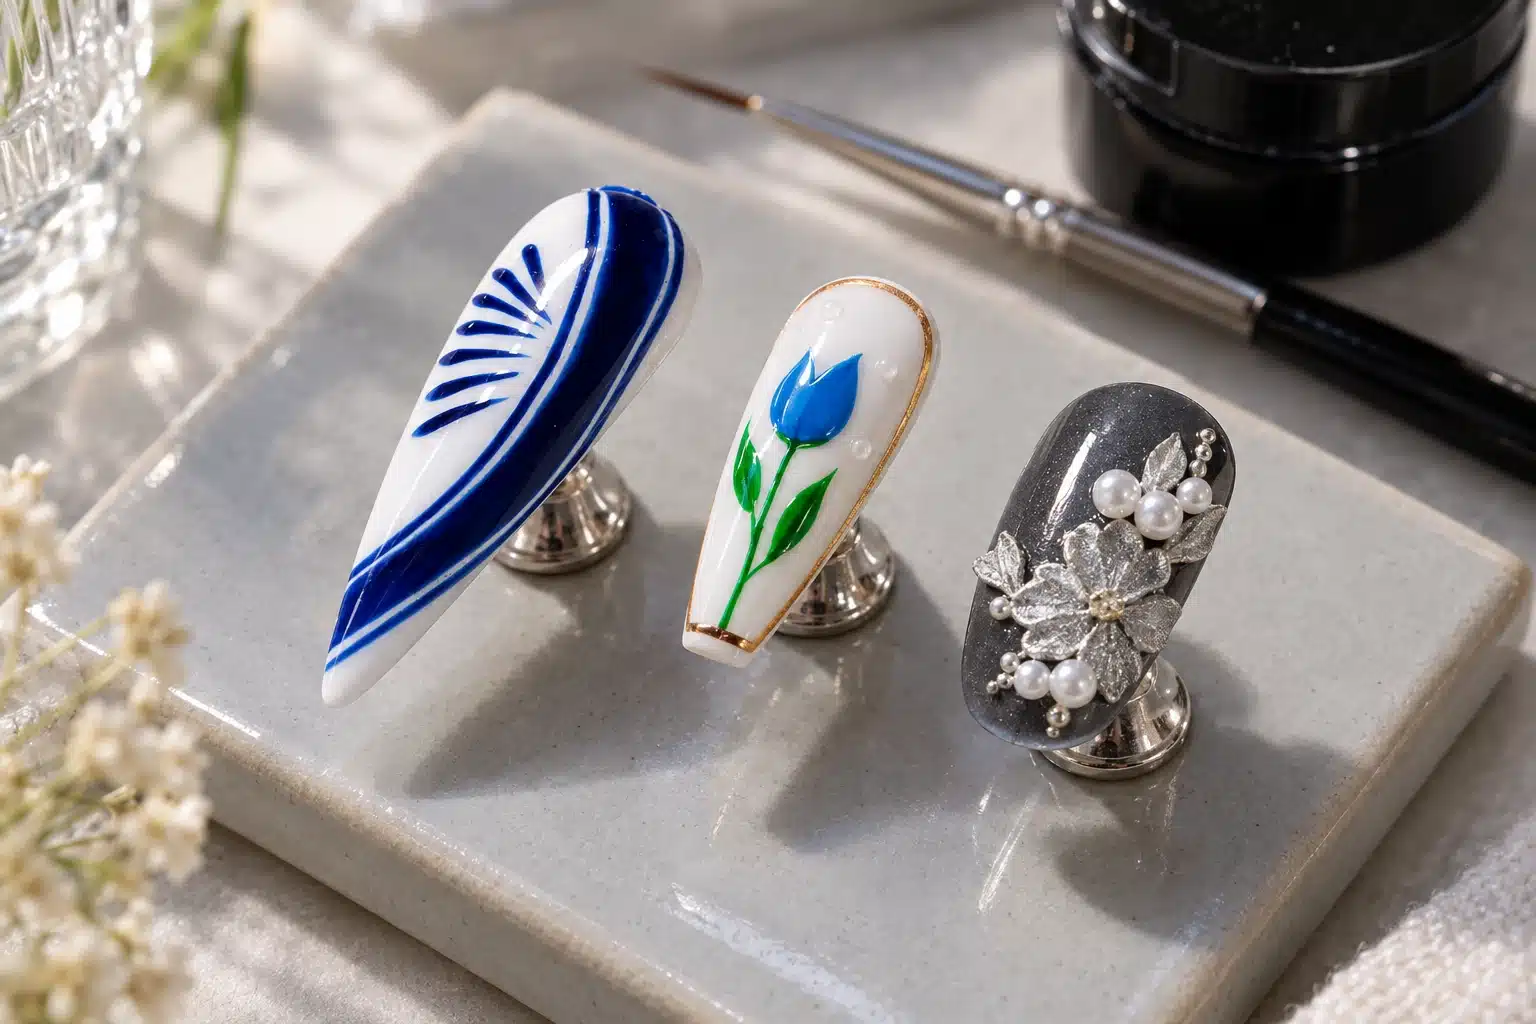
Fine-line control, opaque artwork and raised decoration are separate product requirements. A gel that holds a narrow line is not automatically intended for a thick sculpted shape, and a dimensional gel should not be treated as an unrestricted way to build any volume.
For a painting gel, identify whether the design uses a thin outline, a filled graphic or a larger color block. Each places a different amount of material on the surface. Review the actual artwork scale rather than approving a tiny line and using that result to support a much larger filled motif.
Raised Designs Change the Geometry
Dimensional details create peaks, curves, recesses and overlapping areas. Their appearance from above does not describe how the complete shape receives light. Use the permitted build approach for the selected product, and keep any intermediate positioning stages separate from the final curing instructions.
For a multi-layer design, record the background color, decorative layers and required finish in order. Include any intermediate curing stages specified by the product method. This gives educators a repeatable demonstration and allows buyers to identify which products are needed for the finished design.
For JTING's water-drop products, the rounded effect is created with the dedicated matching water-drop top coat. Natural droplet formation describes the shaping behavior; it does not mean the product self-cures or can skip its prescribed preparation and curing sequence. The paired-product method needs to be supplied as one coherent instruction.
Provide a Complete Application Demonstration
When adding painting gel or liner gel to a range, include a realistic design example and its working method. Identify the products, line widths, filled areas and any raised details used in that example. Confirm whether a different gel is required for a dimensional technique.
The 3D nail art gel guide compares decorative gel types and applications. Approve the planned design with the selected materials first; assess additional applications against their own product limits and instructions.
11. Nail Glue Gel: Consider the Material above the Bonding Layer
Light-curable nail glue gel is part of an attachment system, not simply another bottle of colorless gel. Its application needs to account for the gel layer, tip fit, positioning process and access of the required light to the bonding area.
Review a sample with the actual tip type you intend to supply or recommend. A result demonstrated with a clear full-cover tip should not automatically be extended to a heavily decorated or opaque tip. If the material above the adhesive blocks the light the formula needs, a longer timer setting is not a reliable substitute for a suitable method.
Keep Tip Fit and Product Quantity in the Same Review
A poor fit can encourage excessive adhesive use, leave gaps or push gel toward surrounding skin. These are application problems as well as purchasing considerations. Confirm the intended tip system and technique before trying to solve every difficulty by requesting a different glue viscosity.
Record whether the product is being used for full-cover tip attachment, another extension method or a different supported purpose. For a multi-use gel, confirm the instructions and limitations of each proposed application separately. An attachment method does not establish suitability as a base, builder or finishing gel.
If the specified method includes a short positioning exposure, retain the full curing stages that follow it. Customer instructions should show how the tip is held, when positioning is complete and how the final cycle is performed for the selected system.
When selecting JTING nail glue gels, include the tip material, preparation method, preferred application format and supporting products in your inquiry. These details help identify suitable samples and make it easier to investigate whether a concern involves tip fit, product handling or the complete attachment method.
12. Sticky after Curing: Understand the Expected Surface
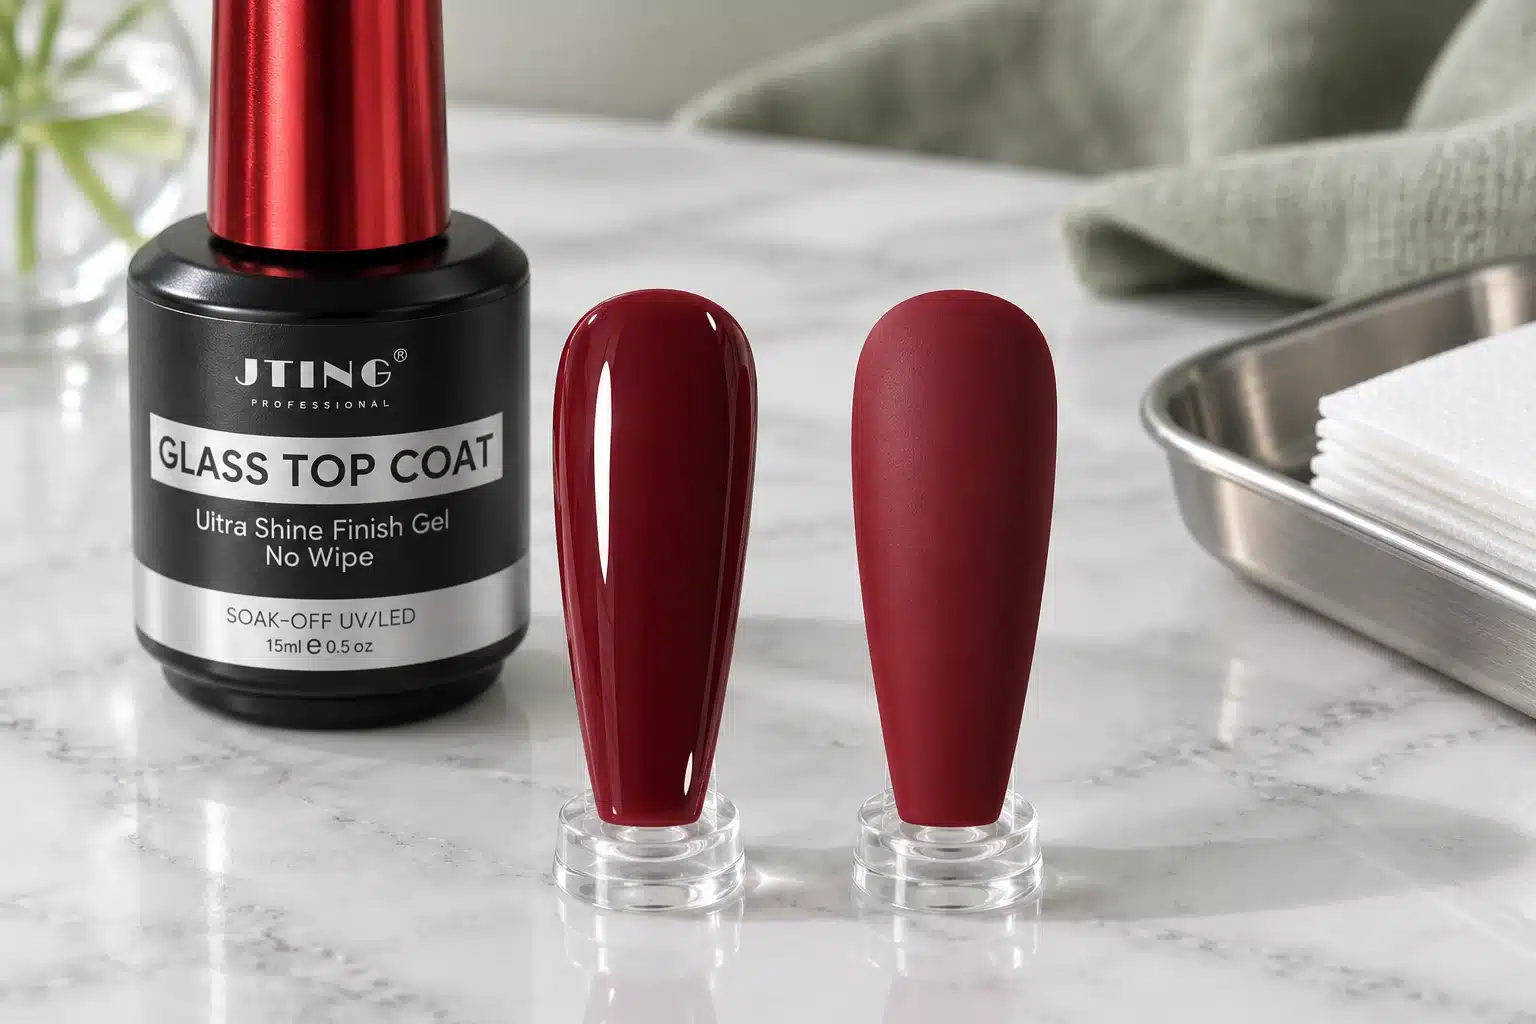
A sticky surface can be expected with some gel products but abnormal with others. Certain formulas retain a surface inhibition layer after the specified cycle; a no-wipe top coat is designed to finish without a residue-cleansing step. Check the selected product's instructions before deciding what follows curing.
Glossy or matte describes appearance; wipe-off or no-wipe describes the finishing procedure. These are separate choices. A matte surface does not automatically require cleansing, and a glossy surface does not automatically mean no-wipe.
Oxygen can interfere with free-radical polymerization at an exposed surface, contributing to a tacky layer in conventional gel systems. This explains why a specified cleansing step can be part of a normal finishing routine. It does not establish that the bulk coating beneath every sticky surface has cured appropriately.
| Observation | Appropriate Interpretation | Next Step |
|---|---|---|
| A surface layer expected by the product instructions | Consistent with that product's stated finishing method | Follow the specified layering or cleansing sequence |
| Unexpected tack on a no-wipe finish | An application, compatibility, condition or product issue needs review | Check the actual sample and method with the supplier |
| Visible smearing, wrinkling or material remaining soft | An abnormal result that should not be accepted as a finished service | Do not continue the service; obtain appropriate professional guidance |
| A smooth, glossy and non-tacky surface | A visual surface result only | Do not substitute it for the product's curing validation |
Cleansing Is Not a Curing Test
Removing a surface residue does not prove the condition throughout the coating. Neither does pressing, scratching or trying to mark it. Avoid direct skin contact with uncured material, and do not use a customer's nail or skin to investigate a suspicious sample.
Keep the finishing instructions connected to the chosen product. A wipe-off top coat, a no-wipe top coat and a matte finish should not be taught as though they have the same final sequence. If a product specifies a wait or a particular cleanser, retain that instruction rather than adopting a universal routine from a different system.
When comparing top coat and base coat products, record the expected surface and finishing steps for each formula. The gel top coat guide explains finish selection in more detail. Keep the selected base, color and top coat together in the application instructions supplied with the range.
13. Gel Polish Not Curing, Wrinkling or Lifting: Investigate the Whole Application
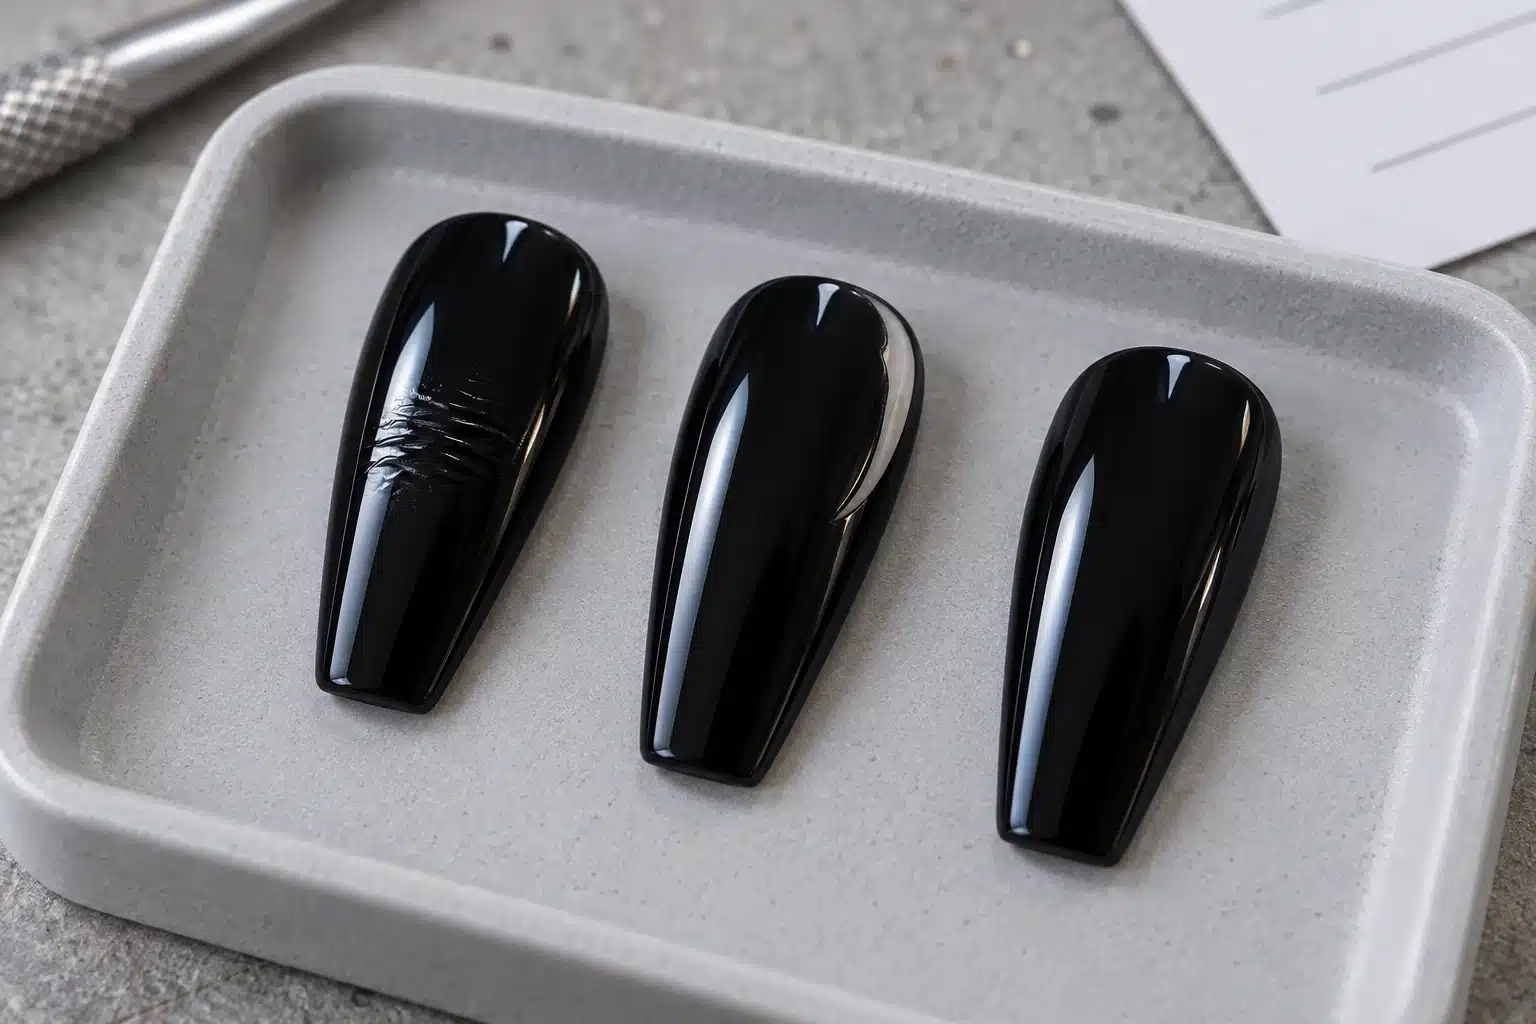
Gel polish not curing as expected, wrinkling or lifting requires a review of the complete application. These problems can involve formula, preparation, layer thickness, structure, storage or curing conditions. Visible symptoms help identify what to investigate, but do not establish a single cause on their own.
Start with the exact product, shade and batch, then record when the problem first appeared: before exposure, immediately after the cycle or during wear. Include the preparation, every layer and the conditions actually used. This gives the supplier a useful starting point and avoids grouping different complaints under the single description not curing.
| Visible Problem | What to Review | Supplier Follow-Up |
|---|---|---|
| Color layer wrinkles | Applied amount, shade instructions, underlying surface and exposure conditions | Provide photographs and the layer sequence; keep the affected layer uncovered for review |
| Material remains visibly soft or smears | Product identity, condition, applied amount and specified process | Set the sample aside and investigate before further use; do not treat wiping or extra exposure as proof of cure |
| Product pulls back before curing | Receiving surface, contamination, wetting behavior and application method | Identify the layer beneath it and show when the movement begins |
| Lifting develops at an edge | Preparation, skin contact, structure, product combination and service demands | Record the location and time after application, with top and side views where available |
| Finish becomes dull or patchy | Top coat selection, application, finishing method and exposure during wear | Compare the initial finish with the later appearance and identify any cleanser used |
| A structural layer cracks | Product suitability, architecture, movement and complete process | Provide the intended length, side profile and position of the crack |
| A magnetic pattern changes | Working time, product load, magnet positioning and timing before the final cycle | Compare the pattern after magnetic positioning with the finished result |
Document the Result before Changing the Method
For a test sample, record the application setup and result before making adjustments. Changing the base, thickness, device and finish at the same time makes it difficult to identify which change affected the outcome. Retain the product reference, batch and observations together, and keep questionable samples separate from approved demonstration pieces.
For a complaint from a salon customer, collect the service details without asking them to perform uncontrolled trials on a client. If there is suspected undercuring, follow appropriate professional guidance for discontinuing the service and handling or removing the product. Pain, itching, redness or swelling should not be used as a sample-review exercise; the affected person should seek medical advice.
Compare the reported conditions with the product's instructions, then agree on an appropriate investigation with the supplier. Include both successful and unsuccessful samples where available. This helps distinguish a repeatable product concern from a preparation, handling or product-combination issue without dismissing the customer's experience.
14. Heat Spikes: Review the Gel and the Amount Applied
The curing reaction can release heat. The sensation experienced during a service depends on the product, the amount and distribution of material, exposure conditions and the individual nail. Pain is not evidence that a gel is high quality or that it has reached an acceptable cure.
For structural products, compare the amount and placement with the specified build method. Review the apex, layer distribution and intended service together. Neither an oversized mass nor a structure reduced below the service requirement is an appropriate substitute for a suitable formula and technique.
Include Heat Sensation in the Product Brief
If reduced heat sensation is important to your professional range, include it in development and sample discussions alongside the intended service, build method and curing conditions. Confirm what any low-heat claim means for the selected product; it should not be interpreted as a guarantee that every user will experience no discomfort.
Keep the distinction between formula behavior and an equipment mode. A mode described as low heat changes the exposure program; it does not automatically establish the correct process for every gel. Use only the procedure supported for the selected product rather than switching modes and assuming an equivalent result.
Do not encourage clients to tolerate pain to complete a demonstration. A trained professional should stop the painful exposure and reassess the service under the applicable instructions. Repeated short insertions and withdrawals should not be improvised into a new curing protocol or described as a validated replacement for the specified cycle.
For buyer feedback, record the product, application amount, service stage and conditions associated with reported discomfort. Refer these details to the supplier without arranging further exposure to reproduce pain. Comfort feedback can inform product selection, but it is not a test of curing quality.
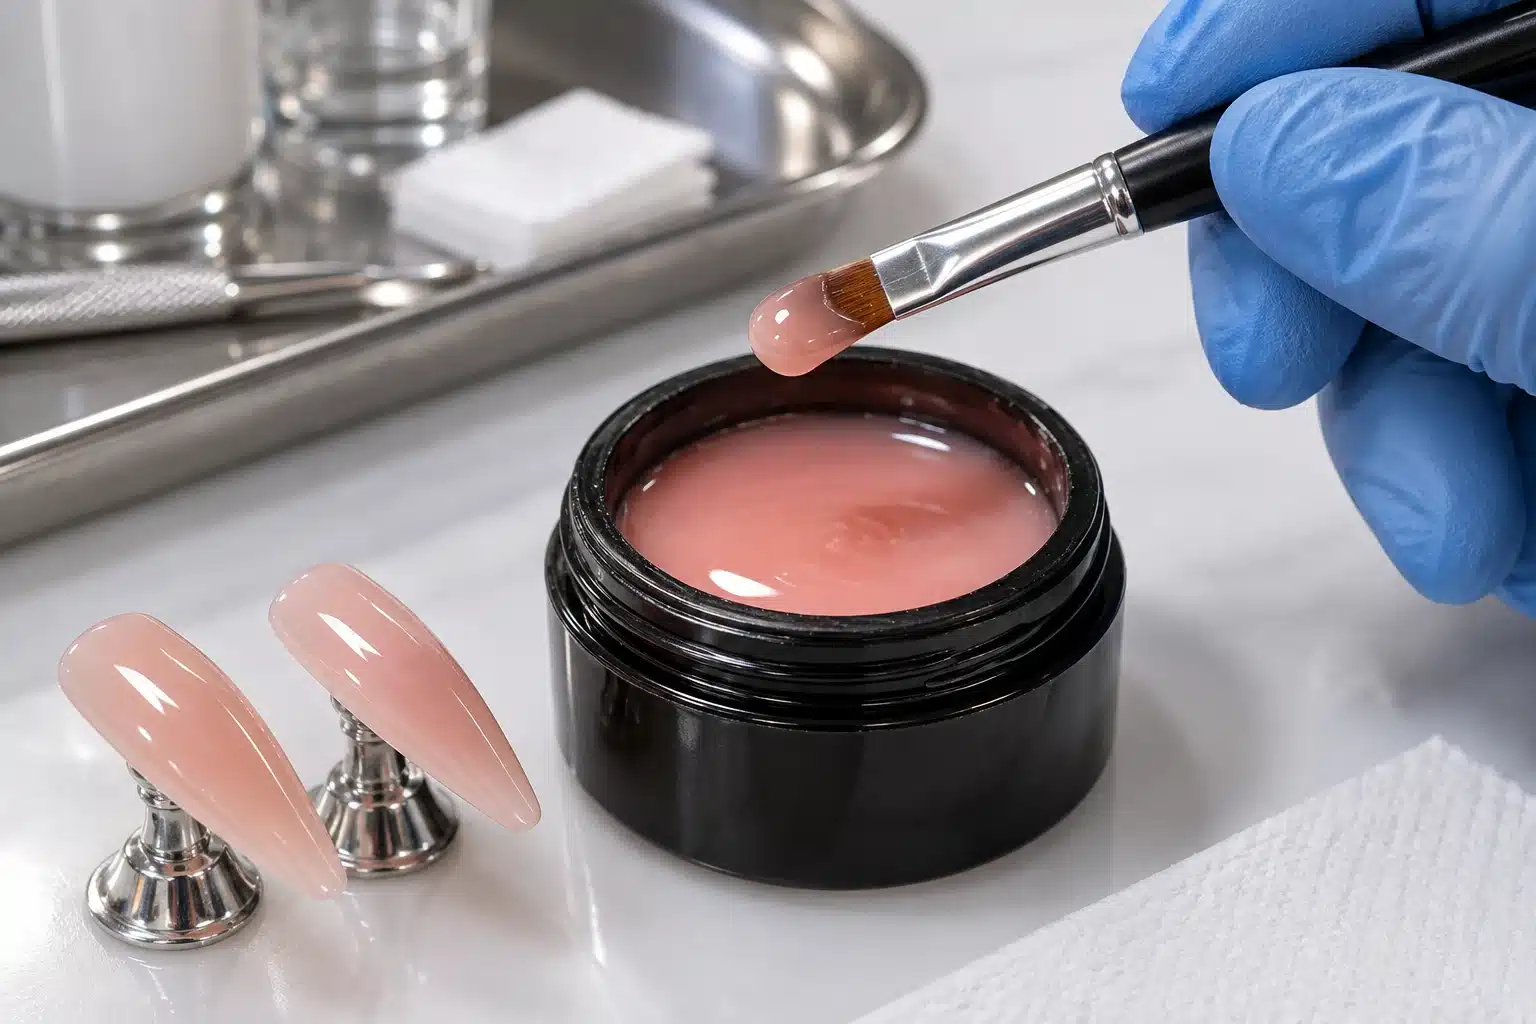
15. HEMA-Free and TPO-Free: Formula Claims Do Not Replace Curing Instructions
A free-from statement identifies a formulation attribute. It does not describe the entire material, establish its complete application method or eliminate the need to control exposure to uncured gel. A product can be HEMA-free and still contain other reactive ingredients that require appropriate professional handling.
All JTING products are HEMA-free. This is a product-range attribute, not an allergy-free promise. Skin contact with uncured gel should still be avoided, and the correct application, curing and finishing instructions still apply. HEMA-free should not be treated as interchangeable with acrylate-free, Di-HEMA-free or suitable for every person with a diagnosed allergy.
TPO-Free Is a Separate Product Requirement
TPO-free status needs to be confirmed for the selected product and destination-market requirements. It should not be assumed from HEMA-free wording. Likewise, a statement about one formula does not establish the composition of every base, color and top coat supplied in a collection.
When a photoinitiating system or another formulation component changes, the revised product needs an appropriate review. Retaining the same shade name or packaging does not by itself establish that all previous instructions remain suitable. Ask how the changed product will be identified and which application information accompanies it.
For procurement, confirm composition, application and market documentation separately. Request the ingredient information relevant to the selected formula, its complete use instructions and the documents required for the destination market. A formulation claim does not replace an assessment of the product's curing performance.
16. Confirm the Curing Conditions for Each Gel
Include light-source compatibility in the selected gel's application specification, alongside coat thickness, curing cycle and finishing sequence. Brands and distributors need this information to compare supplier samples with the conditions their professional customers will use.
UV and LED are often used as contrasting sales terms, but an LED-based curing device can also emit ultraviolet light. What matters to a particular formula is the suitable output and exposure reaching the applied material. Electrical wattage alone does not provide that complete information.
For sample evaluation, use the light source and cycle identified for the product, position the sample correctly and keep the setup recorded. If your customers already work with a different setup, discuss that requirement before approving the range. Do not promise compatibility with every salon device unless the actual claim has an appropriate basis.
Limit application instructions to supported conditions. A phone light, household bulb, sunlight or another improvised source is not a substitute for the prescribed system. If clear instructions are missing, obtain them before using the product rather than reverse-engineering a process through repeated trials.
Before sample approval, obtain the conditions supported for the formula, shade and application being purchased. Keep these details with the product reference so sales teams can answer compatibility questions without relying on general terms such as UV, LED or fast-curing.
17. Storage, Mixing and Product Handling before Application
A sample review starts before the gel reaches the nail. Confirm the product identity, batch information, supplied storage instructions and condition of the container. A bottle that has been left open near a curing source should not be treated as equivalent to an unopened reference sample.
Keep containers closed when not in use and protect them from unintended light exposure according to the product instructions. Do not leave uncured gel on an open palette beside the exposure area and assume its working behavior will remain unchanged throughout a long demonstration.
Follow the Product's Mixing Instructions
Some products require a specified mixing procedure before use; others have handling directions that differ. Follow the selected product's instructions rather than applying a universal rule to shake or stir every gel. Use appropriate tools and avoid introducing contaminants into the container.
If a sample appears separated, unusually thick or different from its approved reference, document the condition and ask the supplier whether it falls within the product's expected behavior. Follow any specified preparation procedure before evaluation. Unexplained changes should be resolved before the sample is approved or demonstrated to customers.
Record workspace conditions when they noticeably affect application. Temperature can change how readily a gel flows and therefore how much material a technician places. Review this as an application variable; it does not independently justify changing the prescribed curing cycle.
For private label packaging, assess the actual bottle or jar, cap and brush with the selected formula. Confirm packaging suitability, light protection and handling before approving the supply configuration. Include the final packaging in a sample review if the original test used a different container or applicator.
18. Evaluate Gel Samples with a Product-Specific Test Plan
A sample plan should answer two questions: does the product suit the intended professional application, and what technical evidence supports its use under the specified conditions? Practical review assesses handling and the finished service; technical assessment addresses questions that appearance cannot resolve. Agree with the supplier which existing evidence applies and where further assessment is needed.
Application review can assess pickup, movement, coverage, pattern control and the ability to repeat the instructed method. Finished-sample review can examine appearance, profile, specified finishing behavior and the consistency of repeated demonstrations. These observations help determine whether the product suits the intended range and user group.
Select Samples That Represent the Planned Range
For a color collection, include representative opaque, sheer and effect shades. For builders, assess the intended service, length and structure. For art products, reproduce the line, filled motif or dimensional detail you plan to demonstrate. This makes the sample set relevant to the products customers will actually purchase and use.
Agree the comparison criteria before samples arrive: the target shade and coverage at the instructed coat count, the required finish, the intended structure, acceptable working behavior and the removal method. Record the applicator and complete layer sequence as well. These criteria should reflect the products and services being purchased, rather than a single standard applied to every gel family.
| Review Area | Useful Evidence | What the Result Supports |
|---|---|---|
| Application control | Recorded pickup, layer method and working behavior | Assessing whether trained users can reproduce the specified application |
| Coverage and finish | Identified swatches made with the approved sequence | Comparing visual targets, not establishing chemical cure |
| Structure and product fit | Side-profile review and intended-service comparison | Checking the profile and application against the planned service |
| Chemical curing evaluation | Appropriate laboratory methods with documented conditions | Technical conclusions within the tested samples and defined scope |
| Repeatability | Separate samples made using the same recorded method | Comparing consistency under the recorded conditions |
Understand What Laboratory Results Mean
Specialist methods can examine chemical changes or extractable components that cannot be identified by looking at a finished nail. For example, infrared methods can monitor changes associated with polymerization, while suitable chromatographic methods can evaluate selected extractable ingredients. The method, sampling approach and interpretation need to suit the actual question.
A conversion result describes the reaction measured by that method; it is not a direct inventory of every unreacted or extractable ingredient. Similarly, a test for selected extractables covers the substances included in that test. Ask the laboratory or safety assessor to explain what the result supports and how its acceptance criteria apply to the product, rather than adopting a research value as a universal pass limit.
Check the product reference, formula or family covered, application conditions and test method on any report. If a report covers a product family rather than every shade, ask how its scope relates to the range being purchased. Evidence for one top coat does not establish that every layer of a mixed system has been assessed.
For product and market documentation, JTING can discuss support such as ingredient information, SDS/MSDS, COA and other relevant documents according to the product and destination market. The required scope should be confirmed for the project. These documents have different purposes and should not all be called curing certificates.
Turn Sample Feedback into a Purchasing Decision
- Approve a defined configuration. Identify the shade, formula reference, packaging, application method and supporting evidence accepted for the planned use.
- Request a specific revision. Describe the observable gap, such as uneven coverage at the instructed coat count or more movement than the intended technique allows. Retain the current reference for comparison.
- Keep unresolved samples on hold. Unexpected soft material, unexplained formula differences or missing use instructions need resolution before the product is approved for sale or customer demonstrations.
Keep appearance approval and technical acceptance as separate entries in the product record. This allows a buyer to approve a shade direction without implying that every other requirement has already been satisfied.
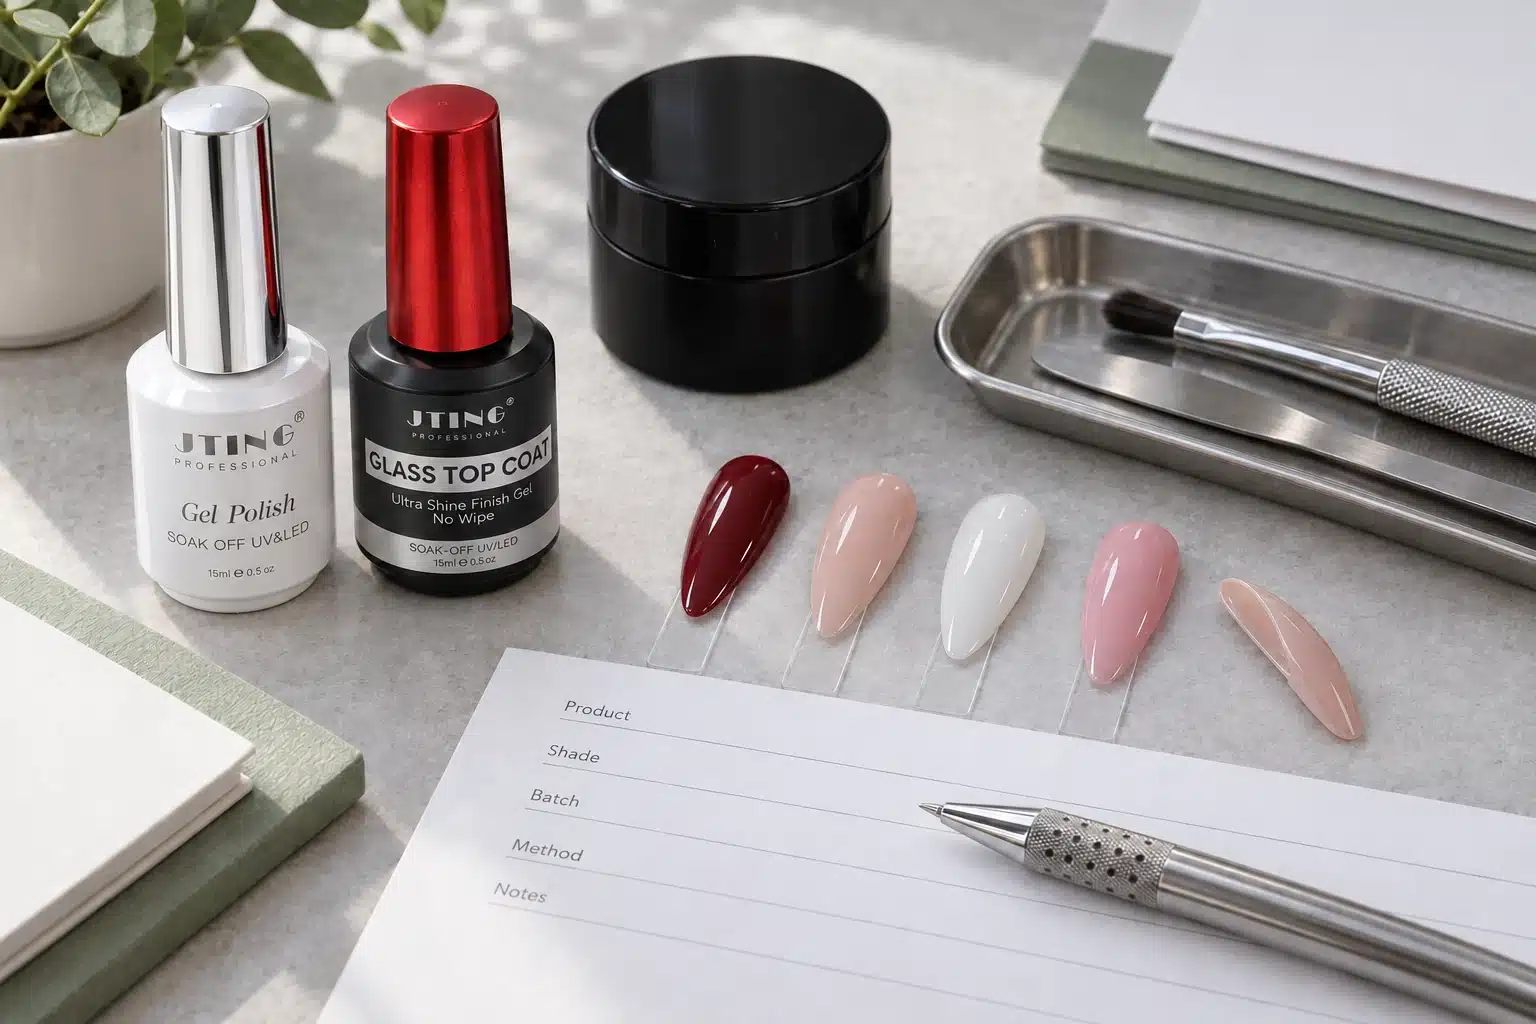
19. Keep Shade, Batch and Formula Changes Traceable
Sample approval is most useful when the approved product can be identified later. Retain the formula or product reference available for the project, shade name or number, batch identity, packaging configuration and the instructions used during evaluation. Keep the finished reference swatches connected to those records.
A repeat order should not rely only on a photograph saved in a sales conversation. Photography can help communicate appearance, but it does not identify every part of the supplied product or the conditions under which it was applied. A written product record gives both buyer and supplier a clearer basis for follow-up.
Assess Changes before Repeat Orders
Different changes raise different questions. A new shade within an existing range may require evaluation of its particular color and application behavior. A formulation change can affect the method or performance. A new brush can change how users distribute the product, while a new package can introduce handling and suitability questions.
For routine repeat supply, agree which batch checks and reference samples will accompany the order. For a changed formula, shade, brush or package, agree which parts need reassessment before production. This separates normal batch acceptance from approval of a changed product without assuming that every reorder needs the same new laboratory work.
| Change | Question to Resolve | Record to Update |
|---|---|---|
| Shade or effect | Does the revised shade or effect achieve the intended appearance under supported application and curing conditions? | Shade reference, application comparison and relevant curing assessment |
| Formula revision | Which performance and usage conditions need reassessment? | Product identity, instructions and relevant assessment |
| Brush or dispensing format | Can users still repeat the intended amount and distribution? | Approved packaging configuration and demonstration |
| Supporting base or finish | Is the revised combination suitable for the intended service? | Complete system sequence |
Give customers a clear route for product feedback. Request the product and batch references, service details, materials used and relevant observations. A consistent complaint record helps the buyer and supplier investigate the result fairly and identify whether product specifications, instructions or training need attention.
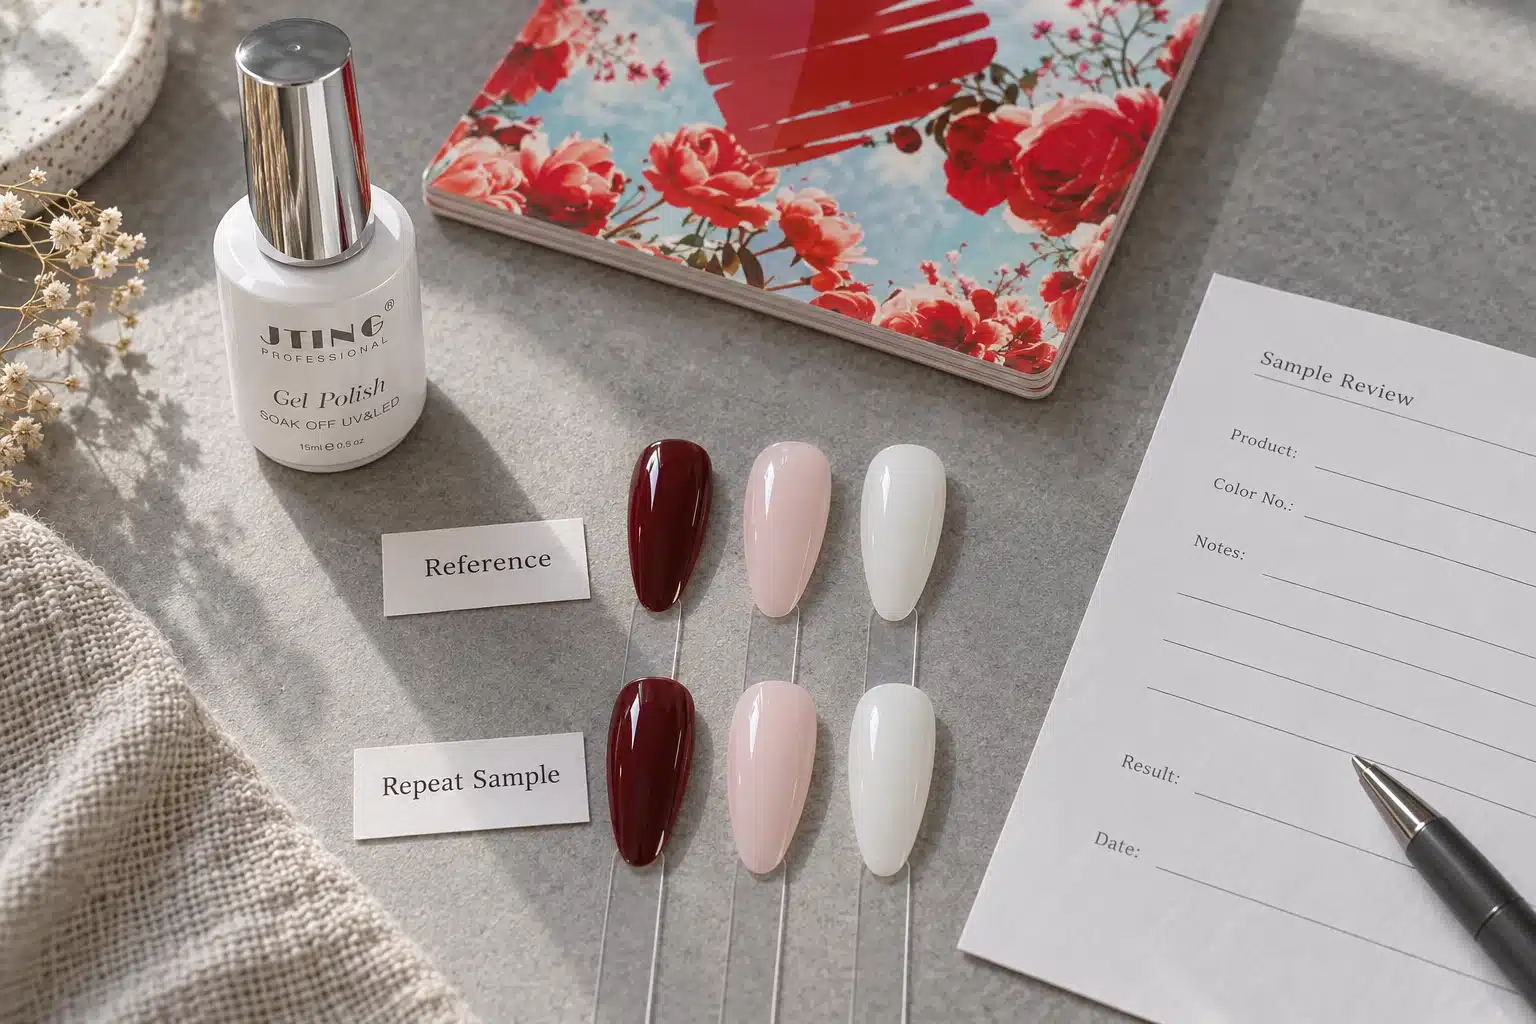
20. Build a Gel Product Brief That Supports Reliable Supply
A product brief should connect the services your customers offer with the performance each gel needs to provide. Identify the required functions: color coverage, flexible base support, structural building, a magnetic effect, controlled artwork or a particular final finish. This helps define the range before individual samples are shortlisted.
Connect those roles to the customers you supply. A salon supplier may prioritize a concise range with straightforward training. A private label brand may need coordinated color identification, packaging and consistent application guidance. A distributor extending an existing catalog may need products that fill specific gaps without duplicating the functions already stocked.
- Product and service: the gel family, intended application and appropriate user group.
- Appearance: shade references, opacity, effect and finish expectations.
- Working behavior: pickup, preferred viscosity, leveling or shape retention and the proposed application method.
- System requirements: preparation, supporting layers, curing conditions, finishing and removal method.
- Market and documentation: destination, confirmed formula claims and the records needed for the project.
- Commercial configuration: proposed range size, quantity, packaging and repeat-supply plan.
For private label gel nail polish development, JTING can discuss custom colors, packaging and product requirements for the selected range. Share your priorities for viscosity, pigmentation, leveling, curing, finish and wear so the sample review can assess how they work together in the planned application.
Use the sample stage to identify trade-offs. A buyer seeking a more opaque appearance should also review how the color is applied. A buyer seeking stronger shape retention should consider the intended structure and user control.
Approve a specific product and its supplied configuration, then keep the application information connected to the range you launch. Clear instructions help a good sample become a product that your sales team, educators and customers can understand and use consistently.
21. Gel Nail Polish Curing: Frequently Asked Questions
How Long Should You Cure Gel Nail Polish?
Use the complete cycle specified for the actual product, compatible light source and intended layer. Color, structure and finishing products can have different instructions, so a general time taken from another bottle is not a reliable substitute. If the product information is incomplete, ask the supplier for the full method before including it in a commercial range.
How Long Should Gel Polish Cure with an LED Light?
Follow the cycle specified for the gel and a compatible LED curing device. The required conditions depend on the formula, shade and application; LED is a light-source technology, not a universal time setting. Record those details with the sample approval. Electrical wattage alone does not establish a different curing cycle.
Why Is Gel Polish Still Sticky after Curing?
Some gel products are intended to retain a surface inhibition layer, while others specify a no-wipe finish. Check the expected surface and finishing method for that product. Stickiness alone neither confirms nor rules out an underlying problem. Unexpected residue, smearing or another abnormal result should be reviewed with the supplier rather than judged by touching the material.
Why Does Black or White Gel Polish Wrinkle?
Review the shade, coat thickness, underlying surface and actual curing conditions. Excessive application is one possible cause, but wrinkling alone does not identify the fault. Do not cover the affected layer with top coat. Record the method and discuss the result with the supplier before approving the sample or continuing the service.
Is Builder Gel Supposed to Be Sticky after Curing?
Some builder gels retain a surface inhibition layer after their specified cycle; others have different finishing requirements. Follow the selected builder's instructions, including any cleansing step before filing or finishing. An expected tacky layer is not itself a fault, but neither tackiness nor apparent firmness establishes curing throughout the structure.
Do Rubber Base Gel and Builder Gel Use the Same Curing Method?
Not necessarily. Their functions, permitted structures and finishing methods can differ. Follow each product's instructions even when a tinted rubber-base overlay resembles a builder-gel result. Approve the selected gel for the planned service and keep its preparation, application, curing and finishing sequence with the sample record.
How Long Does Poly Gel Need to Cure?
Follow the selected Poly Gel's complete sculpting and curing procedure, including the specified product amount, form or tip method and supporting products. Its paste-like handling is not evidence of curing before exposure. Do not select a cycle solely from the product category or assume that a thicker build can be resolved by an improvised increase in exposure.
Do You Cure Cat Eye Polish before Using the Magnet?
The magnetic effect is typically arranged while the cat eye layer is still workable, before that layer's final cure. Follow the selected product's complete sequence, including any required background coat. Keep magnetic positioning separate from the curing cycle, and demonstrate the effect after the full application is complete.
Does a No-Wipe Top Coat Prove That the Whole System Is Cured?
No. No-wipe describes the intended final surface and finishing routine of that top coat. It does not independently establish the condition of an underlying color, base or builder. Evaluate the complete layered system and follow the specific instructions for every product rather than using the feel of the outer surface as a test.
Can Flash Curing Replace the Full Curing Cycle?
No, a positioning exposure is not a substitute for the product's prescribed full curing sequence. Where the specified method includes both stages, complete both and show them separately in customer training. Use the complete application and curing procedure supplied for the selected gel.
Does a HEMA-Free Formula Remove the Need for Curing Checks?
No. All JTING products are HEMA-free, but that attribute does not remove the need for correct application and curing or mean that uncured material can contact skin. It is not an allergy-free guarantee. Confirm other claims, such as TPO-free status, separately for the selected product and target market.
Can Nail Glue Gel Be Used under Opaque or Decorated Tips?
Do not assume that an application demonstrated with a clear tip also works under material that blocks the required light. Use only the tip types and method supported for the chosen adhesive system. Product quantity, fit, preparation, positioning and the full curing sequence should be assessed together before that application is recommended.
Can a Supplier's SDS or COA Serve as a Curing Test Report?
These documents have different purposes. An SDS communicates relevant safety and handling information; a COA reports the attributes covered by its stated scope. Neither should automatically be called a complete curing assessment. Ask which product, samples, method and conditions any technical report covers, and which evidence is relevant to the intended application.
What Should a Brand Send JTING before Requesting Gel Samples?
Share the gel type, planned professional service, shade or effect references, coverage and handling preferences, supporting products, target market and packaging requirements. Include existing application and curing conditions where relevant. These details help JTING discuss suitable samples and the information your customers will need to use the selected products.
22. Choose Gel Products for a Consistent Professional Range
Choose each gel for the service it needs to deliver, then approve the formula, shade, packaging and complete application method together. Retain reference swatches and instructions so your team can compare repeat orders, support customer training and investigate feedback against a defined product record.
Discuss your gel nail polish range with JTING. Share the product types, shade references, handling requirements, target market and packaging you have in mind. These details provide a practical starting point for selecting samples and preparing a range your professional customers can use consistently.