A beautiful color can still disappoint if the finish looks cloudy, loses its shine or wears unevenly. Gel top coat is the last visible layer of a manicure, but choosing it is more than deciding between glossy and matte. The color underneath, the structure of the nail, the application method and the intended service all matter.
For a nail technician, the right finish should be predictable at the desk and practical during wear. For a salon supplier or private label brand, it should also be easy to explain, sample, package and reorder. A bottle described as extra shiny does not answer every one of those questions.
This guide explains the main gel top coat types, how to compare them, what to check when results go wrong and how to turn a finish preference into a useful buying specification. Start with the result you want, then evaluate the complete nail system rather than the final bottle in isolation.
1. Quick Answer: How Do You Choose a Gel Top Coat?
Choose a gel top coat by the finish you want, the system underneath it and its documented application requirements. Gloss or matte describes appearance. No-wipe or wipe-off describes the finishing workflow. Neither label alone tells you whether a product suits a flexible overlay, a hard enhancement or a particular chrome powder.
For a straightforward gel nail polish service, begin with a top coat recommended for that color system. For a private label range, define the customer and service first: a busy salon may prioritize consistent brush control, while a nail art line may need several clearly differentiated finishes. In both cases, approve samples before making broad wear claims.
| Your Main Need | Start by Comparing | Confirm Before Choosing |
|---|---|---|
| Clear, reflective color | Gloss gel top coat | Clarity on pale and dark shades; leveling; finish after wear |
| A soft, non-reflective surface | Matte gel top coat | Texture, uniformity and maintenance instructions |
| One less finishing step | No-wipe gel top coat | The approved lamp, layer guidance and final surface condition |
| A flexible overlay service | A system-compatible top coat | Performance over the actual base or builder being used |
| Chrome powder application | A documented chrome-compatible system | Whether the product is an application layer, final sealer or both |
| A wholesale or branded range | A small, distinct finish selection | Samples, specifications, packaging and reorder consistency |
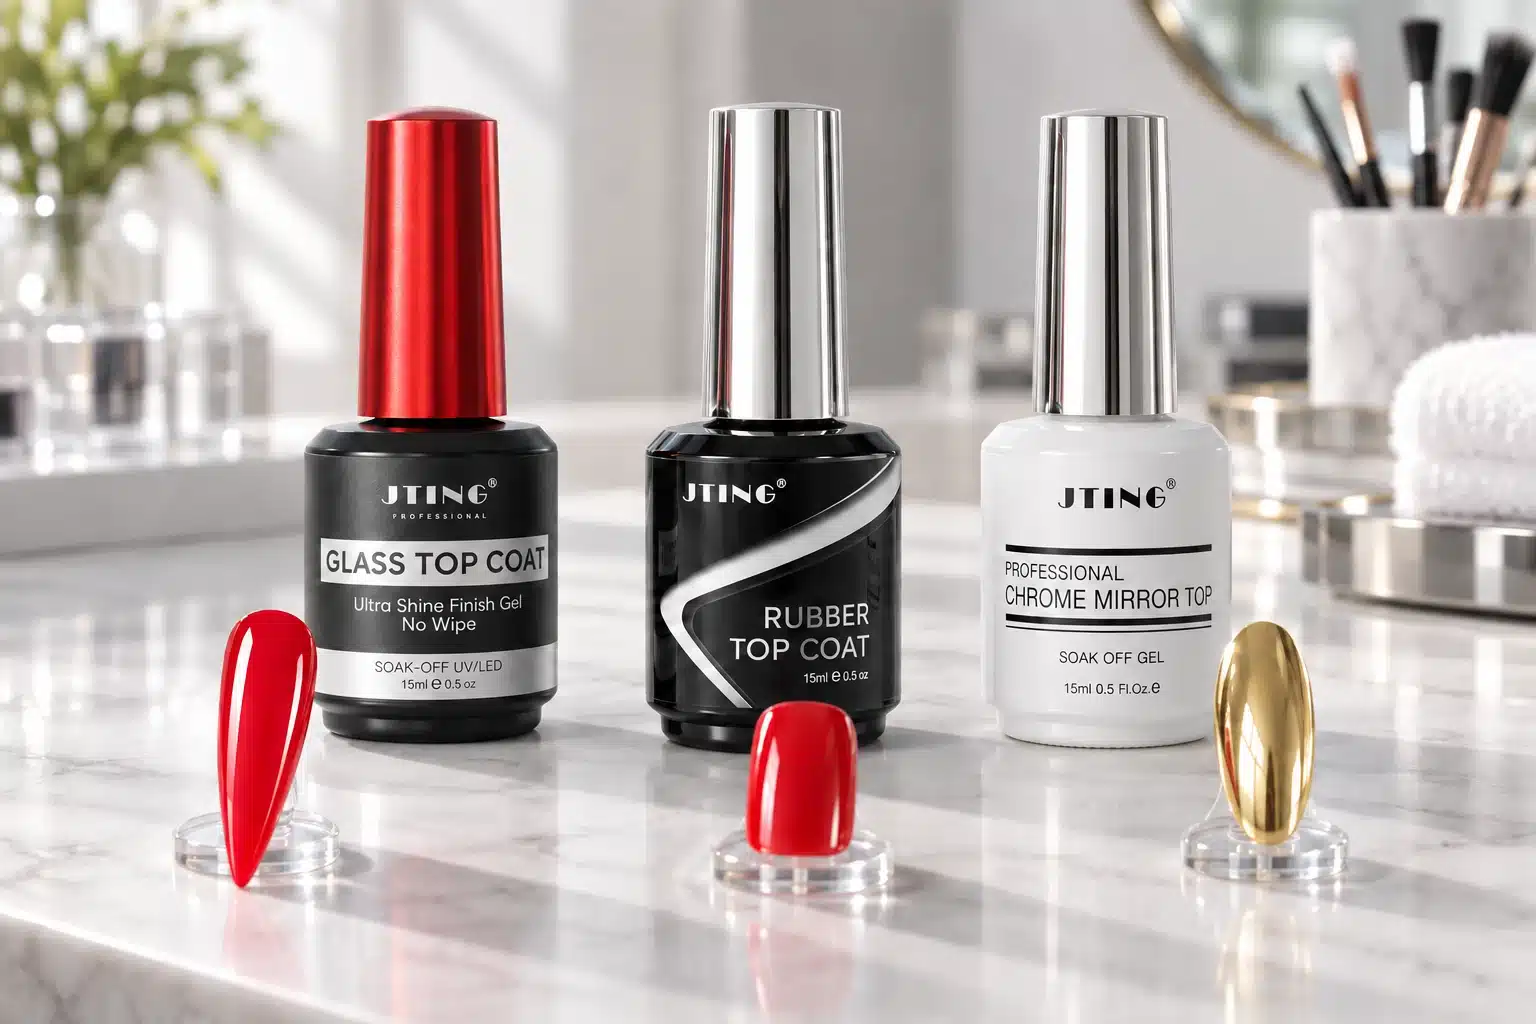
Explore the JTING base coat and top coat range for gloss, matte and specialty finishes. Compare each option with the base and color products you use, then test the selected combination before introducing it into your salon or branded range.
2. What Is a Gel Top Coat, and What Does It Do?
A gel top coat is a finishing product used at the surface of a compatible nail coating system. A light-curing version needs the lamp and application procedure specified for that formula. Its job is to provide the intended final appearance and surface performance, rather than replace the foundation or build the entire structure of the nail.
Think of three separate responsibilities. The foundation connects the service to the prepared nail. Color or enhancement layers create the chosen shade and structure. The top coat provides the final finish. Products marketed as multifunctional may combine selected roles, but those roles must be confirmed in their instructions rather than assumed from the word gel.
Surface Appearance Is Only One Part of the Job
A clear finish should allow the design underneath to remain readable. On a milky pink manicure, that may mean preserving a delicate translucent effect. On a dark solid color, it may mean maintaining a clean reflection without distracting surface texture. A matte product intentionally changes that reflection, so it should not be judged by the same visual criteria as a gloss product.
A top coat is not a repair for lifting underneath, an alternative to correctly cured color or a shortcut around unsuitable nail preparation. When the whole coating separates from the nail, replacing only the finishing product may miss the real problem. This distinction saves both application time and unnecessary product changes.
For buyers, describe the role in plain language. “Clear glossy finish for our soak-off color range” gives a supplier a more useful starting point than “the strongest gel.” It identifies the service and leaves room to agree on measurable appearance, handling and wear criteria.
3. Gel Top Coat vs. Regular Top Coat: What Is the Difference?
The word gel on a label does not always mean a lamp-cured product. Some conventional nail polishes use terms such as gel-like or gel-effect to describe their appearance. Before asking whether two products work together, identify how each one is intended to set and what system its manufacturer recommends.
Regular nail lacquer typically forms its coating as solvents evaporate. A light-curing gel top coat relies on the appropriate curing process. A shiny finish does not make these processes interchangeable. A lamp is not a general-purpose dryer for ordinary nail polish, and a normal top coat does not cure a gel color underneath it.
Can You Put Gel Top Coat over Regular Nail Polish?
Do not treat this combination as automatically suitable. A lacquer surface that feels dry may not mean the underlying layer is ready for a different coating. Unless the manufacturers support the combination and give a complete method, use a coordinated lacquer system or a coordinated gel system instead. There is no universal waiting period that makes every mixed combination reliable.
Similarly, regular top coat over a gel manicure may change its appearance, but it is not equivalent to the finish specified for that gel service. It should never be used to cover uncertainty about gel curing. If a customer wants a temporary change in finish, ask the system supplier about an approved approach rather than improvising a permanent service protocol.
Before purchasing, check three details: whether the top coat needs a lamp, which type of color coating it is designed for and how the complete manicure is removed. These details distinguish a conventional clear polish from a light-curing gel finish more reliably than the word gel on the bottle.
4. Gel Top Coat Types: Finish, Wipe Requirement and Intended Use
Top coat names describe different things. “Gloss” is a finish, “no-wipe” is a workflow characteristic and “rubber” is a product-positioning term that needs further explanation. A single product can belong to more than one of these groups. Sorting them into separate attributes prevents a confusing comparison between unlike products.
| Attribute | Common Descriptions | Question to Ask |
|---|---|---|
| Appearance | Gloss, glass-like, matte, satin, decorative | What should the finished surface look like? |
| Final handling | No-wipe, wipe-off | Is a final cleansing step required? |
| System suitability | Gel polish, overlay, enhancement | Which underlying materials have been evaluated? |
| Application behavior | Thinner, thicker, controlled leveling | How does the brush load behave during the service? |
| Special purpose | Chrome-related, glitter, foil, textured effect | Is it a universal finishing layer or a specific art product? |
| Removal | Soak-off or other specified method | What procedure applies to the complete layered system? |
A no-wipe product can be glossy or matte. A decorative top coat may change the design rather than simply protect it. A product with builder in its name may have thickness and service requirements different from a standard finishing gel. Read the specific role before placing it into a routine.
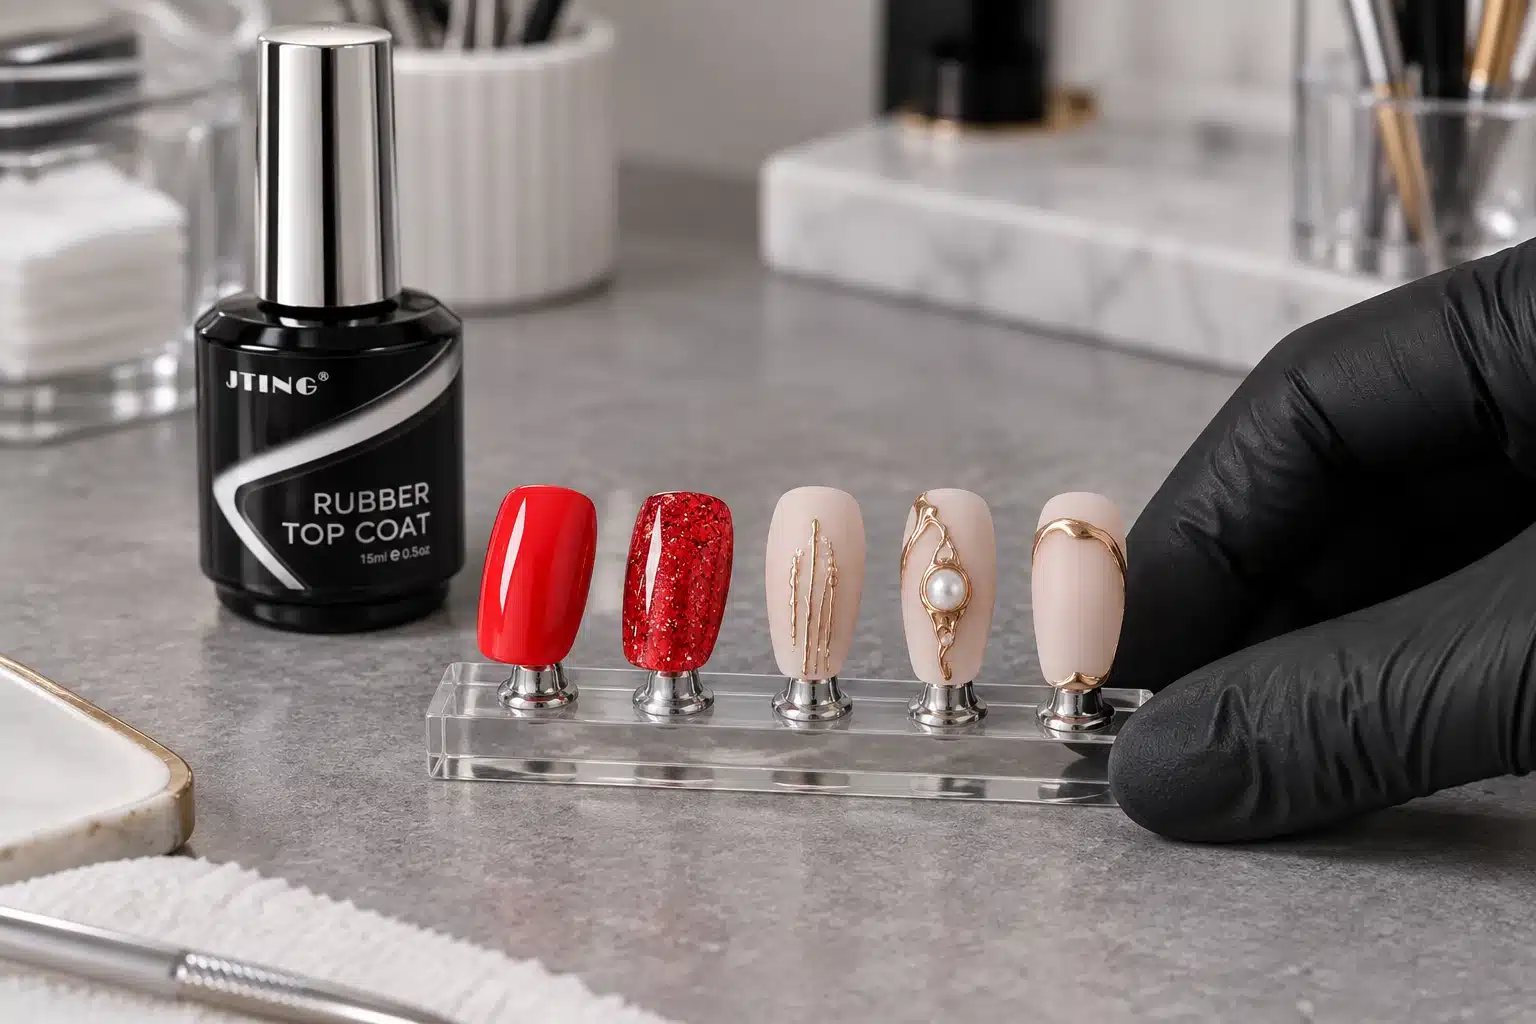
For a compact retail range, organize products around understandable choices: everyday gloss, matte and a clearly defined specialty option. Adding several bottles with nearly identical shine claims can make selection harder without serving an additional customer need. Distinct purposes are more useful than a long list of overlapping superlatives.
Keep a short attribute sheet for each shortlisted product. Recording finish, wipe requirement, compatible system, lamp guidance and removal method side by side makes missing information visible before sampling begins.
5. No-Wipe vs. Wipe-Off Gel Top Coat
A no-wipe gel top coat is intended to finish without a final residue-cleansing step when used correctly. A wipe-off top coat requires the specified finishing cleanse. These are different workflows, not a ranking of quality. Either can be appropriate when it matches the service and delivers the approved result.
What No-Wipe Actually Simplifies
It removes a particular finishing action from the routine. That can be convenient in a busy salon or in a product range designed around a shorter application sequence. It does not remove the need for correct film thickness, accurate lamp use, clean working conditions or attention to the sidewalls.
Do not assume that every no-wipe finish accepts every chrome powder. A product may be suitable as a final sealer but not as the powder application surface. The exact sequence matters, particularly when a design contains more than one layer of art material.
What to Check with a Wipe-Off Formula
Confirm the recommended cleanser, timing and wipe method. Standardize those details during sampling so the comparison is fair. Changing the finishing liquid between samples can introduce another variable, making it harder to understand whether a difference comes from the gel or the process.
A residual surface layer expected by the instructions is different from an unexpectedly soft or wrinkled coating. Do not label every sticky surface normal, and do not use repeated wiping as a way to approve an uncertain cure. If the result does not match the instructions, stop and review the system.
From a purchasing perspective, compare the entire workflow: consumables, staff consistency, finish quality and training needs. A no-wipe label is useful information, but it should not be the only reason to select a professional gel top coat.
6. High-Gloss Gel Top Coat: What Makes a Finish Look Clear and Smooth?
High shine is easiest to understand when you separate reflection from clarity. A surface may reflect a bright light while still looking uneven. It may look glossy over a dark shade yet reveal an unwanted tint over white. Test both properties rather than relying on one flattering sample photo.
Compare a dark solid color, a pale neutral and a translucent shade under consistent lighting. Keep the camera position and exposure comparable. Look at the reflection from several angles, then inspect the shade itself against the approved color reference. This is a practical visual screen, not a substitute for instrument testing when quantified gloss or color stability is required.
Choosing a Gloss Finish for Your Color Range
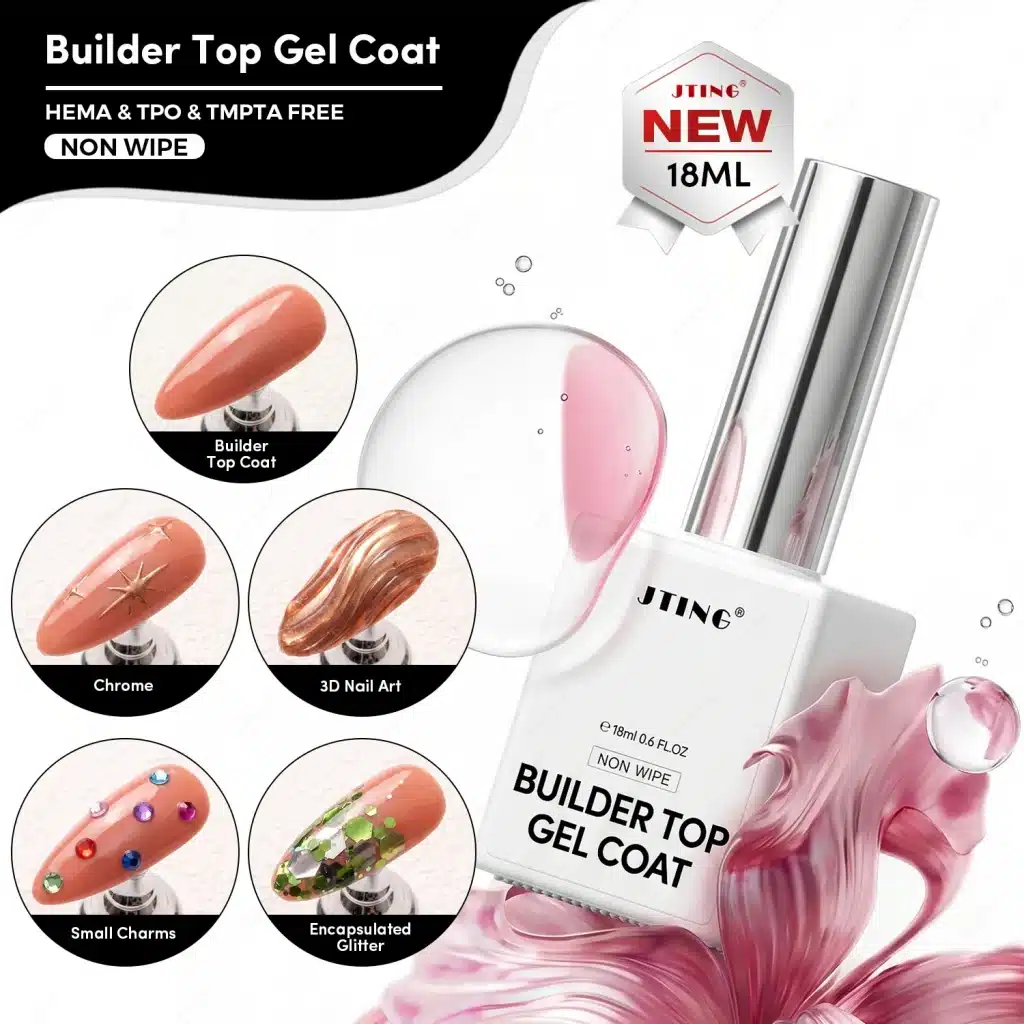
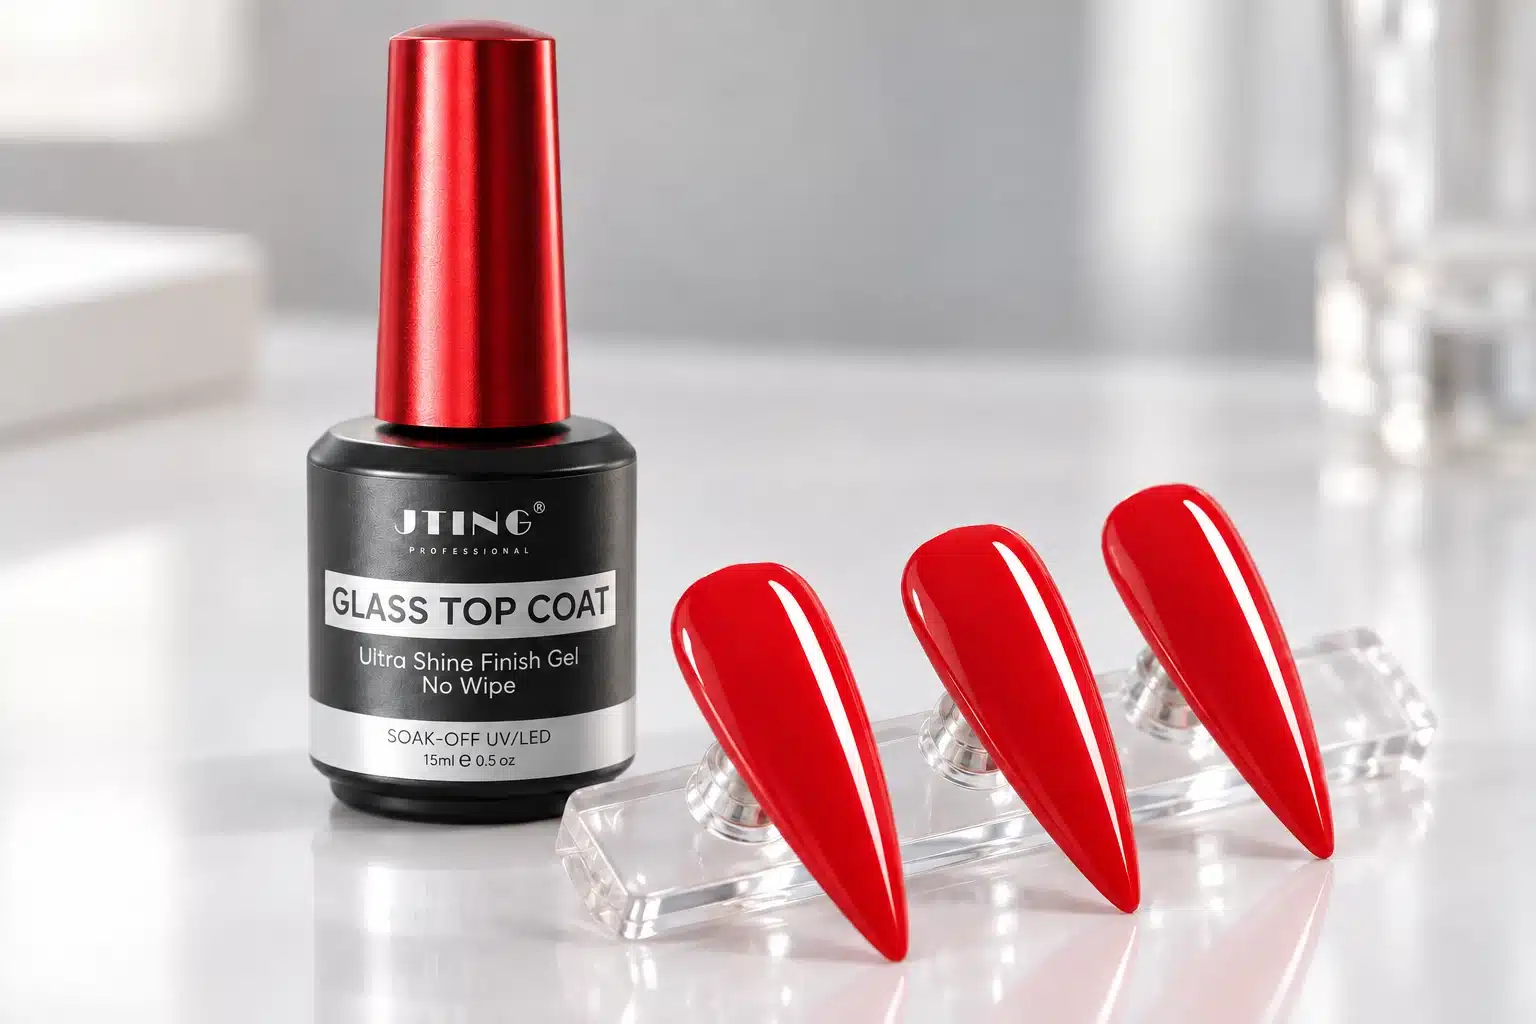
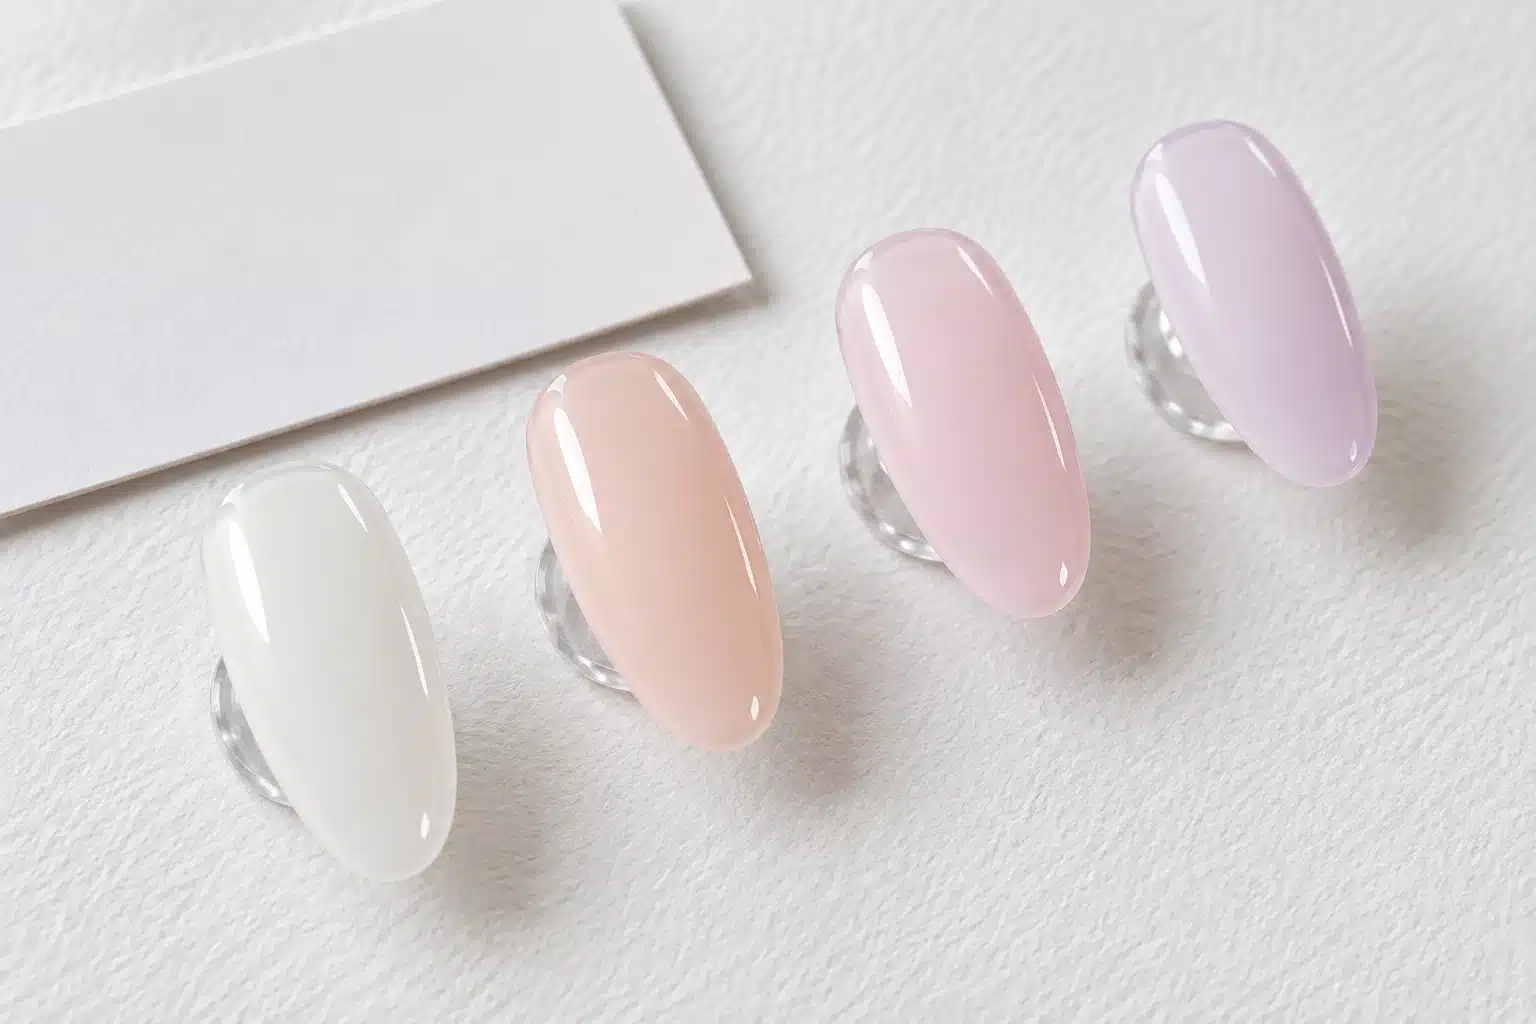
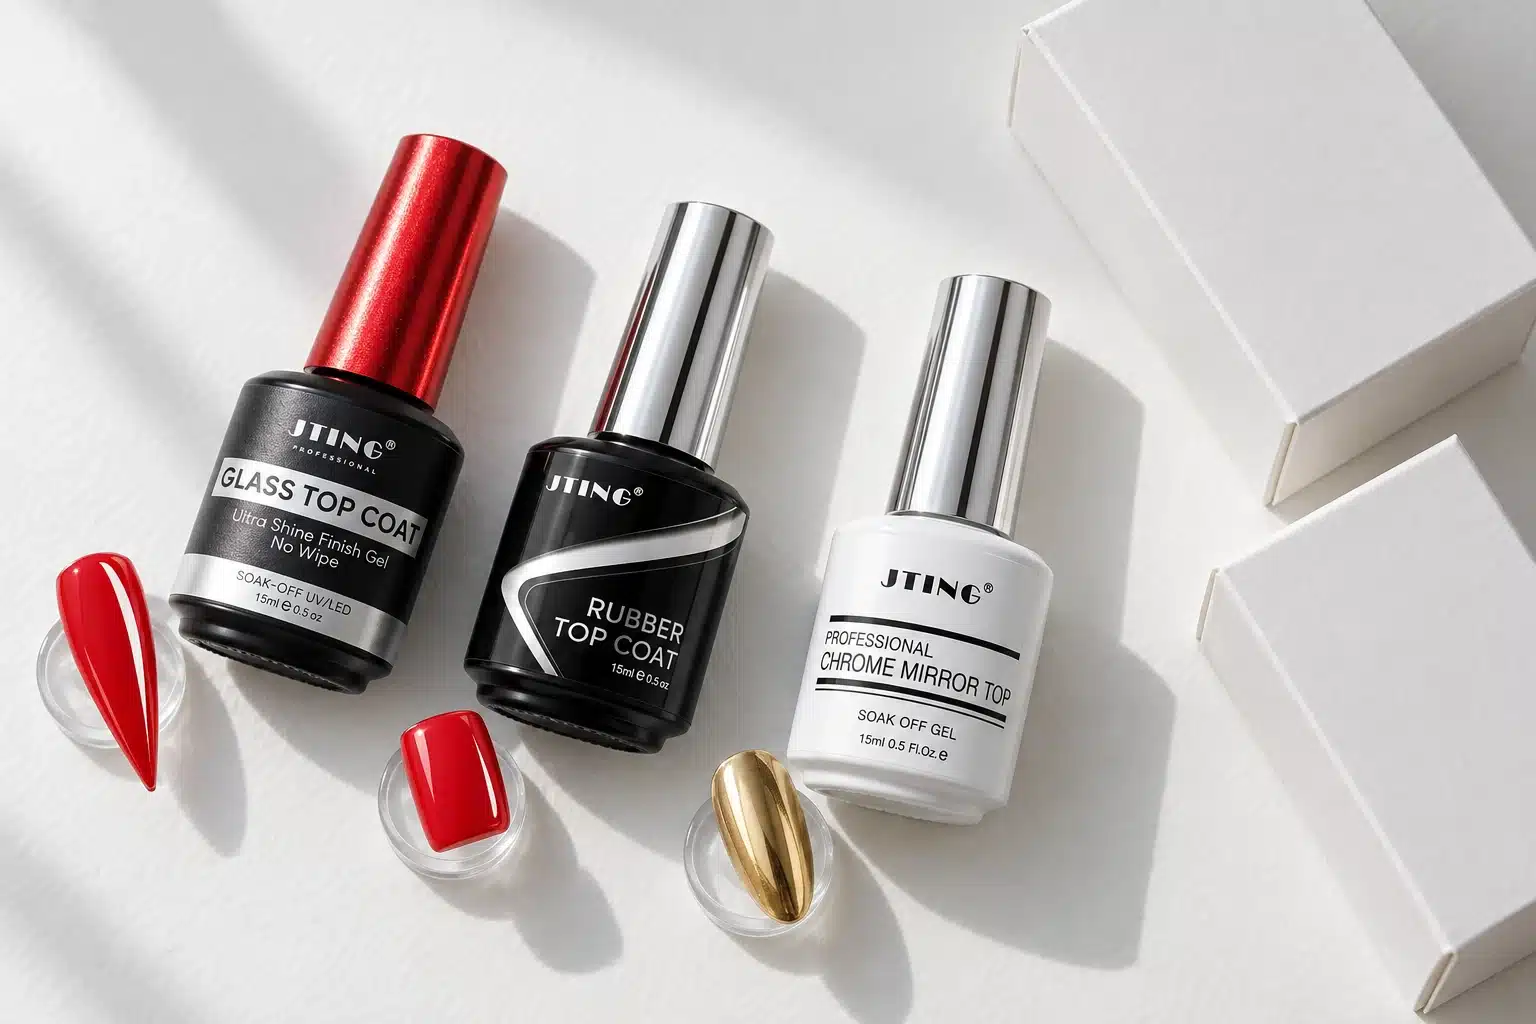
For a glossy finish, consider JTING Glass Top Coat. When requesting samples, include the pale, dark and sheer shades you use most often so you can compare clarity, reflection and brush control across your color range.
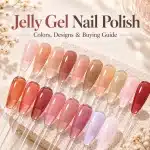
For sheer looks, the final coating should support the intended depth without visually overwhelming the color. The jelly gel nail polish guide explains why translucent color and layering deserve a different presentation from opaque coverage. A top coat test panel should represent both if you sell both.
Also inspect the perimeter. A broad highlight in the middle of a nail can hide an overbuilt edge or an uneven sidewall. A professional-looking glossy finish depends on the complete shape, not only the brightest part of the photograph.
7. Matte Gel Top Coat: Choosing and Maintaining the Finish
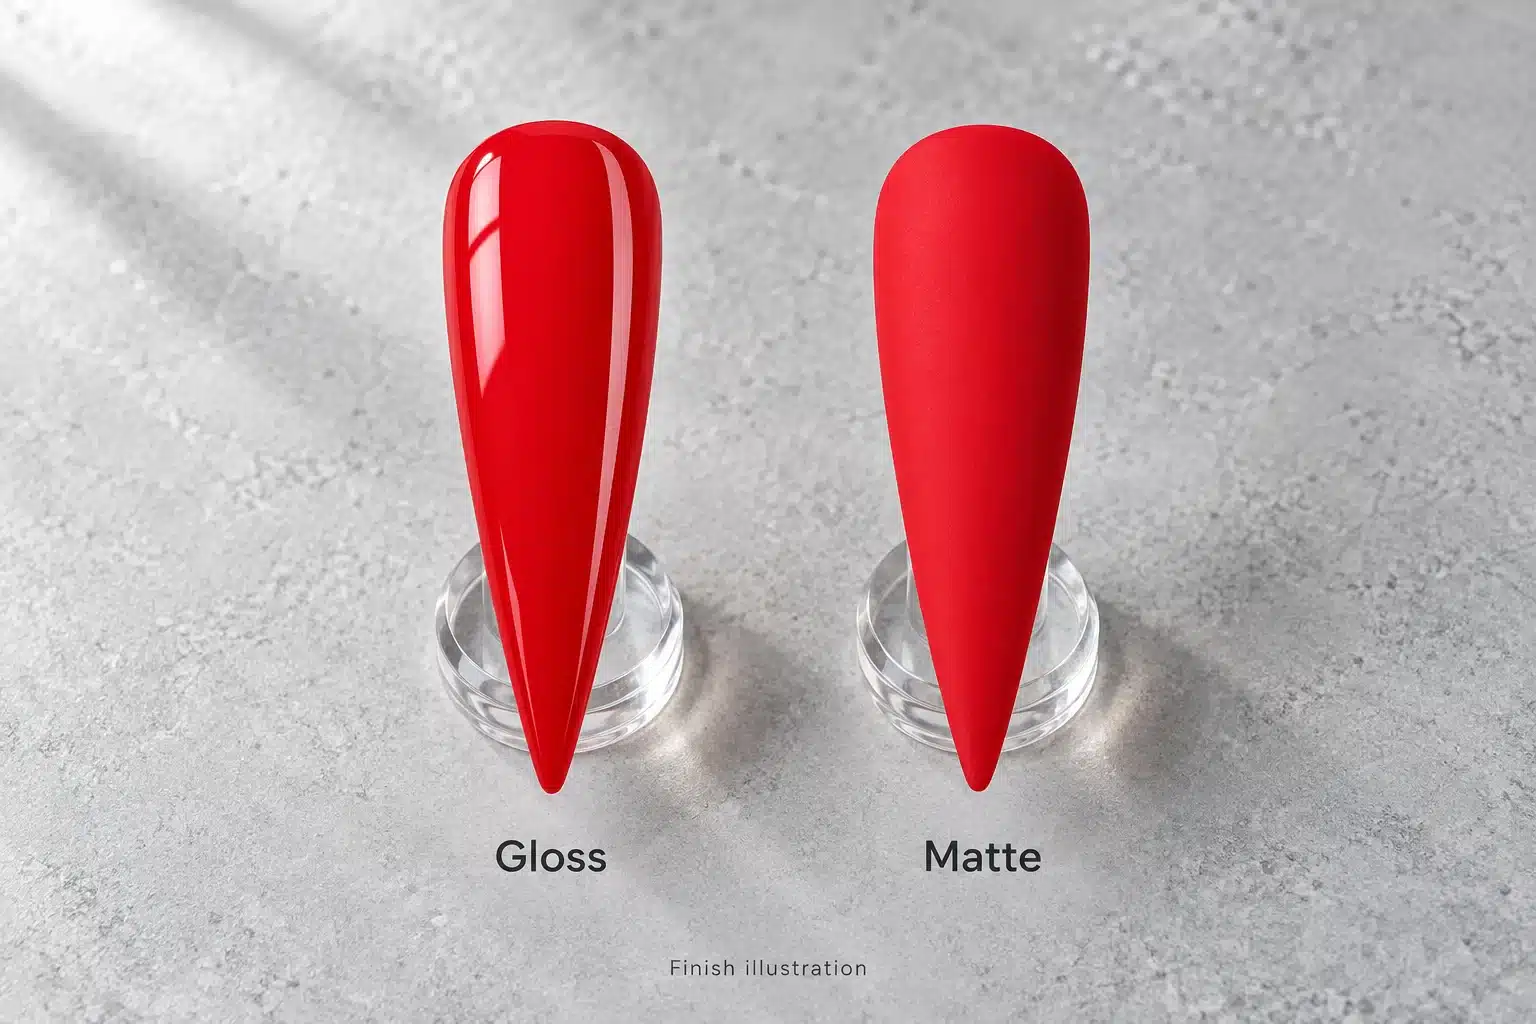
Matte is not simply gloss with less shine. It changes how a color reads, how fine details stand out and how the finished surface looks under everyday lighting. A deep red can feel visually softer, while a pale neutral may emphasize any unevenness in the application.
Words such as velvet, satin and super matte are useful design directions, but they are not interchangeable technical grades. Place samples next to each other and agree on the appearance you want. A buyer asking for an almost flat finish may not accept a soft satin reflection, even if both products are sold as matte.
Evaluate More Than the First Photograph
Check coverage across the center, sidewalls and free edge. Observe whether the finish looks consistent after the instructed finishing process. During a controlled wear evaluation, record where changes appear and what the wearer has been doing rather than treating every shiny patch as a formula defect.
Surface deposits and friction are worth investigating when a matte finish changes. Use only the cleaning and care method appropriate to the product. Aggressive household cleaners or improvised solvents are not a sensible way to maintain the look or compare competing samples.
For a non-gloss finish, explore JTING Russian Matte Top Coat. Compare it over representative colors and follow the product's finishing instructions before adding it to a service menu or branded kit.
Inspect a finished matte sample both close up and at a normal viewing distance. The close view reveals surface consistency; the wider view shows how the finish changes the overall manicure. A bottle photograph alone cannot show either of these qualities.
8. Flexible vs. Harder Finishes: Matching the Top Coat to the Nail System
It is tempting to choose the hardest-sounding top coat for every service. That is not a complete selection method. A flexible natural-nail overlay and a more rigid enhancement create different working conditions, and the finishing product needs to perform within that particular layered system.
Terms such as rubber, hard and flexible do not establish compatibility by themselves. Ask which services the supplier recommends and how the combination was assessed. Avoid assuming that a rubber top coat must match every rubber base simply because the names overlap.
Compare the Actual Combination
Keep the foundation, color, nail length and application routine constant when evaluating alternative finishes. Record where any failure occurs. Surface cracking, separation between layers and lifting from the nail are different observations and may require different investigations. A photograph alone cannot reliably identify the cause.
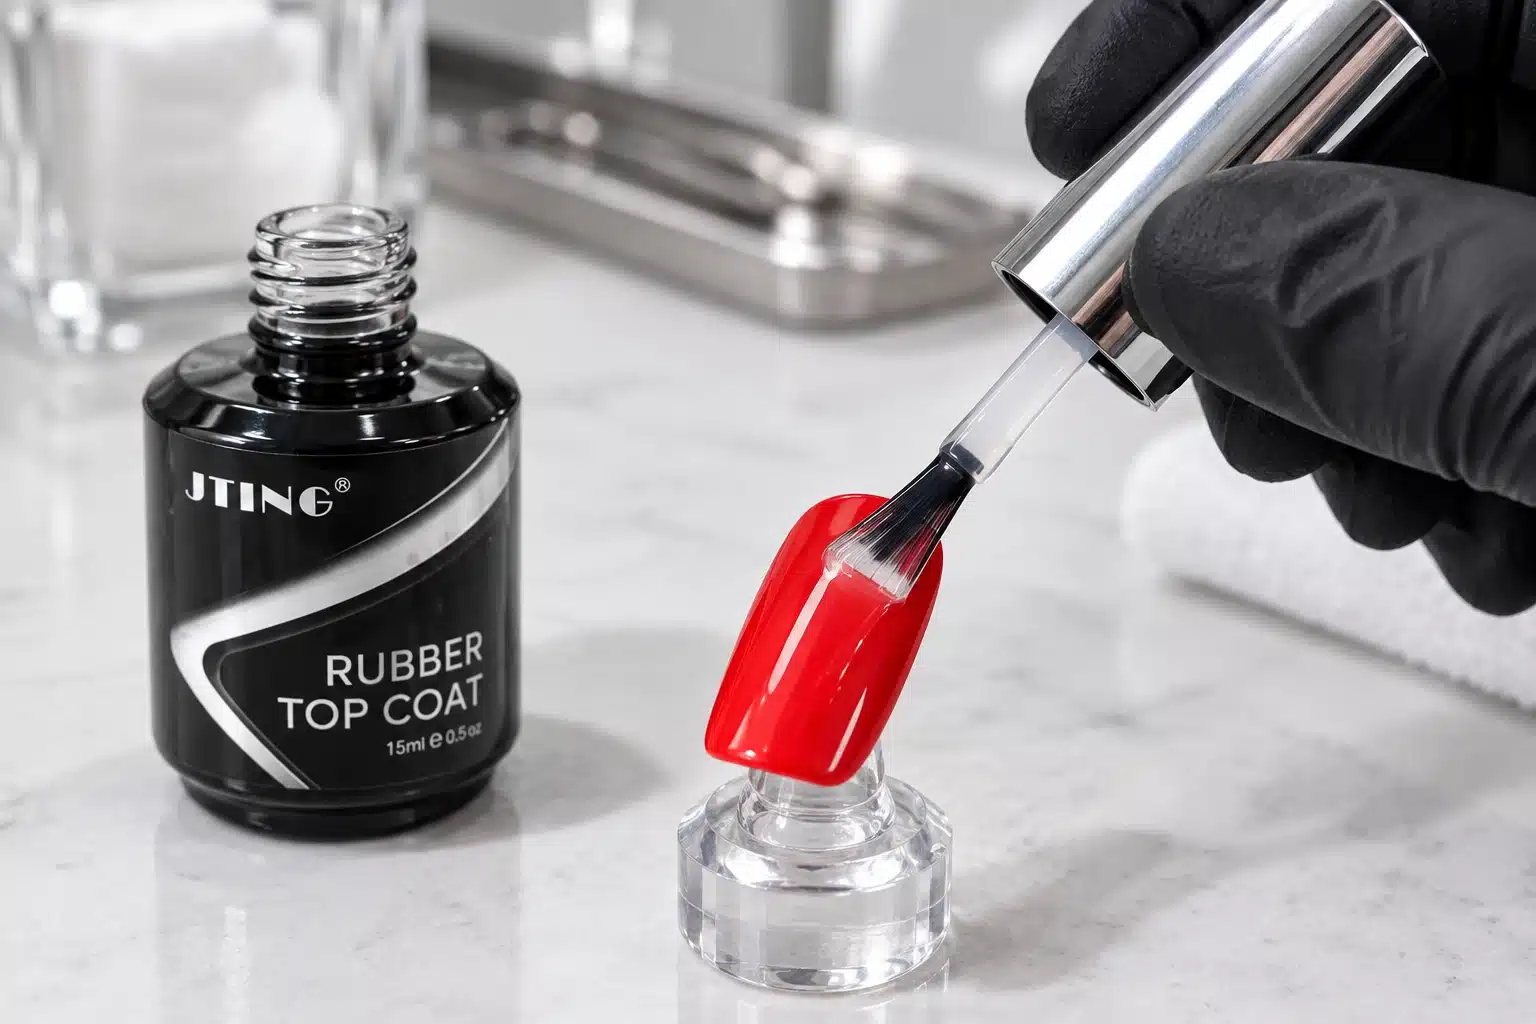
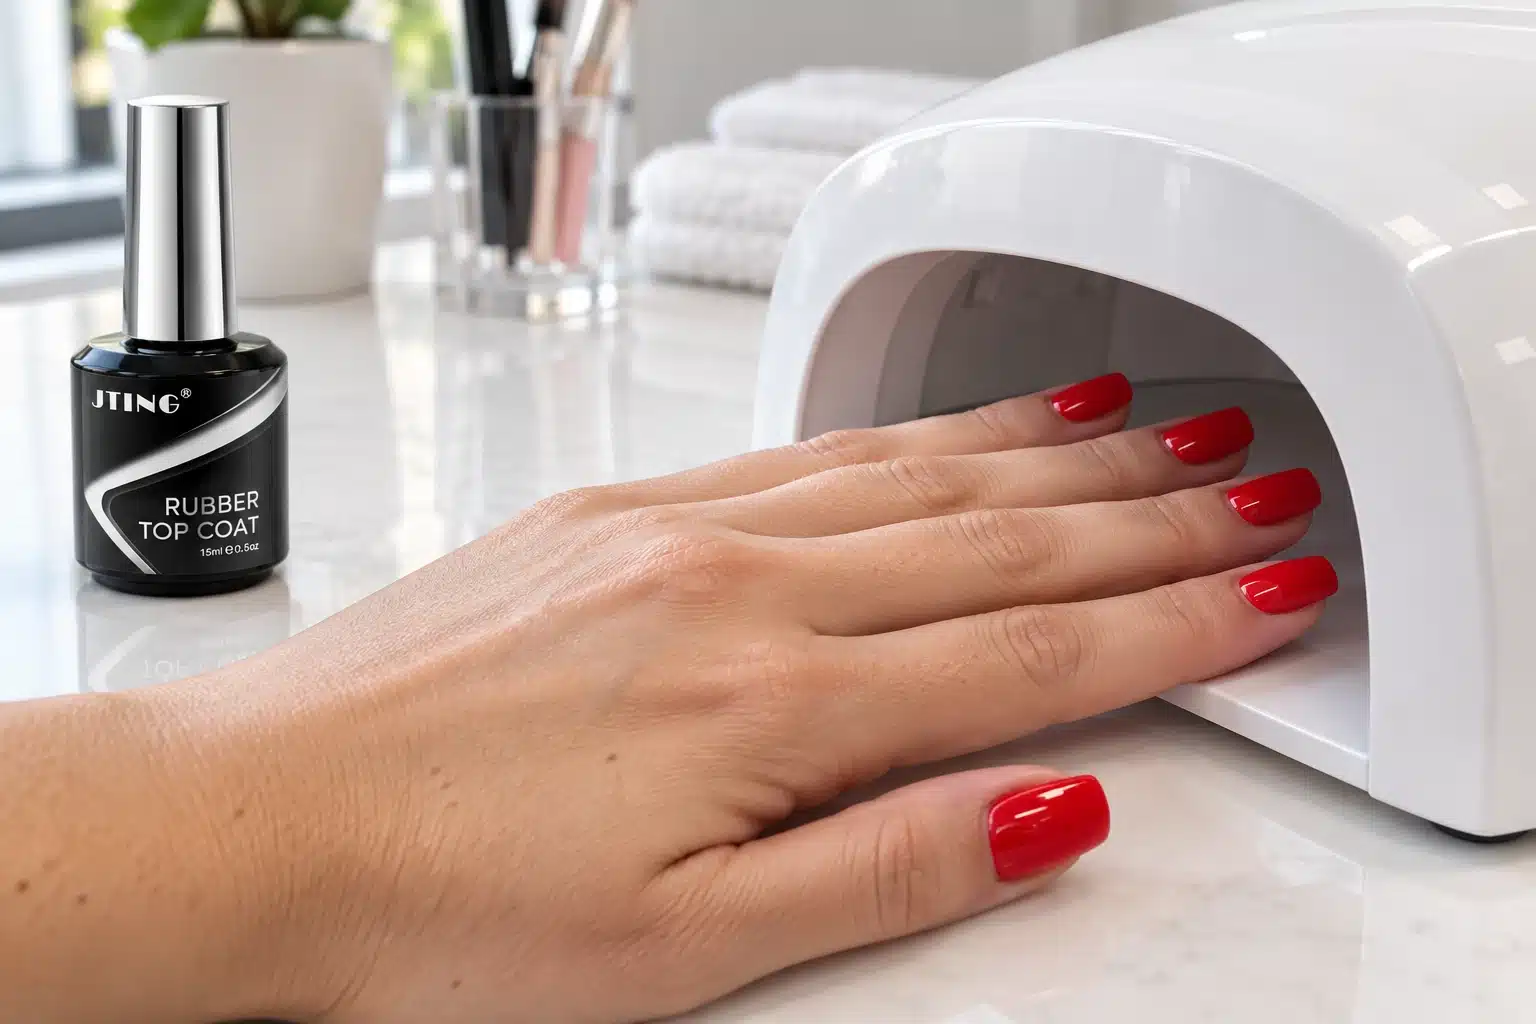
When considering JTING Rubber Top Coat, share the base or builder gel you currently use. JTING can discuss the intended pairing and removal instructions so your sample evaluation reflects the actual salon service.
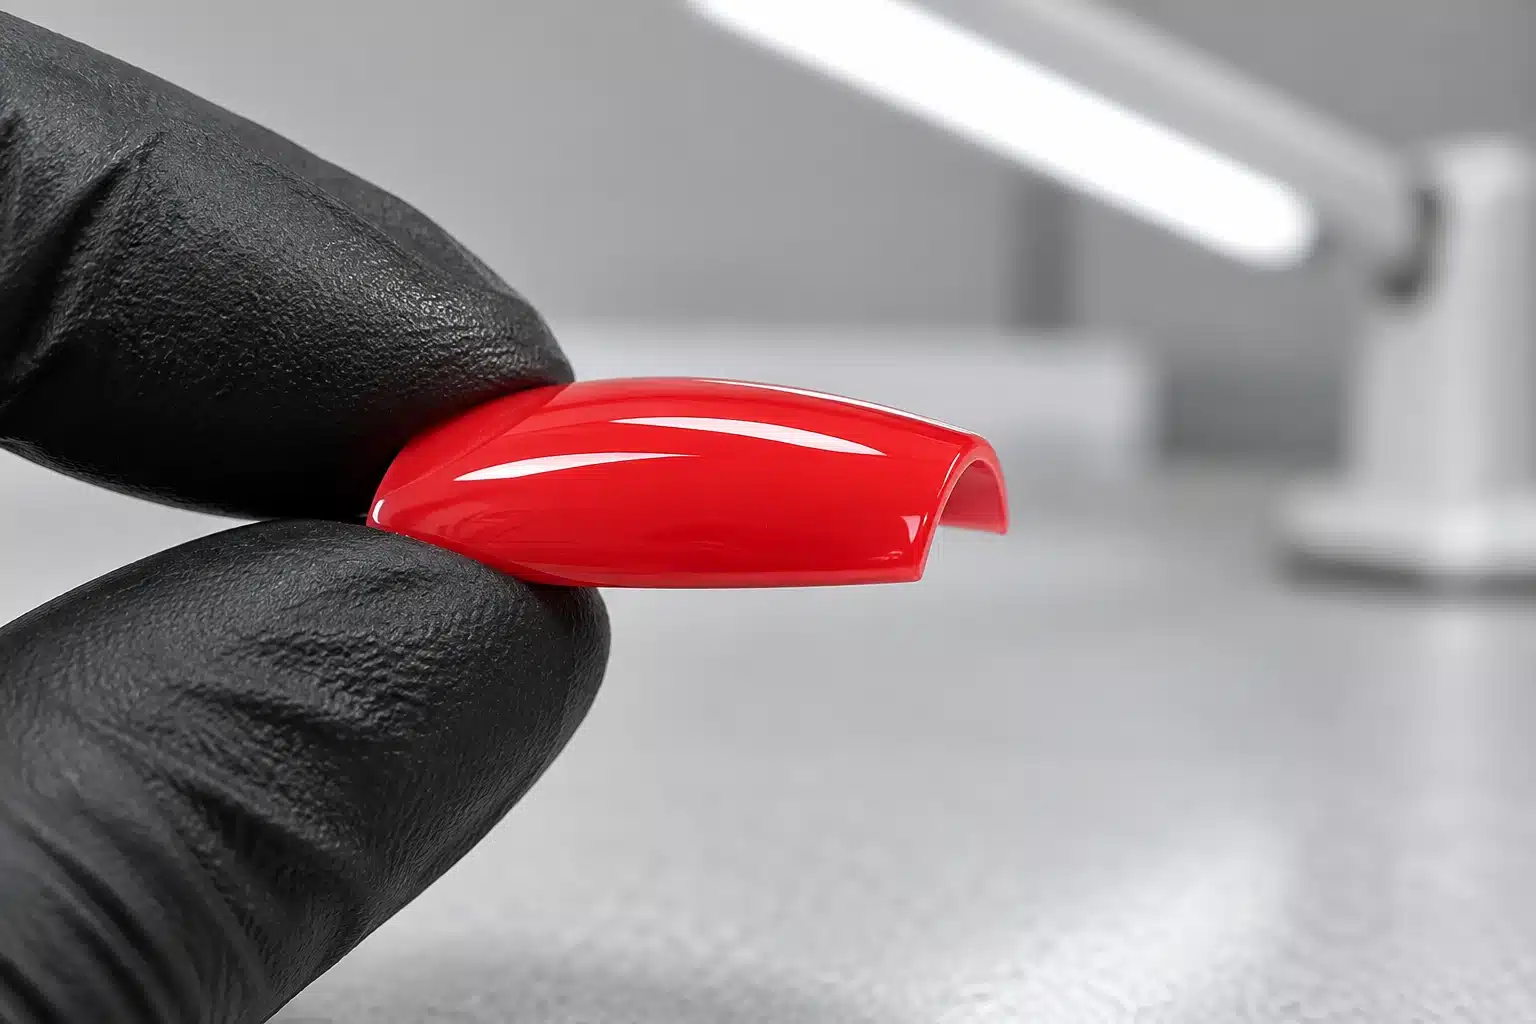
A bend test on a plastic tip can be useful for a limited comparison under defined conditions, but it does not reproduce a natural nail service or establish safe curing. Do not turn one dramatic demonstration into a universal durability claim.
For a distributor, the most useful outcome is a clear compatibility statement supported by the approved system: which base, which color family, which finishing procedure and which service format. This gives salon customers a repeatable starting point and makes support conversations much more specific.
9. Viscosity, Brush Control and Leveling: What Should You Compare?
Two clear top coats can feel very different in the brush. One may spread readily; another may offer more working control. Neither behavior is automatically better. The useful question is whether a technician can apply the recommended layer cleanly and consistently over the intended nail length and design.
Evaluate the product at a documented working temperature and use the intended brush. Temperature, bottle handling and the amount carried by the brush can change the practical application experience. Do not compare a warm sample with a cold one and describe the difference as a permanent formula characteristic.
Observe the Whole Brush Cycle
Notice how easily the brush loads, how much needs to be removed at the bottle neck and whether the bristles distribute the material evenly. Watch the perimeter while the film levels. A finish that looks smooth in the middle but moves into the sidewalls too readily for the operator may create extra cleanup and inconsistency.
Repeatedly working the same area can introduce its own problems. During sample trials, distinguish product behavior from excessive brushing. Record how many nails can be managed comfortably before the instructed curing step, without substituting speed for controlled placement.
For private label development, test the formula in the proposed bottle and brush combination before approval. A good sample in one package may feel different in another. Brush width, shape and stiffness should suit the product and intended user; packaging is part of the service experience, not just decoration.
Compare four practical details: how easily the brush loads, how precisely you can control the edge, whether visible streaks level out and how much excess remains on the brush. If you need measured viscosity for a purchasing specification, request the test conditions as well as the value.
10. Which Top Coat Suits Gel Polish, Rubber Base and Builder Gel?
Start with the underlying service, not with a finish label. A color manicure, a sheer rubber base overlay and a shaped builder enhancement can all look glossy, but the layers beneath are not identical. The top coat recommendation should account for that difference.
| Service | Main Selection Question | Useful Sample Check |
|---|---|---|
| Gel nail polish color | Does the finish belong in the approved color system? | Representative pale, dark and sheer shades |
| Rubber base overlay | Is the finish suitable for the intended overlay? | The actual base shade, nail length and application method |
| Builder gel enhancement | What final surface preparation is required? | The specified filed or unfiled finish and complete removal plan |
| Hard gel service | Is the top compatible with that enhancement system? | Surface preparation, wear observations and maintenance method |
| Press-on production | Does the coating suit the tip material and production sequence? | Finished tips, storage handling and packaging contact |
For an overlay range, compare the proposed finish against the actual rubber base gel options rather than a convenient substitute. For enhancements, clarify the relevant builder gel system, because builder products do not all share the same flexibility, preparation or removal requirements.
Do not cleanse, buff or leave a residual layer solely because that step worked with a previous product. Follow the surface preparation required for the next layer in the selected system. Unplanned changes between layers make an otherwise useful sample comparison difficult to interpret.
The builder gel and overlay comparison guide can help you define the service before you choose the finish. Once the service is clear, the top coat shortlist usually becomes smaller and more relevant.
11. Top Coat over Cat Eye, Chrome and Nail Art
Nail art adds materials and surface conditions that a simple color swatch does not represent. Test the finished design, not just the clear top coat on an empty tip. A finish may look attractive on a solid color while changing the appearance or handling of a more complex design.
Cat Eye and Magnetic Effects
Set and cure the magnetic design according to its own instructions before proceeding to the finishing layer. Evaluate the final result from several angles. A high-gloss top emphasizes reflection, while a matte top deliberately changes the viewing experience. Decide whether the goal is sharp visual depth or a softer effect before judging the sample.
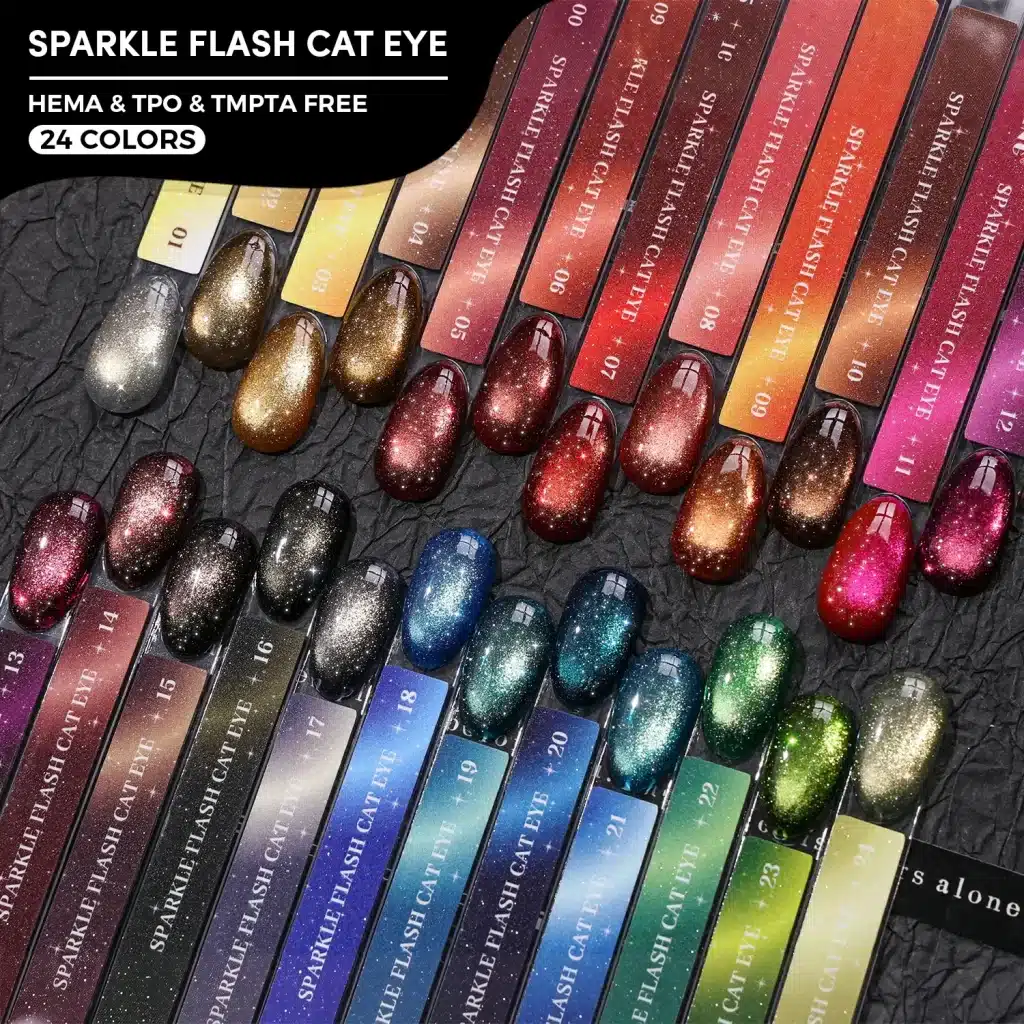
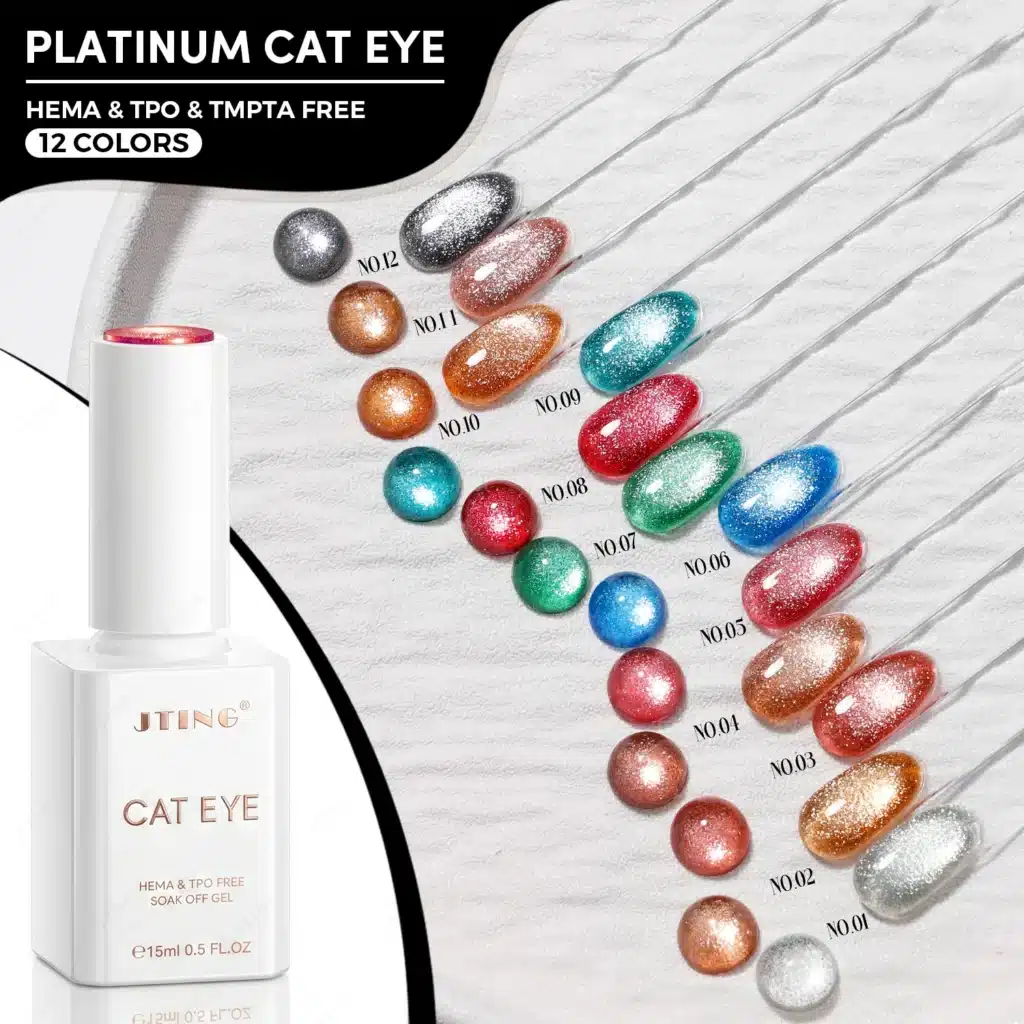
Use representative shades from the JTING cat eye gel range when planning a matching finish. Do not assume that one photograph under a spotlight describes how every magnetic shade will look in daylight.
Chrome Powder and Metallic Details
Separate the layer that receives the powder from the layer that seals the design. Depending on the documented system, these may or may not be the same product. Do not shorten curing arbitrarily to make powder adhere; obtain the complete approved sequence.
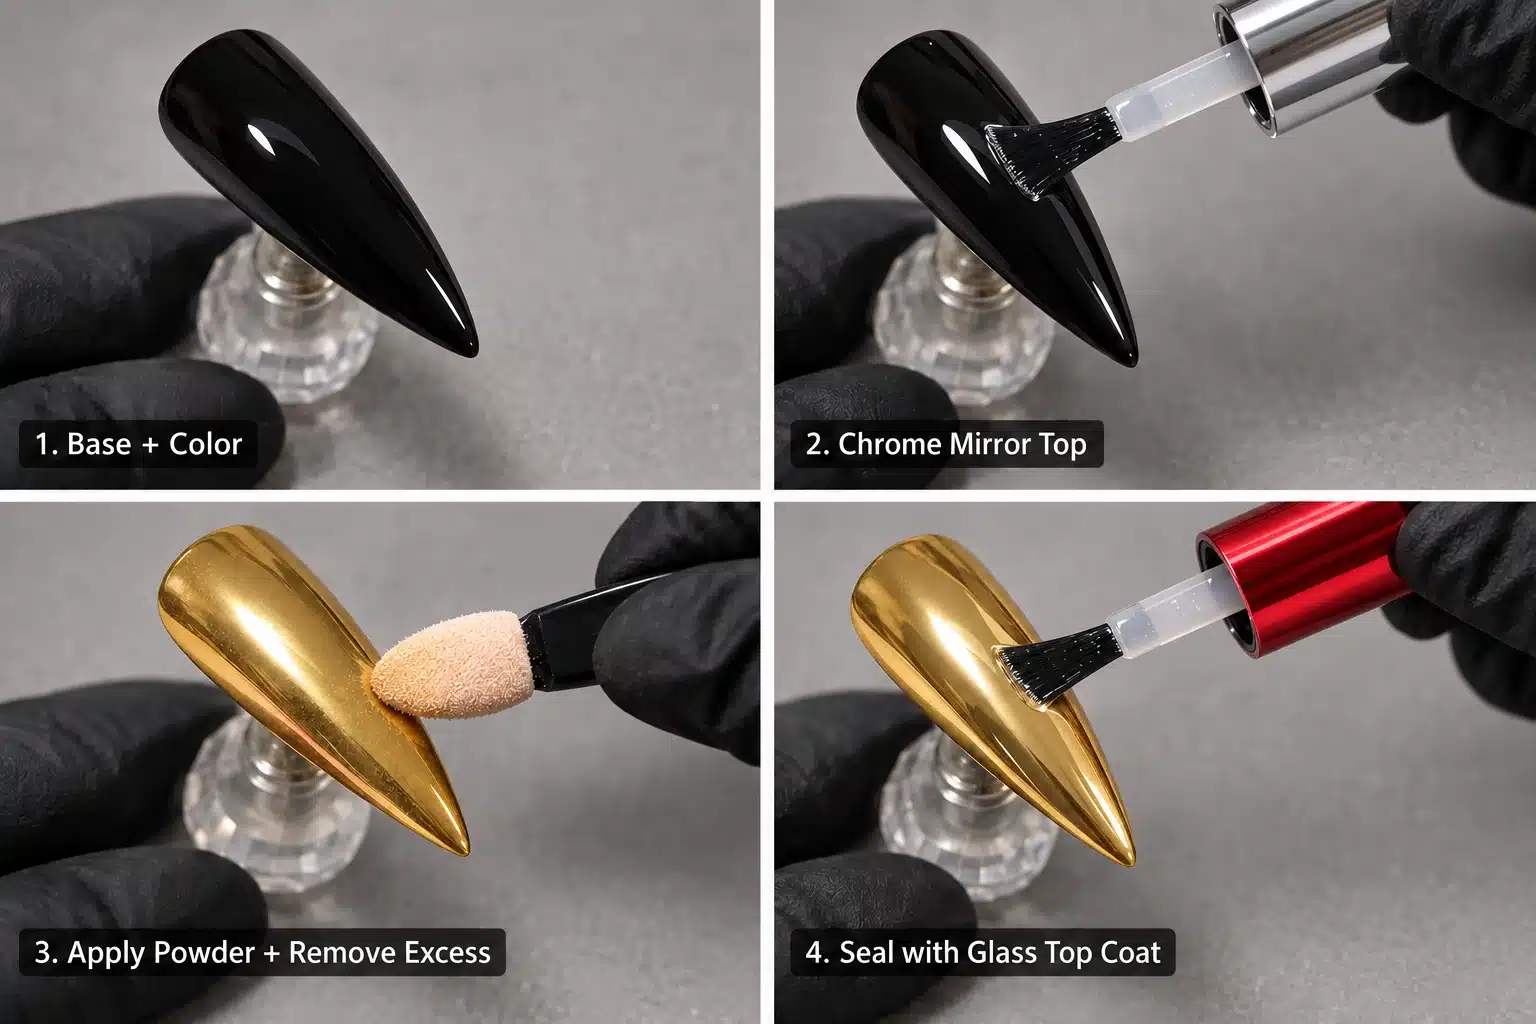
The JTING application sequence for JTING Chrome Magic Top Coat starts with the base and color layers, followed by Chrome Mirror Top. After curing the gel layers as instructed, rub mirror powder evenly onto the prepared surface and brush away excess powder. Finish with Glass Top Coat and cure according to its instructions. This separates the powder application layer from the final sealing layer. For the differences between powder and gel-based metallic effects, see the chrome nails guide.
French Tips, Painted Details and Raised Art
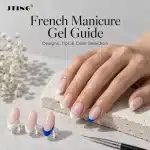
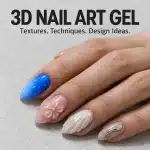
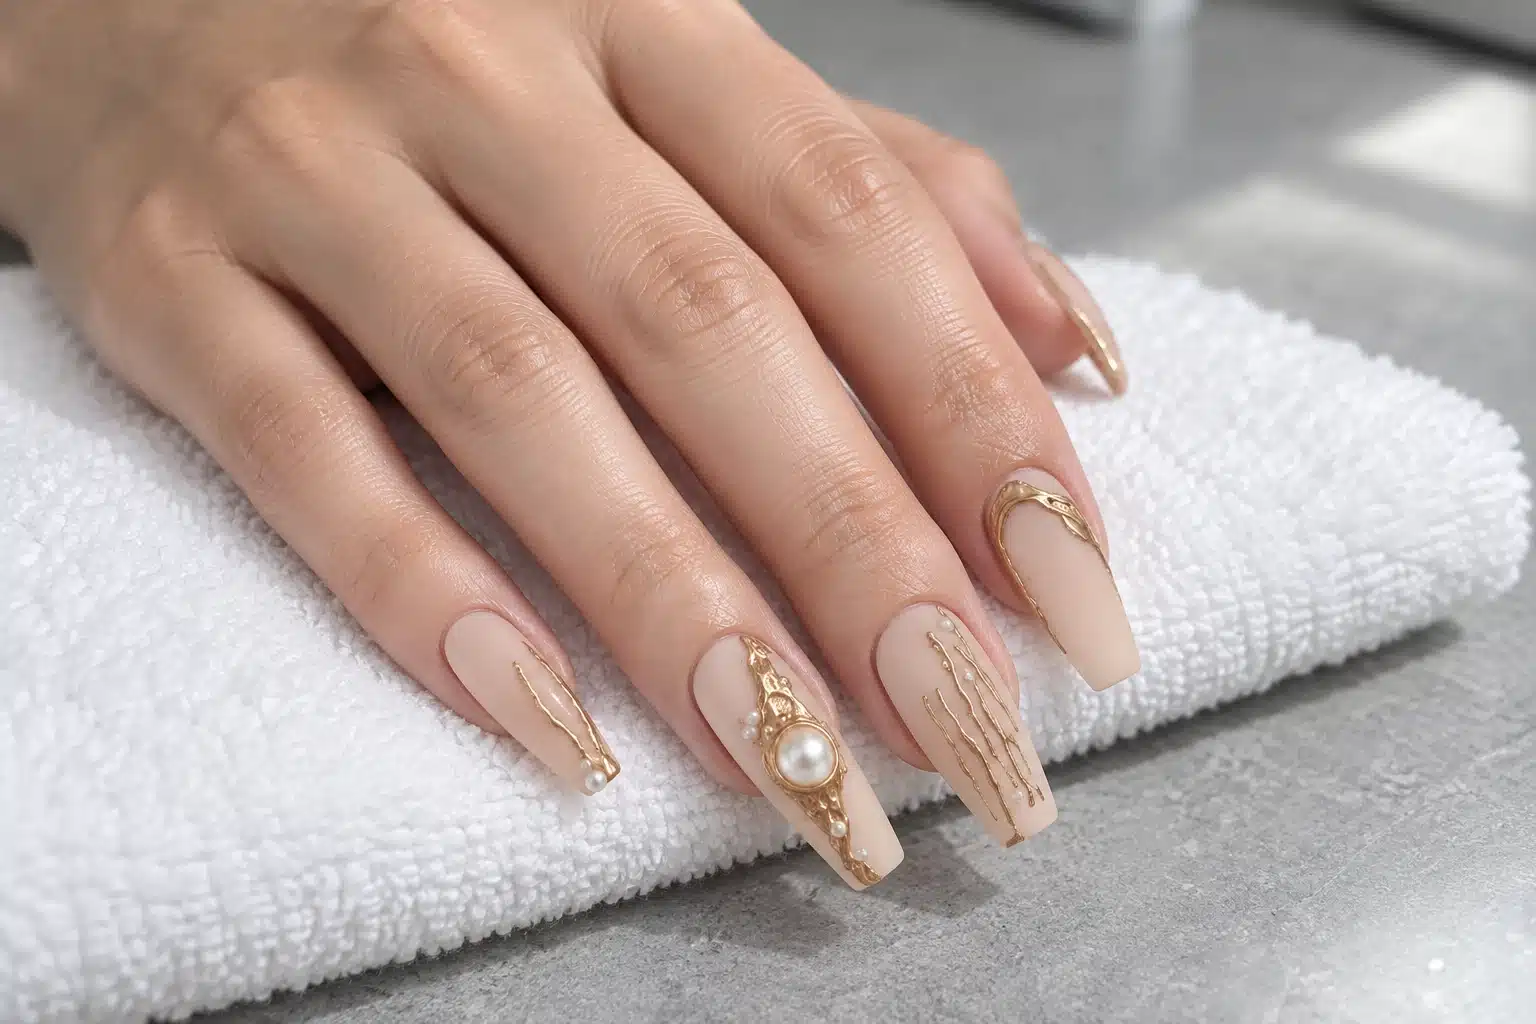
A thick finishing layer can visually soften a fine painted edge or fill a textured detail. Plan the top coat stage as part of the design. The French manicure guide and 3D nail art gel guide cover different design priorities; a smooth French finish and an intentionally raised decoration should not automatically use the same sealing approach.
12. How to Apply Gel Top Coat Step by Step
The following is a workflow checklist, not a replacement for the instructions of a particular product. Obtain the complete method for the chosen base, color, top coat and lamp before starting. If an instruction is missing, resolve it before applying the system to a client.
- Identify the complete system. Check the top coat type, lamp requirement, finishing cleanse and removal method. Keep the relevant instructions available at the workstation.
- Complete the underlying layers correctly. Follow their preparation, application and curing instructions. Do not use top coat to disguise an uncertain color layer or an enhancement that needs correction.
- Check the surface before finishing. Look for dust, loose decoration, uneven edges and contact with surrounding skin. Follow the system-specific preparation rather than adding an unnecessary cleansing or buffing step.
- Load the brush deliberately. Take an amount appropriate to the nail and the recommended film thickness. A small nail does not need the same load as a long extension.
- Apply an even, controlled layer. Keep uncured product away from the skin and avoid accumulating material at the sides. Follow the product's free-edge guidance without building a heavy ridge.
- Inspect before the lamp. Check the perimeter and the reflection from the side. Correct application problems before curing; do not cure material that has flooded onto skin.
- Cure exactly as instructed. Use the approved lamp setup and hand position. Complete the specified cycle rather than assuming any visible light or timer will produce the same result.
- Finish according to the formula. Perform the prescribed cleanse for a wipe-off top coat or follow the no-wipe instructions. Evaluate the finished service before applying aftercare products.
For salon training, demonstrate the process on a sample tip and have the operator repeat it. A written checklist becomes much more useful when everyone agrees what the intended brush load, perimeter and finished appearance look like.
Keep the bottle protected from unintended light exposure and follow its storage instructions. Close it between uses and prevent dust or other products from entering it. Consistent handling helps preserve a meaningful comparison between the first service and later services from the same bottle.
13. How Much Top Coat Should You Apply?
Apply the amount specified for the formula and service. More material is not automatically more protection, and a nearly dry brush is not automatically a better thin coat. The aim is a continuous, controlled film within the product's instructions.
In practice, compare the center and perimeter before curing. Watch for a bulky free edge, material collecting near the sidewalls or an area that the brush has missed. Use the reflection as an application aid, but do not interpret a smooth reflection as evidence of correct curing.
Matching the Application to Nail Length
A product may be demonstrated on a short tip and then used by customers on long extensions. These are different application situations. Include both if both belong to your market, and make sure the operator can maintain the recommended layer without repeated corrections.
Do not use a regular finishing gel to build an apex or bury a bulky decoration unless its instructions specifically support that role. Structure and finish are separate needs. Choosing a suitable building or art product is more appropriate than repeatedly adding top coat to compensate.
A second layer is also not a universal fix. Some services may support a specified second application; others may not need it. Confirm the method, including any preparation between layers, instead of assuming two coats will solve a dull or uneven result.
For quality control, record the application method used on approved samples. Even a simple note about brush loading and the number of coats is more helpful than an image with no process information. The bulk product should be evaluated through the same agreed routine, not a newly improvised one.
14. Curing and Cleansing: Follow the Product System
There is no single curing time that applies to every gel top coat and every lamp. The formula, specified layer and lamp characteristics work together. A timer setting copied from another product is not a reliable substitute for the manufacturer's validated instructions.
Similarly, lamp wattage by itself does not establish compatibility. Ask which lamp or lamp specification was used for the product's application guidance. If you sell a professional system, keep those details accessible rather than reducing the instruction to “use any LED lamp.”
Keep the Process Reproducible
Check hand placement, especially thumbs, and follow the lamp manufacturer's maintenance instructions. During product trials, record the lamp model, cycle and relevant setup rather than changing several variables at once. A different device or hand position can make two otherwise similar trials less comparable.
Appearance is not a curing test. A surface that seems hard or shiny does not establish that the coating has been adequately cured throughout. Conversely, the expected residue on a wipe-off system is not by itself proof of a problem. Use the documented process and seek technical support when the result is inconsistent.
Cleansing Has a Specific Role
For products that require it, use the specified finishing cleanse and method. Do not substitute a fragranced hand product, household cleaner or an arbitrary solvent. For no-wipe products, follow the stated finishing directions rather than adding wiping automatically.
If there is concern about incomplete curing, do not turn the client into a test surface for longer and longer lamp cycles. Stop the service, review the product instructions and resolve the issue with the supplier. Unexpected pain or skin reactions also require stopping use and appropriate professional advice, not another layer of gel.
15. Why Does Gel Top Coat Look Dull or Cloudy?
First describe what you are seeing. Dullness means reduced shine; cloudiness suggests reduced visual clarity; surface texture can disrupt reflection without changing the material's transparency. These observations can look similar in a photograph, but they are not identical.
Then ask when the change appeared. Was it present immediately after the finishing procedure, after aftercare products were applied or only after several days of wear? Timing helps decide what to review first. It does not prove a cause, but it prevents an unfocused search through every step of the service.
| Observation | First Checks | Useful Record |
|---|---|---|
| Uneven reflection immediately | Application consistency, surface underneath, instructed finishing process | Photo before and after the finishing step |
| Haze after wiping | Correct cleanser, wipe method and product instructions | Cleanser identity and the exact sequence |
| Only one shade looks cloudy | Underlying color, film thickness and system pairing | The same top coat over another approved shade |
| Shine changes during wear | Surface deposits, friction, exposure and service history | Date, affected area and care routine |
Do not immediately cover the problem with another coat. If the underlying process is incorrect, an additional layer can hide useful evidence and introduce another variable. First verify the instructions, then reproduce the issue on a suitable sample tip if it is safe to do so.
If you need help resolving a dull finish, provide the product name, batch details, layer sequence and clear images under neutral lighting. Explain when the change appears, especially whether it occurs before or after the finishing wipe. This helps narrow down which part of the service needs attention.
16. Why Does Gel Top Coat Yellow or Stain?
Yellowing and staining are often grouped together, yet they describe different observations. A visible color shift within the coating is not the same as a surface mark from an external material. Identify whether the change is widespread, localized, removable through the approved care method or already present on a newly finished sample.
White, milky and pale nude shades are useful evaluation backgrounds because small changes can be easier to see. They are also relevant to French services. Keep an approved reference and photograph comparisons with consistent lighting, since a warm light or automatic camera adjustment can make an unchanged white appear yellow.
How to Evaluate a Non-Yellowing Top Coat
When comparing a non-yellowing top coat, ask how color stability was evaluated: the background shade, exposure conditions, test duration and acceptable color change. Look for results relevant to the white or pale gel you use. A general claim without test conditions does not explain how the finish will perform in your service.
During a practical wear trial, record contact with strongly colored materials or chemicals as well as the location of the change. Do not intentionally expose a client to aggressive substances to test stain resistance. Any controlled laboratory comparison should use an appropriate method and be interpreted within its limits.
For a pale-color collection, make finish clarity part of sample approval before bulk ordering. Test the actual white and nude products planned for the range, not only a transparent tip. A supplier can respond much more precisely to a documented color-stability target than to a request for a finish that never changes under any circumstances.
17. Why Does Top Coat Shrink, Form Craters or Leave Bubbles?
Watch the coating before it goes into the lamp. Material pulling away from an area, a visible crater and a trapped bubble are different surface events. Recording that stage helps separate placement or wetting problems from changes first noticed after curing.
Possible areas to investigate include surface contamination, incompatible layer preparation, brush technique and product handling. These are checks, not a diagnosis. A circular gap does not tell you which contaminant is present, and a photo cannot establish whether the formula itself is defective.
Use a Controlled Comparison
Set up a clean sample using the documented system. Keep the same color, lamp, operator and routine. If the problem does not reappear, compare the original workflow carefully. If it does, retain the sample information and contact the supplier instead of repeatedly changing products without a record.
Avoid vigorously working the brush through the material or adding unapproved liquids to change its behavior. Follow the product's mixing or handling instructions if any are provided. Gel top coat should not be thinned with an improvised solvent simply because a bottle feels different from a previous purchase.
For shrink-back near the perimeter, record whether it starts immediately or develops while the nail waits before curing. For bubbles, check whether they are visible in the bottle, introduced during application or noticed only after finishing. This timeline makes a technical discussion much more productive.
If product has moved onto skin, correct that before curing according to the professional handling procedure. A neat-looking photo is not worth leaving uncured gel in contact with the surrounding skin. Preventing the contact is preferable to trying to manage it after the fact.
18. Why Does Gel Top Coat Crack, Chip or Peel?
Identify which layer has failed before deciding what to replace. Is there a small surface chip, a crack through the enhancement, separation between color and top coat or lifting of the entire coating from the nail? Those observations point to different parts of the service and should not all be called bad top coat.
Ask where it begins. Repeated damage at one free edge may require a different investigation from a fine crack across the surface or lifting near the sidewall. Also record when it happens and whether it affects one nail, one wearer or a broader set of services.
Do Not Seal over an Unresolved Failure
Covering a lifted area with fresh top coat does not restore the original bond. Have a qualified nail professional assess the service and follow the appropriate correction or removal procedure. If the natural nail is painful, discolored or otherwise concerning, prioritize assessment rather than cosmetic coverage.
For product development, inspect the complete combination: preparation, structure, color, finish, curing and use conditions. A change in length or underlying product can make a previous comparison less relevant. Retest the combination that customers will actually receive.
When comparing wear performance, separate cosmetic observations from structural failure. A minor change in shine and a lifted coating should not receive the same note in a test sheet. Define your scoring categories before the trial so a supplier understands which problem you are trying to reduce.
When requesting technical support, provide the batch, service date, layer sequence, lamp details and clear photographs of the affected area. State whether the coating has already been removed. These details help the supplier identify appropriate next checks; the exact cause may still require examination or testing.
19. Why Is the Surface Sticky or Uneven after Curing?
Start with the formula's expected finish. A wipe-off product has a finishing step that a no-wipe product does not. Before troubleshooting, confirm which bottle was used and what the instructions say. Similar packaging can make an otherwise simple identification error easy to miss.
If the result is unexpectedly sticky, soft, wrinkled or uneven, review the application and curing process. Check the specified lamp, cycle, film thickness and hand placement. These observations do not prove a single cause, but they are relevant information for the supplier.
Do Not Use Touch as a Cure Test
Repeatedly pressing a suspect coating with bare fingers is not an appropriate way to approve it. It adds contact with material whose condition is uncertain and provides no reliable measure of the cure through the layer. Follow professional handling guidance and stop the service if the process cannot be confirmed.
An uneven finish can also originate underneath the top coat. Look back at whether the color or enhancement already had ridges, dust or an irregular surface. A finishing product should not be expected to correct every structural or application issue below it.
For training, keep clearly labeled samples illustrating the approved final appearance rather than encouraging technicians to judge by memory. Separate wipe-off and no-wipe instructions in the service notes. This helps prevent unnecessary cleansing of one product and missed cleansing of another.
If a previously consistent product changes behavior, record the batch, storage conditions and any changes in equipment or technique. Do not silently extend curing times or add solvent to keep using it. A documented review is more useful than an undocumented workaround.
20. Wear, Aftercare and Removal
How long a gel top coat looks its best depends on the complete nail service, application and daily wear. Follow the aftercare instructions for your manicure and arrange maintenance appropriate to the nail system. A wear period quoted for one service should not be assumed to apply to every wearer.
Protect the manicure during tasks involving cleaning products or repeated abrasion, follow the service's care instructions and avoid using nails as tools. If a change appears, record it rather than picking at the coating. Picking or peeling can damage the natural nail and makes the original failure harder to assess.
Removal Belongs in the Buying Decision
A soak-off description on one bottle does not establish the removal method for every layered combination. A service containing a non-soak-off enhancement needs its own procedure. Confirm the complete method, including any professional surface reduction, and do not generalize a timing from another system.
For salon ranges, consider the whole appointment cycle: application, wear, maintenance and removal. A finish that suits a particular service must also fit the technician's documented maintenance process. If the wearer experiences ongoing irritation or nail changes, stop using the product and seek medical advice rather than repeatedly covering the issue.
Store and Handle the Product Consistently
Follow the storage directions, protect bottles from unintended curing light and keep the closure clean. Record opening dates or batch references in a way appropriate to your salon or stock system. Do not top up an old bottle with a new batch unless the manufacturer specifically provides an approved procedure.
For distributors, include application and removal information in the customer handoff, not only in a document available after a complaint. Clear instructions can prevent avoidable misuse and give customers a sensible path for asking questions before a service begins.
21. How to Test Gel Top Coat Samples Before Buying
A useful sample trial answers a buying question. It is not simply a collection of attractive swatches. Decide what you need to approve: an everyday gloss for a color range, a matte finish for art services or a compatible finish for a specific overlay system.
Build a Small but Representative Test Panel
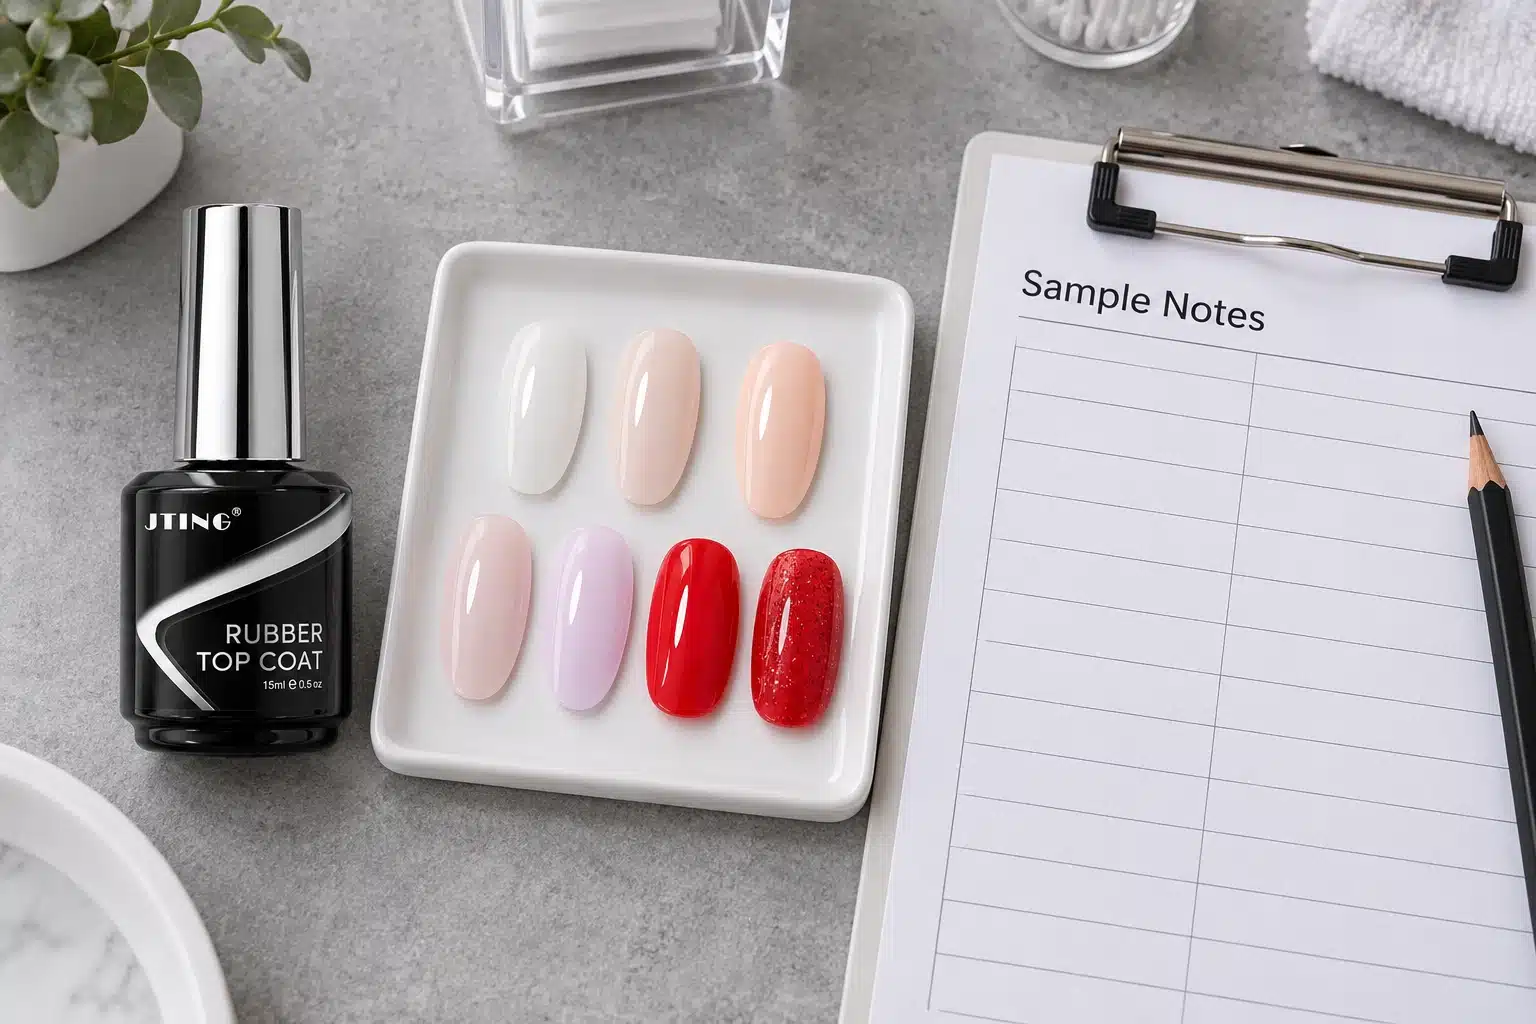
Include the colors and services that reveal meaningful differences. A pale shade helps you observe clarity, a dark shade helps you inspect reflection and a sheer shade represents translucent work. Add a relevant art sample or overlay only if it belongs to the range you intend to sell.
Label every sample with the product version and application details. Keep a reference sample, and avoid changing the bottle, brush or lamp halfway through a comparison without documenting it. Otherwise, an apparent formula improvement may actually be a packaging or process difference.
| Record | What to Include | Why It Matters |
|---|---|---|
| Sample identity | Product name, version, batch and date | Connects approval to a reproducible reference |
| Complete system | Base, color, art materials and top coat | Prevents approval of an unidentified combination |
| Application | Brush, coat count and prescribed film guidance | Supports repeatable handling |
| Curing | Approved lamp, cycle and setup | Documents the specified process |
| Initial appearance | Gloss or matte consistency, clarity and perimeter | Creates a useful visual baseline |
| Wear observations | Review dates, exposure notes and affected areas | Separates different types of change |
| Removal | Complete service method and observations | Checks the full customer experience |
| Decision | Accept, revise or retest, with reasons | Turns observations into an actionable outcome |
Separate Visual Screening from Technical Validation
Photos and salon observations are helpful for appearance and usability. They do not demonstrate chemical conversion, regulatory compliance or universal safety. Where quantified performance or compliance evidence is needed, agree on the appropriate testing and documentation with qualified support.
For wear trials, define the review schedule and acceptance criteria before starting. Do not choose only the best-looking result afterward. Keep notes on unsuccessful samples too, because they explain why a revision was requested and prevent the same issue from returning in a later round.
A sample request becomes more efficient when it contains your current system, desired finish, target user and the specific problem you want to solve. “Higher clarity over our white and sheer pink” is easier to evaluate than “make it premium.”
22. How to Compare Wholesale Gel Top Coat Offers
Compare like-for-like offers before comparing price. The same bottle size does not mean the same fill specification, brush, formula, labeling or shipping terms. A low unit price is only useful once you know what that unit includes.
Send the same brief to each shortlisted supplier. Specify the intended service, finish, wipe requirement, package format and expected order quantity. Ask for the proposed sample and documentation scope. This reduces the risk of comparing a standard house-brand item with a custom formula and decorated bottle as though they were equivalent.
Look beyond the Bottle Price
Include packaging setup, label or print work, outer boxes, freight and other agreed costs when estimating the landed purchase. State whether quoted fill is by mass or volume and how it will be checked; do not treat grams and milliliters as interchangeable.
For salon supply, calculate cost per service using your own product consumption. Nail length, brush technique and the recommended application all affect how many services a bottle provides. Measure usage across representative appointments rather than relying on a single services-per-bottle estimate.
Ask How Reorders Will Match
Keep the approved sample version, packaging specification and acceptance criteria attached to the order. Ask how batch identity and any future changes will be communicated. A successful first delivery is not enough if repeat orders arrive with an unexplained brush or formula change.
Also agree on what information is needed if a concern arises: batch number, retained sample, photos and application record. Clear review procedures are more useful than an unsupported promise that no problem can ever occur.
MOQ and lead time should be confirmed for the actual project. Stock items, a new bottle decoration and a custom formulation can involve different commitments. Avoid building your launch calendar around a generic website statement without checking sample approval, packaging production and shipping.
The best professional gel top coat for your business is the one that meets your defined service needs with repeatable supply and clear support. It is not necessarily the product with the strongest adjective or the largest number of finish variants.
23. Building a Private Label Top Coat Range
Build your range around distinct customer needs. An everyday gloss and a matte option offer two clearly different finishes. Add a specialty product when it supports an additional service, such as a particular nail art technique, rather than duplicating the role of an existing finish.
For a professional brand, each SKU should have a concise role: intended service, appearance, handling instructions and compatible system. The customer should not have to guess which of five glossy bottles belongs over a particular color or overlay.
Write the Development Brief in Testable Terms
Describe the target user, existing base and color products, desired finish and packaging direction. Include the specific performance questions that matter to your customers, such as clarity on pale shades, brush control on short nails or appearance over a selected art material.
Through a private label gel nail polish project, you can discuss finish, viscosity, formula requirements, bottles, brushes, labels and packaging with JTING. Share your intended nail system and desired finish, then review the proposed samples and packaging before confirming the order specifications.
Keep Formula Claims Product-Specific
If HEMA-free or TPO-free is part of your brief, request confirmation for the exact formula and destination market. Do not assume a claim shown on one product covers every top coat in a range. HEMA-free does not mean allergy-free, and a product should not be promoted as suitable for every sensitive user simply because one ingredient is absent.
The gel nail polish ingredients guide explains the formulation context. For your own launch, obtain the relevant ingredient, safety and market documentation for the selected product. Documentation should match the formula and intended destination, not merely show a familiar logo.
Approve the Package with the Formula
Check readability of the product role, application directions and batch identification. Make gloss and matte bottles distinguishable at the workstation without relying only on tiny text. Test the actual brush and closure, then approve the complete package before bulk production.
Keep the initial assortment focused enough to support training and reorders. A small range with clear instructions, useful sample evidence and consistent packaging can be easier for salons to adopt than a broader range with unclear distinctions.
24. Frequently Asked Questions
Can You Use Gel Top Coat on Regular Nail Polish?
Only use a combination supported by the relevant manufacturers with a complete method. Ordinary lacquer and light-curing gel set differently, and surface dryness alone does not establish compatibility. For a predictable service, choose a coordinated lacquer system or a coordinated gel system rather than relying on a universal waiting-time rule.
Can You Use Regular Top Coat over Gel Polish?
It is not a direct replacement for the gel system's specified finish. Regular top coat cannot cure the gel underneath or correct uncertainty about the service. Ask the supplier about any supported temporary finish change and follow the complete method, including removal, rather than assuming the layers are interchangeable.
Does Gel Top Coat Need a UV or LED Lamp?
A light-curing gel top coat needs its specified curing setup. A product marketed as gel-like may instead be a conventional air-drying coating. Read the instructions, not only the front label, and verify the compatible lamp for a light-curing formula. The word LED alone does not establish compatibility.
Is No-Wipe Top Coat Better Than Wipe-Off Top Coat?
Not automatically. No-wipe removes a finishing cleanse from the prescribed routine, while wipe-off includes that step. Compare the final appearance, compatibility, handling and service consistency. Choose the workflow that fits the product system and intended user rather than treating the label as a quality ranking.
Why Is My Gel Top Coat Sticky after Curing?
First check whether the formula requires a final cleanse. If stickiness is unexpected, review the instructions, lamp, layer and hand position with the supplier. Do not assume that a sticky surface is always normal or that wiping establishes adequate curing. Stop if the service cannot be completed as instructed.
Can You Apply Two Coats of Gel Top Coat?
Follow the specific product and service instructions. A second coat is not a universal way to improve durability, cover a defect or compensate for an uneven underlying surface. Where a system supports another application, confirm its thickness, preparation and curing requirements instead of improvising them.
Can Gel Top Coat Replace Base Coat?
No, not unless the product is explicitly designed and instructed for both roles. Base and top products have different jobs within a nail system. A clear appearance does not make their functions interchangeable. Use the designated foundation rather than selecting a finishing gel because it looks similar in the bottle.
Can You Mix Different Brands of Gel and Top Coat?
Do not assume compatibility from matching product names or a similar appearance. Ask for support for the exact combination and curing setup. If the suppliers cannot confirm it, a coordinated system is a clearer starting point. One successful-looking sample does not establish every aspect of long-term performance or curing.
Which Top Coat Should You Use over White Gel Polish?
Choose an approved finish and evaluate clarity over the actual white gel in your range. Compare samples under consistent neutral lighting and define any color-stability test conditions. A non-yellowing claim needs context; no product name alone establishes resistance to every exposure or stain.
Why Does Matte Top Coat Become Shiny in Places?
Record when and where the change appears, then review application consistency, surface deposits and wear conditions. Use only the product's appropriate care method. A photograph of a shiny patch cannot identify a single cause, so avoid diagnosing the formula without the service history and a controlled comparison.
Can Any No-Wipe Top Coat Be Used for Chrome Powder?
No universal compatibility should be assumed. Confirm the powder application layer, curing sequence and final sealing layer for the chosen system. A no-wipe finish may have a different intended role. Do not shorten the cure arbitrarily to force powder adhesion or copy another product's timing.
Can You Fix Lifting by Adding More Top Coat?
Fresh top coat does not restore a failed bond underneath. Have a qualified professional assess the lifting and follow the appropriate correction or removal process. Do not simply cover the area, especially where there is pain, discoloration or another concern involving the natural nail.
Is Every Gel Top Coat Soak-Off?
No. Confirm the product's removal instructions and the complete system beneath it. A soak-off finishing product does not make a non-soak-off enhancement dissolve. Plan removal before choosing the service and avoid transferring a time or technique from an unrelated gel system.
What Should a Buyer Check before Ordering in Bulk?
Approve the exact sample, application system, finish, packaging and documentation scope. Record batch identification and reorder requirements. Compare quotes with the same fill, decoration and shipping assumptions. A bottle photograph and a low price do not replace a specification or a representative sample trial.
Does HEMA-Free Mean a Gel Top Coat Cannot Cause Allergy?
No. Absence of one ingredient does not mean a product cannot cause an allergic reaction. Avoid uncured product contacting skin, use the documented application process and stop if a reaction occurs. Obtain appropriate medical advice for symptoms rather than selecting another gel solely on a free-from label.
What Should I Send JTING for a Top Coat Sample Request?
Share the desired finish, current base and color system, intended customer, packaging direction and estimated quantity. Add any specific formula or destination-market requirements and the problem you want the sample to address. Photos can explain appearance preferences, but written application and performance targets are also important.
Choose the Finish That Fits Your Product System
The right top coat starts with a clear purpose. Define the finish, match the underlying service, follow the product-specific process and evaluate the result under conditions relevant to your customers. That is more useful than searching for one bottle that promises to do everything.
Whether you are refining a salon service or developing a branded range, share your top coat requirements with JTING. Tell us which finish you want, what it will be applied over and how you plan to package and sell it, so the sample discussion starts with the right product direction.