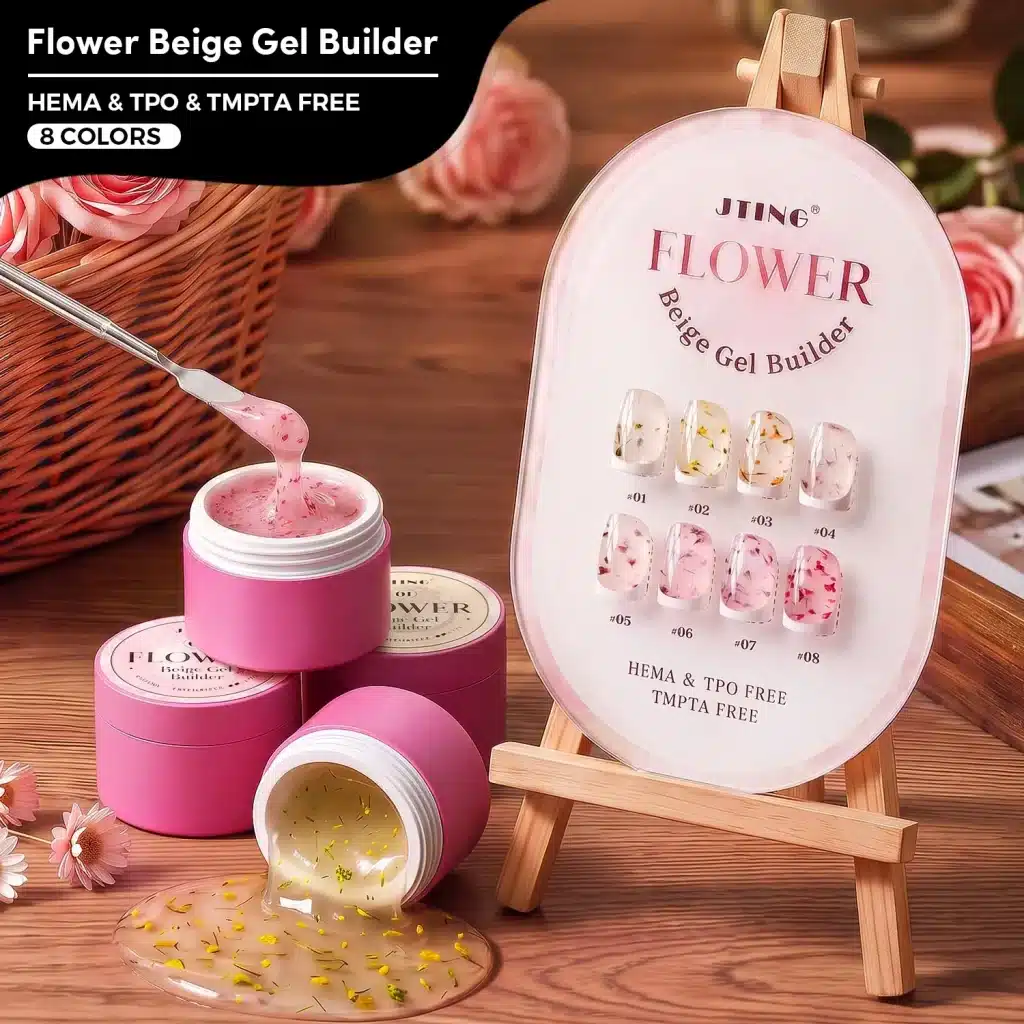
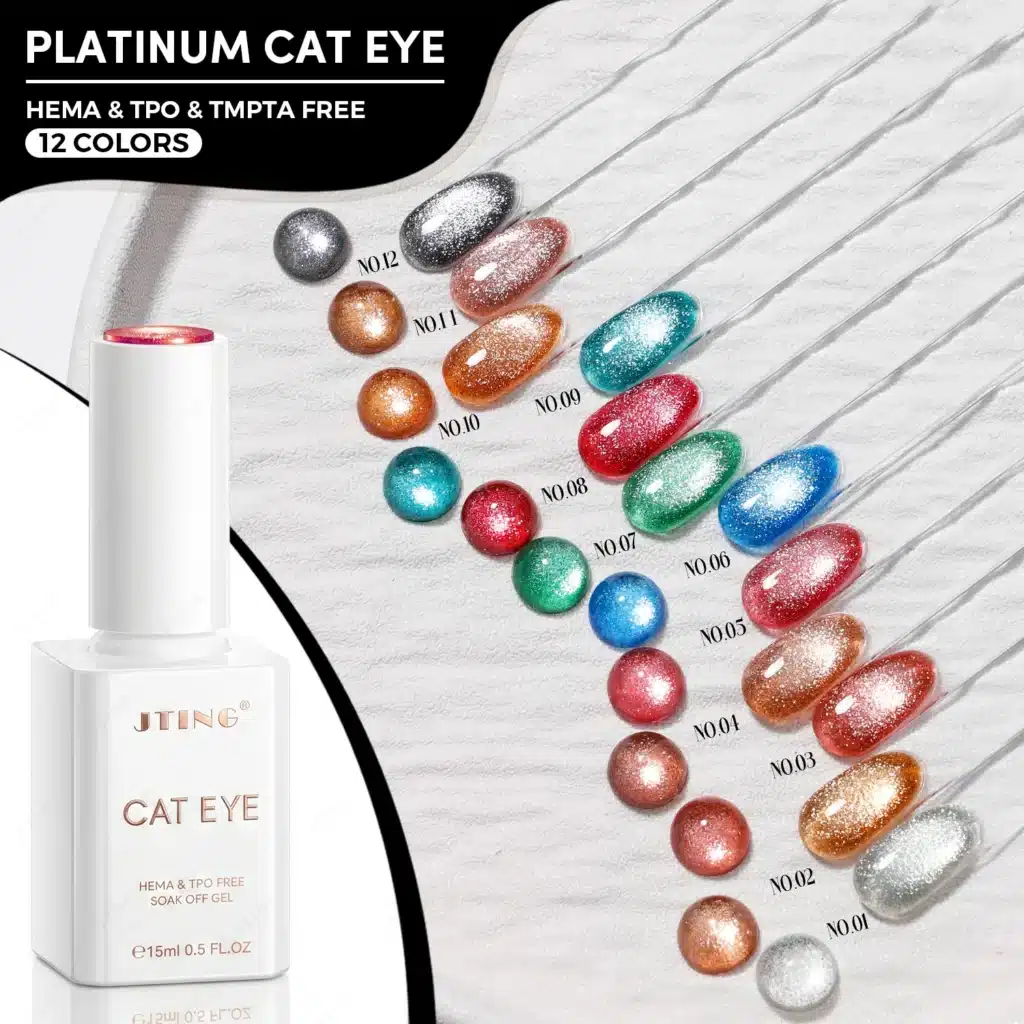
For nail brands, distributors and professional salons, a Halloween gel nail collection needs more than seasonal colors. It needs designs customers will choose, products that work together and an order plan that fits the selling window. A small ghost accent, a red magnetic manicure and a raised drip design each create a different service and purchasing opportunity.
Build the selection around finished designs: identify the required materials, establish a repeatable application method and decide how each look will be offered. A coordinated Halloween range can provide a starting point, while complementary liner, painting, magnetic and finishing products allow buyers to adapt the collection to their market without duplicating every color they already stock.
For salons, the goal is a clear menu that matches different appointments and budgets. For nail brands and distributors, it is a selection with enough seasonal character to attract attention and enough everyday usefulness to remain relevant after October. Both begin with understanding the difference between a color, an optical effect and a decorative technique.
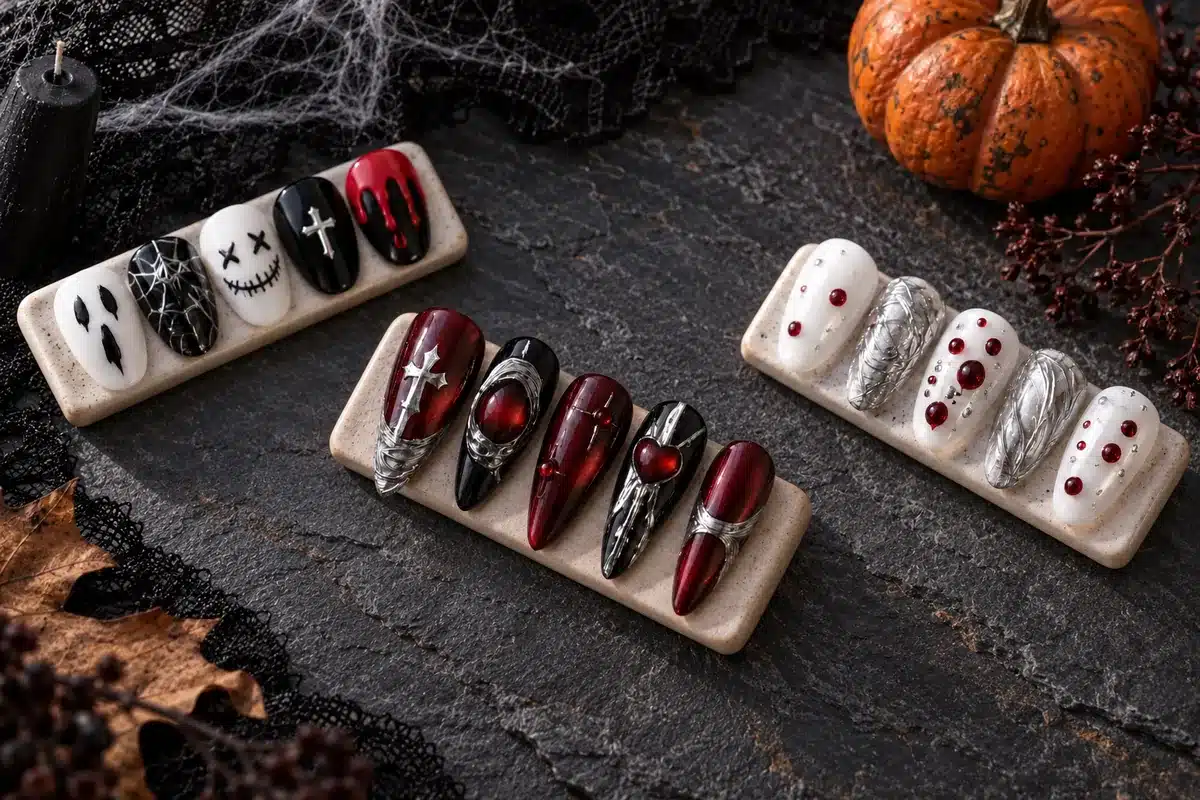
1. How to Choose Halloween Gel Nail Designs for Your Business
A good Halloween gel nail design has one clear focal point, a palette that works on the chosen nail length and a technique that suits the appointment. It should still look intentional at normal viewing distance, not only in a magnified photograph. One expressive accent can communicate more than ten crowded nails.
Begin by deciding what makes the look seasonal. It may be a recognizable symbol, such as a pumpkin or ghost; a color relationship, such as black and orange; or an effect, such as a dark red magnetic highlight. You do not need all three. A glossy black French tip with a single fine web is already a complete direction.
| Customer Preference | Design Starting Point | Main Material Decision |
|---|---|---|
| Subtle and everyday | Micro ghost, dark French tip or small star | Sheer base color and controlled detail gel |
| Playful and recognizable | Pumpkins, candy colors or simple faces | Contrasting color gel and painting or liner gel |
| Dark and sophisticated | Red cat eye, smoky black or metallic accent | Magnetic, translucent or chrome-compatible products |
| Party-focused | Glow, reflective sparkle or dimensional detail | Effect-specific materials and suitable demonstration |
For a salon menu, sample the designs on the lengths clients actually book. For a distributor or brand, assess whether each look can be explained with a clear product combination and a useful demonstration. Short, everyday options and more elaborate statement designs serve different needs; the assortment should reflect the customers you supply.
The strongest purchasing brief describes the result before listing bottles: a short, neutral manicure with one clean ghost; a deep red magnetic set; or a raised droplet accent with a defined profile. These descriptions help separate essentials from optional additions and prevent a seasonal order from becoming a collection of unrelated effects.
2. Choose between Cute, Minimal, Gothic and Party Styles
Organize a Halloween selection by style as well as technique. Cute, minimal, gothic and party designs give sales teams and salon staff distinct options to present. Assess the work behind each style separately: a minimal design may need precise line control, while a bold color-blocked look can use a relatively straightforward sequence.
Cute and Playful
Use rounded shapes, open space and softened contrasts. A small white ghost on pale pink feels different from the same ghost on black. Orange pumpkins, a smiling face or a tiny candy motif can sit on one or two nails while the rest stay simple. Keep expressions readable: eyes and a mouth that look separate on a large display tip can merge on a short natural nail.
Minimal and Wearable
Let the base color do most of the work. A fine dark tip, a single tiny web corner or a narrow red curve can suggest Halloween without dominating the whole hand. This direction is useful when a customer needs the manicure to remain suitable for work or everyday clothing. Show the design on a relaxed hand, not only against a costume prop.
Gothic and Dramatic
Choose depth instead of adding more symbols. Burgundy, black, smoky gray and a controlled metallic highlight can create a strong mood with little illustration. Keep one surface dominant: glossy dark color, a magnetic highlight or matte texture. Too many competing finishes can make a carefully chosen palette look disconnected.
Party and Statement
Glow, reflective sparkle and raised details can distinguish a party-focused selection. Provide a normal-light sample alongside any special-effect demonstration so salon teams and retail buyers can explain both appearances. Include the required tools and viewing conditions in the product information, particularly when customers first encounter the effect through a photograph.
3. Build a Halloween Gel Polish Palette That Works Together
Start with a dominant shade, a supporting neutral and one contrast color. This creates a usable design language before you add specialist effects. Black, orange and white are recognizable seasonal choices, but they are not the only option. Dark red, plum, muted green, gray and translucent pink can support a more understated collection.
Think in color relationships rather than fixed shopping lists. A warm orange can look bright beside white and more restrained beside a deep brown. A red magnetic highlight may read differently over a pale or dark background, depending on the actual formula and recommended application. Compare finished swatches instead of assuming that bottle colors predict the layered result.
- Classic Halloween: orange, black and white, with one illustrated accent.
- Soft spooky: sheer pink or milky neutral, white motifs and small dark details.
- Vampire-inspired: deep red, black and a limited silver or gold accent.
- Witch-inspired: dark green or plum with smoky transitions and restrained sparkle.
- Autumn crossover: amber, brown, copper or muted orange with minimal literal artwork.
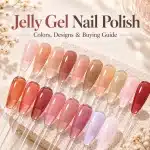
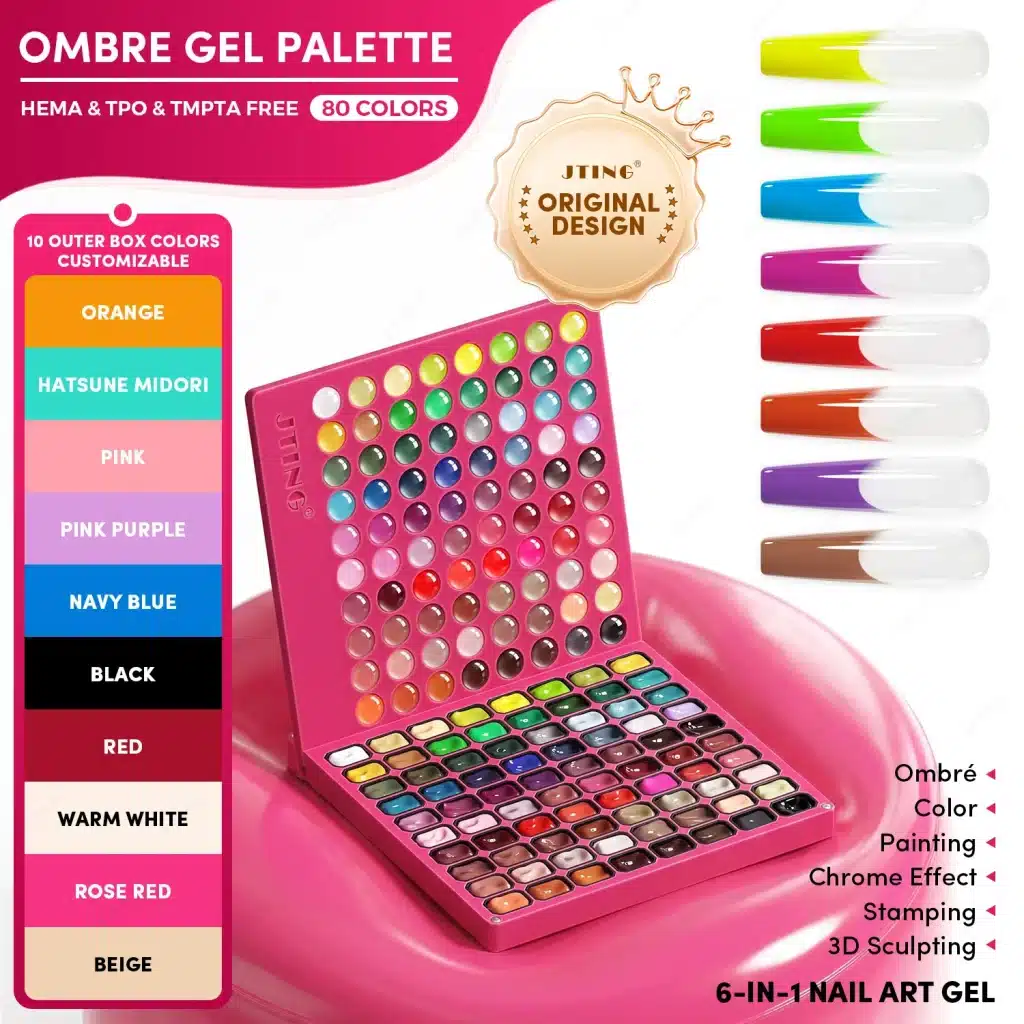
Use the palette to shortlist shades from JTING gel polish color collections, then compare finished swatches for opacity, undertone and finish. Retain the approved swatches with your order specifications so the shade selected for a sample board, product photograph and repeat order remains clearly identified.
For buying, separate high-use foundation colors from low-use decorative accents. Black and white may be used across many services, while an unusual accent shade may appear only in a few designs. Equal quantities of every color are not automatically the most practical order. Let planned services and existing stock guide the balance.
4. Short Halloween Gel Nails for Everyday Salon Clients
Short Halloween gel nails work best when the design uses the available surface deliberately. Scale is more important than the number of motifs. A small ghost placed to one side, a narrow French tip or a single magnetic accent can be recognizable without making a short nail appear crowded.
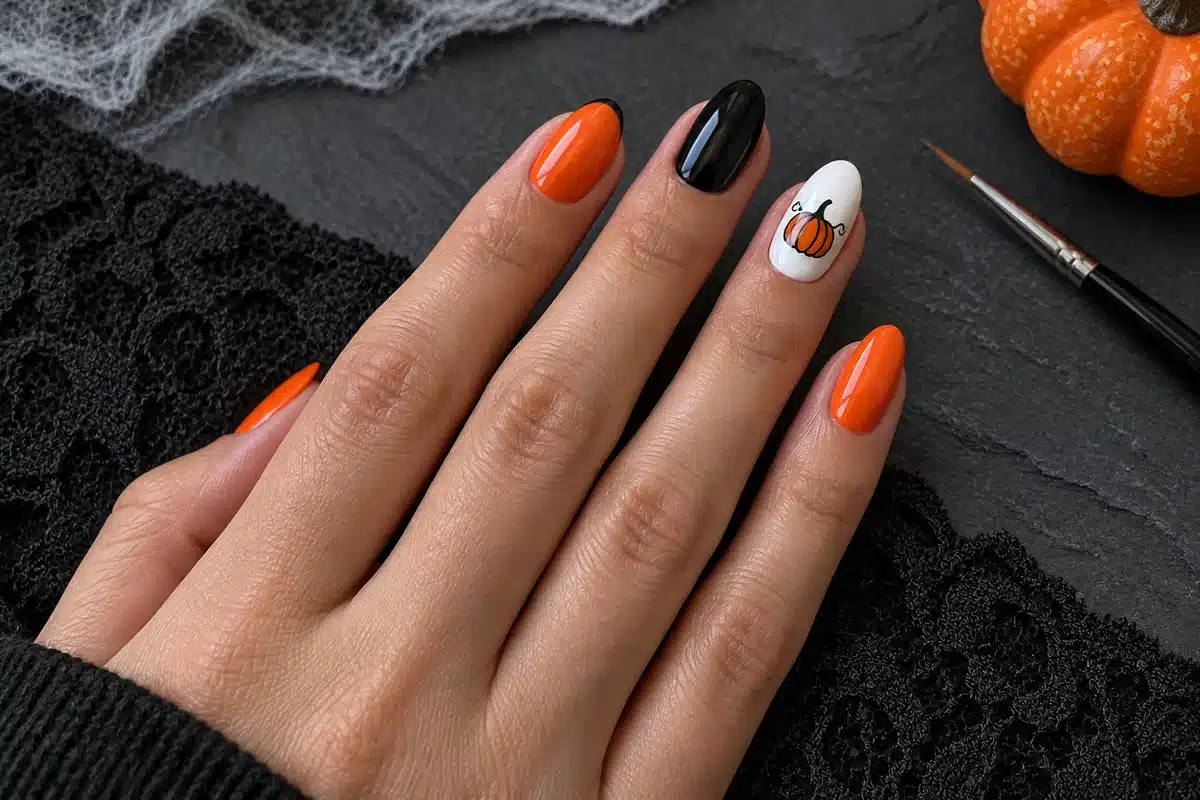
Choose the focal nail before starting. The thumb or ring finger may provide enough room for an illustration, while the remaining nails repeat a color or a small mark. The right choice depends on the customer's nail proportions, not a universal rule that every accent belongs on the ring finger. Check the design with the hand relaxed.
Three Reliable Short-Nail Layouts
One symbol, repeated color: use a pumpkin or ghost on one nail and keep the others in a supporting shade. Fine tips, one exception: repeat a narrow dark tip, then replace one tip with a small seasonal detail. Texture without illustration: use a coordinated magnetic or glossy finish across the set and leave the surface uncluttered.
A common mistake is shrinking every part of a long-nail design. Ten small web lines may be less readable than three deliberate ones. A miniature face may need only two eyes. Leave enough empty base around the motif to give its outline a clear edge. The effect should survive ordinary viewing distance and movement.
Include a genuinely short set on the salon sample board and in any wholesale design sheet intended for everyday services. Photograph the short and extended versions separately, with their respective accent counts. This gives staff a realistic reference for the work involved and helps buyers assess whether the selection fits the salons they serve.
5. Halloween French Tips, Almond Nails and Longer Shapes
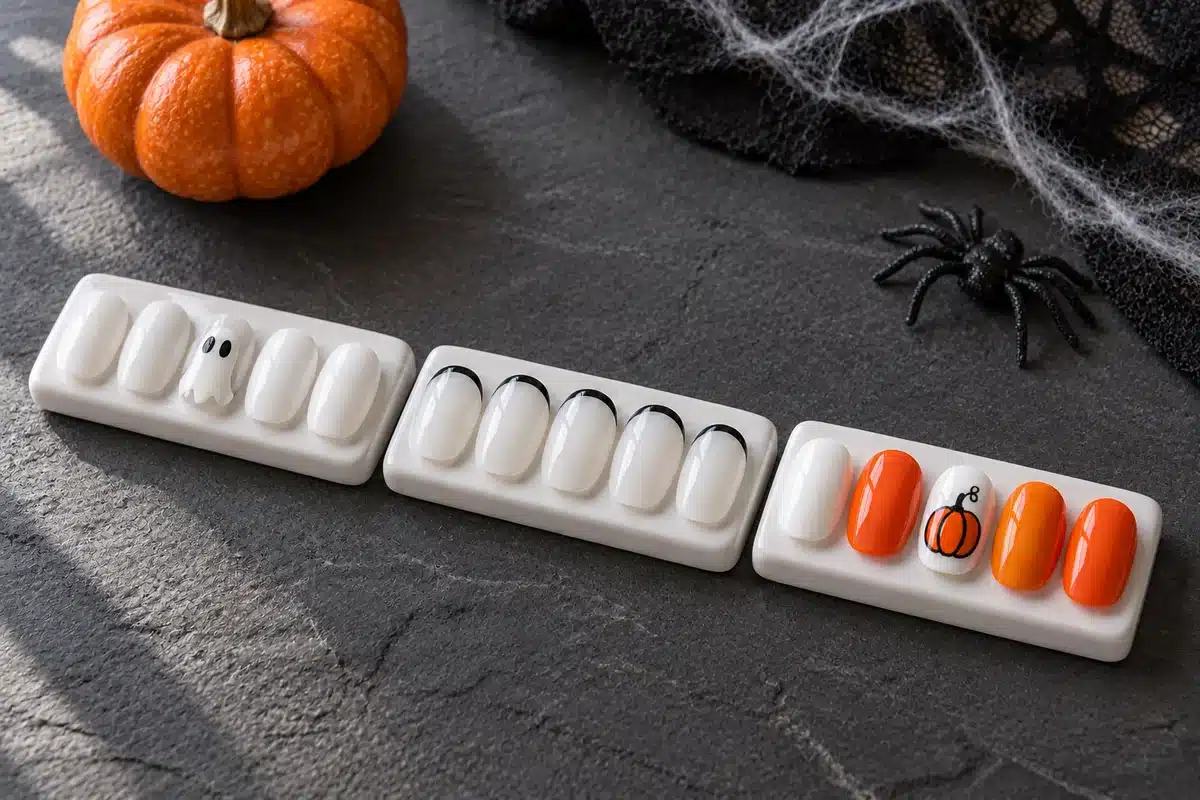
A French layout gives a seasonal manicure an immediate structure. Change the tip color, interrupt one smile line with a small motif or add a narrow web at the corner. The familiar base keeps the result wearable even when the detail is distinctly Halloween.
For a short square or rounded nail, keep the tip proportionate to the visible nail bed. A thick black band can visually shorten an already compact nail. An almond shape offers more room for a tapered French line, while longer coffin or stiletto shapes can support a larger focal design. Extra length provides space, but it does not require extra decoration.
Build the Design around the Tip
Try a black French tip with a small white ghost near one edge, a red tip with a curved drip-inspired border or an orange tip interrupted by a tiny pumpkin stem. Draw the silhouette first. Once it works, decide whether a second detail adds value. A neat curve and a consistent tip width are often more important than multiple small symbols.
Transparent or sheer bases leave less room to hide uneven boundaries. Select the base shade for the customer's skin tone and the intended contrast. A cool translucent pink, a milky neutral and an opaque nude will create different visual results, even with the same black tip. Test the full combination rather than approving each bottle separately.
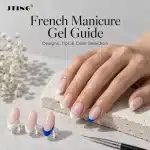
Evaluate longer shapes for daily wear as well as display impact. Consider the placement of raised elements, the customer's activities and the supporting structure needed for the service. Include these differences in staff training and appointment guidance. The French manicure gel guide explores proportions and service choices in more detail.
6. Ghost Nails and Minimal Spooky Nail Art
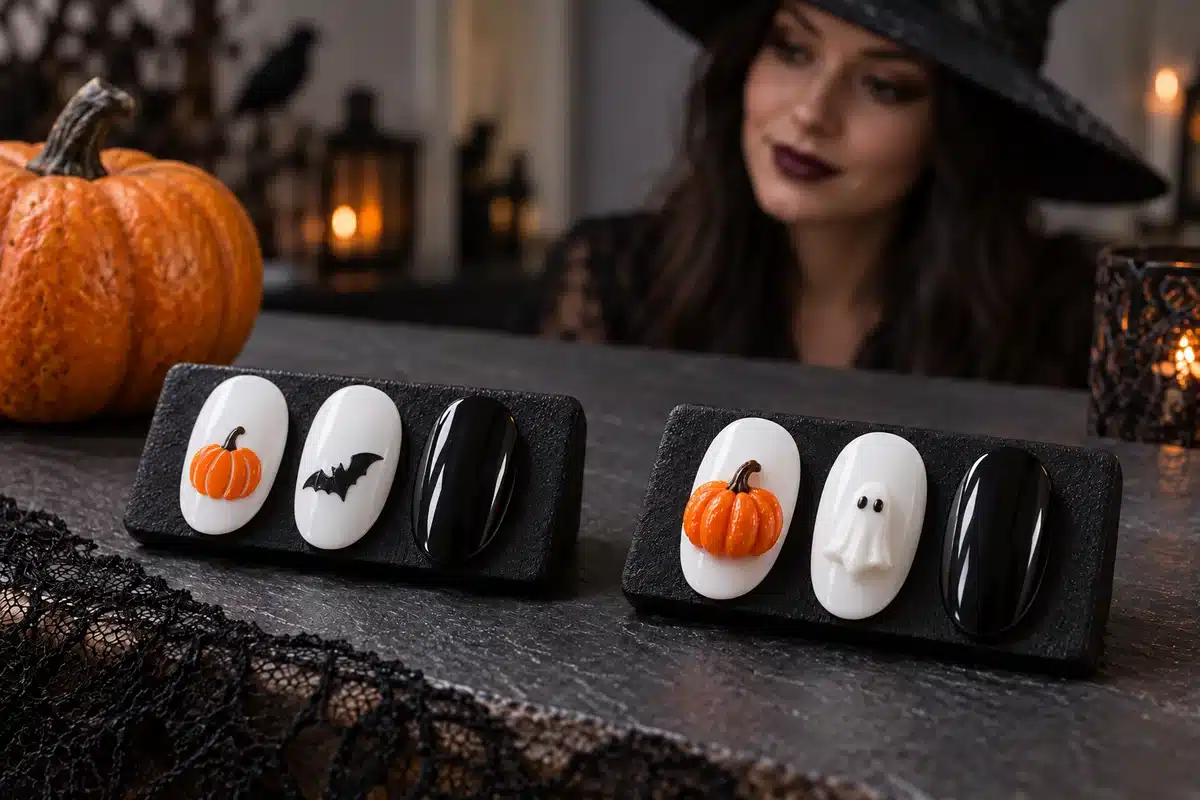
Ghost nails are a useful starting point because the silhouette can remain recognizable with very few marks. A rounded white shape, a gently uneven lower edge and small dark eyes are often enough. The surrounding space matters as much as the illustration: crowding the ghost with stars, dots and lettering can make a simple design harder to read.
Begin with a fully prepared, compatible base and the chosen background color. Follow the product system's layer and curing directions. Use an appropriate detail or painting gel to establish the ghost outline, then fill it without creating a thick mound. Add facial details at the stage specified for the products you are using, and finish with the compatible top coat.
Make the Expression Fit the Nail
Two vertical eyes produce a different character from round dots. Position them inside the upper part of the silhouette and keep sufficient separation. If the face becomes crowded, remove detail rather than extending the ghost into every available space. A clean shape without a mouth can look more deliberate than a tiny face with unreadable features.
For a softer style, choose a translucent pink background and one ghost accent. For a higher-contrast look, place the white silhouette over a dark nail and repeat small white marks elsewhere. A double-ghost composition is better reserved for a nail with enough usable area to preserve both outlines.
Evaluate painting gel for both the white fill and the small facial details. Compare edge definition, brush loading and the amount needed for a readable motif. For a sample assortment, show the same ghost on light and dark backgrounds so buyers can assess contrast before selecting complementary colors.
7. Pumpkin, Candy Corn and Orange-and-Black Designs
Pumpkin nails can be graphic, cute or dimensional. A simple orange shape with a curved outline communicates the theme without a face. A small stem and a few curved sections make it more specific. The number of internal lines should match the size of the pumpkin, not the complexity of a reference drawing.
For a graphic version, place the pumpkin on a light neutral nail and use orange elsewhere in the set. For a darker interpretation, pair it with black or a deep seasonal accent. If the palette feels too high-contrast, keep the pumpkin small and leave the other nails predominantly neutral.
Use the Effect to Replace Extra Drawing
For a pumpkin design with moving light, select a magnetic orange or copper-toned gel rather than a standard solid orange. Establish the highlight before curing, then add the curved pumpkin lines with a compatible detail product. For sampling, compare a painted solid-color version with a magnetic version to judge whether the additional effect suits the service or collection.
Candy corn designs use a different structure: stacked or angled blocks of white, orange and yellow. Keep the divisions clean and proportionate to the nail. On a short nail, a small triangular accent can work better than filling the entire surface with thick bands. A soft transition changes the look into an ombre interpretation rather than a crisp graphic motif.
Black-and-orange sets benefit from variation in area rather than a different pattern on every nail. Try two orange nails, two neutral nails and one black accent, then repeat one small detail. For a supplier brief, specify the exact orange direction: bright, burnt, muted or translucent. These are not interchangeable when matching packaging, customer photographs or a salon's seasonal board.
8. Spiderwebs, Stitches and Fine-Line Halloween Nails
Fine-line nail art gives a seasonal set detail without requiring a large illustrated character. A web corner, a few stitched marks or a narrow geometric border can sit over a solid color, a sheer base or a magnetic background. The challenge is keeping the line work intentional rather than adding as many lines as possible.
For a painted web, establish a small number of radiating guide lines, then connect them with curved segments. Keep the spacing visible at the scale of the finished nail. Starting from one corner is often easier to compose than centering a full circular web. An off-center layout also leaves more of the background effect visible.
Liner Gel and Spider Gel Are Different Choices
A liner brush with a suitable detail gel offers direct control over curved web segments and small interruptions. Elastic spider gel is better evaluated for the pulled or stretched lines its formula is designed to create. Include the intended tool when comparing samples: a clean curve and a long stretched line are different requirements, even when both appear in one web design.
Stitch patterns are a simpler alternative. One curved line crossed by a few short marks can suggest the theme without covering the whole nail. Vary the placement, but keep the line weight consistent. Unevenly loaded strokes can make a simple design look less controlled than a more complex one.
When choosing JTING liner gel, compare the brush reach, pickup and the thickness of the line it produces with your technique.
9. Blood-Drip Nails: Painted Curves or Raised Droplets?
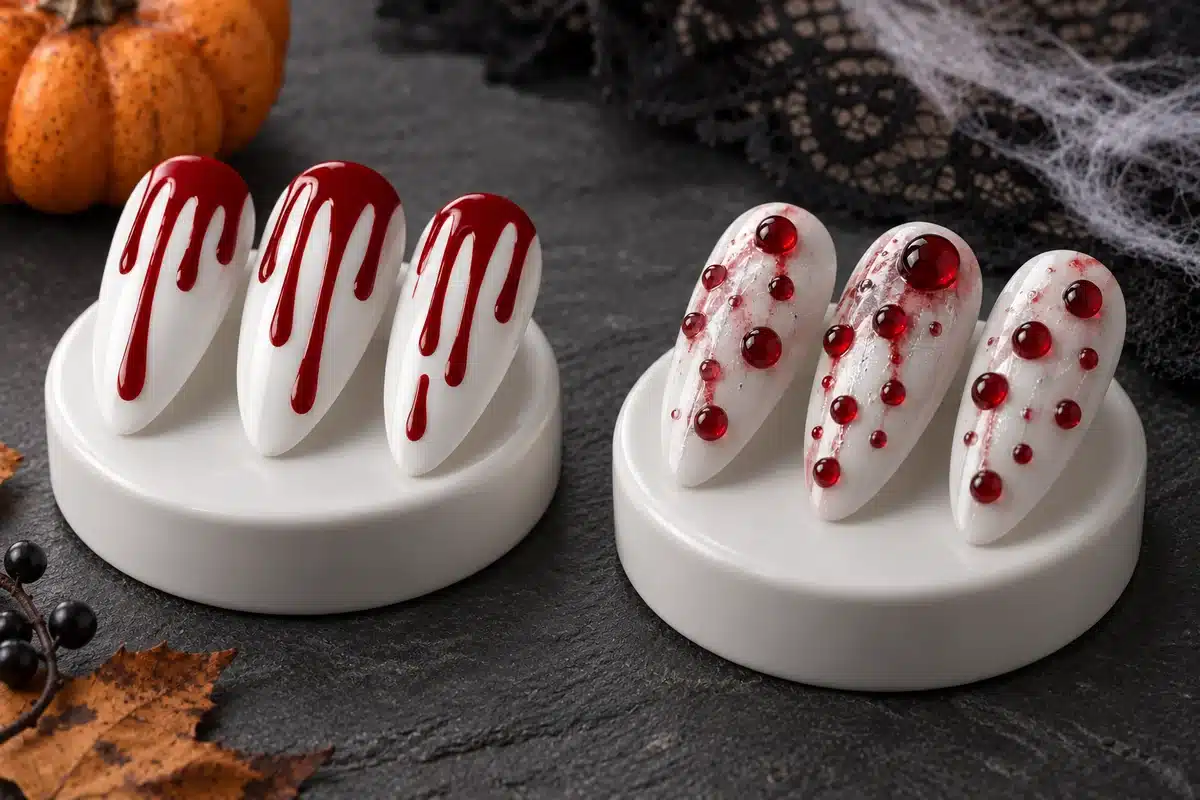
Blood-drip nails describe a visual theme, not a single formula or method. A flat red silhouette, a translucent red streak and a raised rounded droplet can look related in a photograph but require different materials. Choose which result you want before ordering a product or promising the design to a client.
Flat Painted Drips
For a graphic version, use a suitable red detail gel to form a curved border with a few rounded ends. Vary their length so the shape does not resemble evenly spaced teeth. Keep the main red area controlled and avoid turning the edge into a heavy ridge. A sheer or pale background makes the silhouette easy to read.
Dimensional Droplet Effects
The JTING Halloween Gel Polish collection pairs Dark Red with Drip Top Coat for a beaded, blood-drop-inspired effect. Evaluate the two products together using their matched application directions. Include both in the sampling and order specification when this effect is part of your collection; ordinary red gel with a general-purpose top coat is a different combination.
Keep the difference clear on a service menu. A painted drip is illustration, while a raised droplet changes the surface profile. Ask whether the customer wants an accent or a full set and whether they prefer a subtle red detail or a dramatic costume look. Concentrating dimensional work on selected nails can preserve the theme without overwhelming the hand.
Evaluate the finished droplets from above and from the side. Look for defined boundaries, spacing and a profile suitable for the customer's daily activities. Do not identify complete curing by the apparent firmness of a raised surface. The correct product instructions govern thickness and lamp use. Automatic shaping, where specified for a paired system, does not mean automatic curing.
10. Halloween Cat Eye Nails: Red, Dark and Velvet-Like Effects
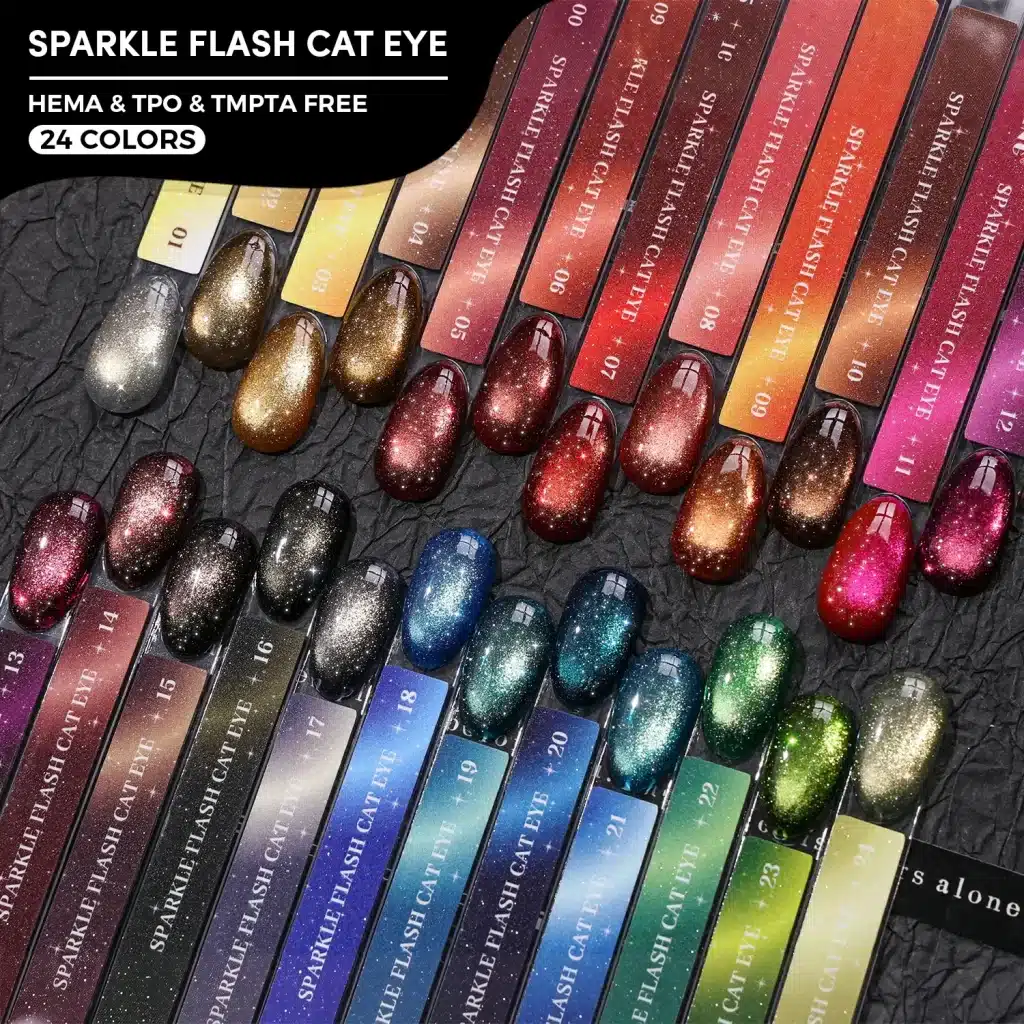
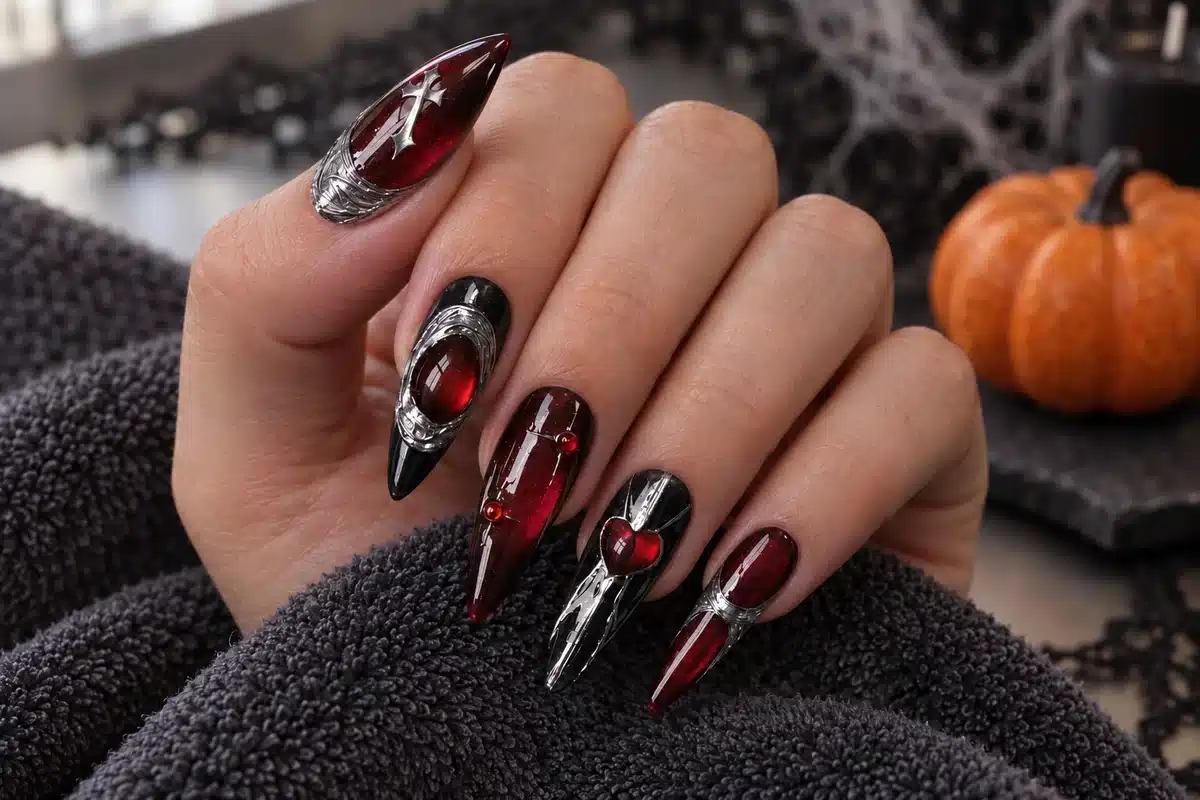
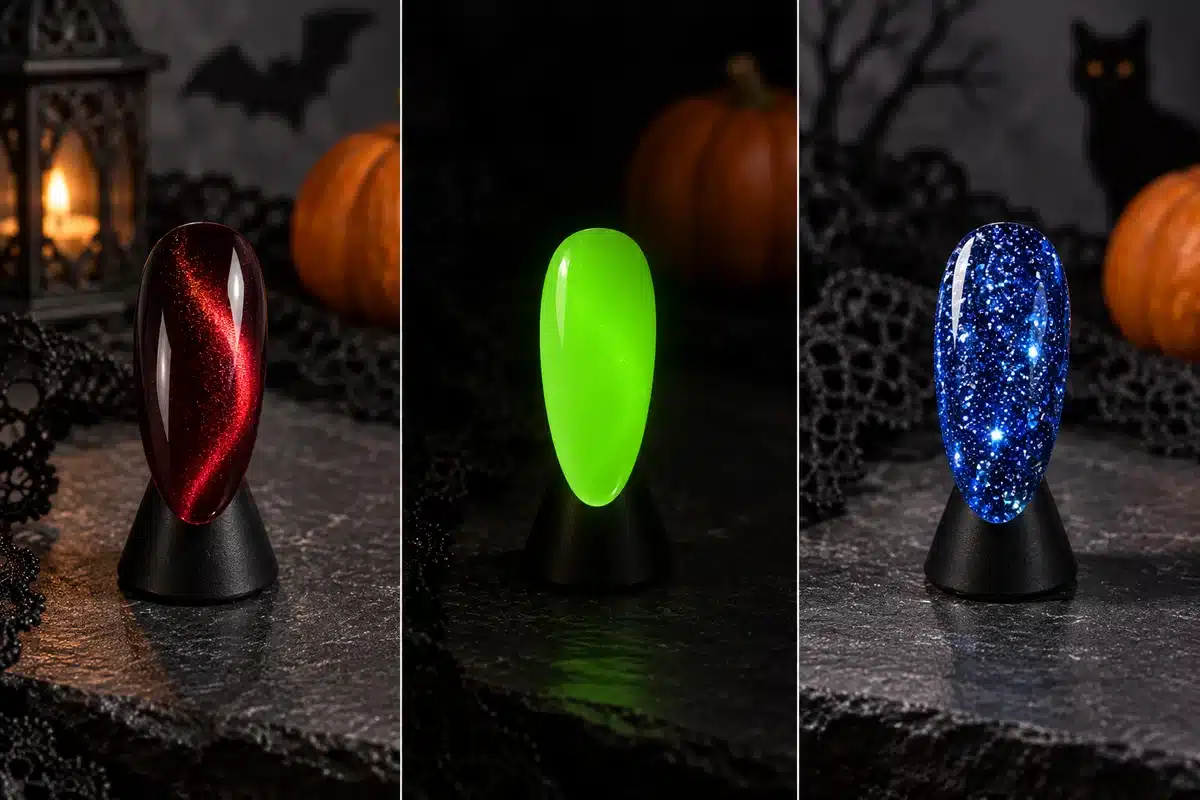
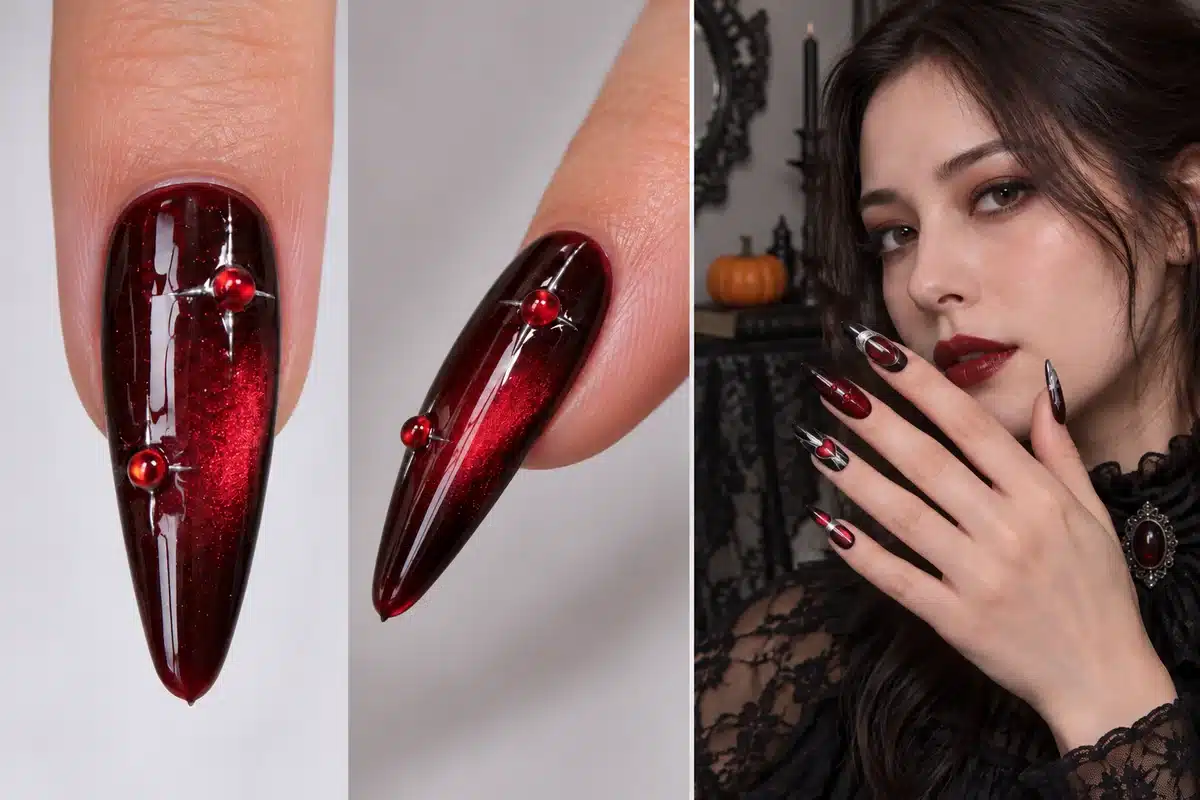
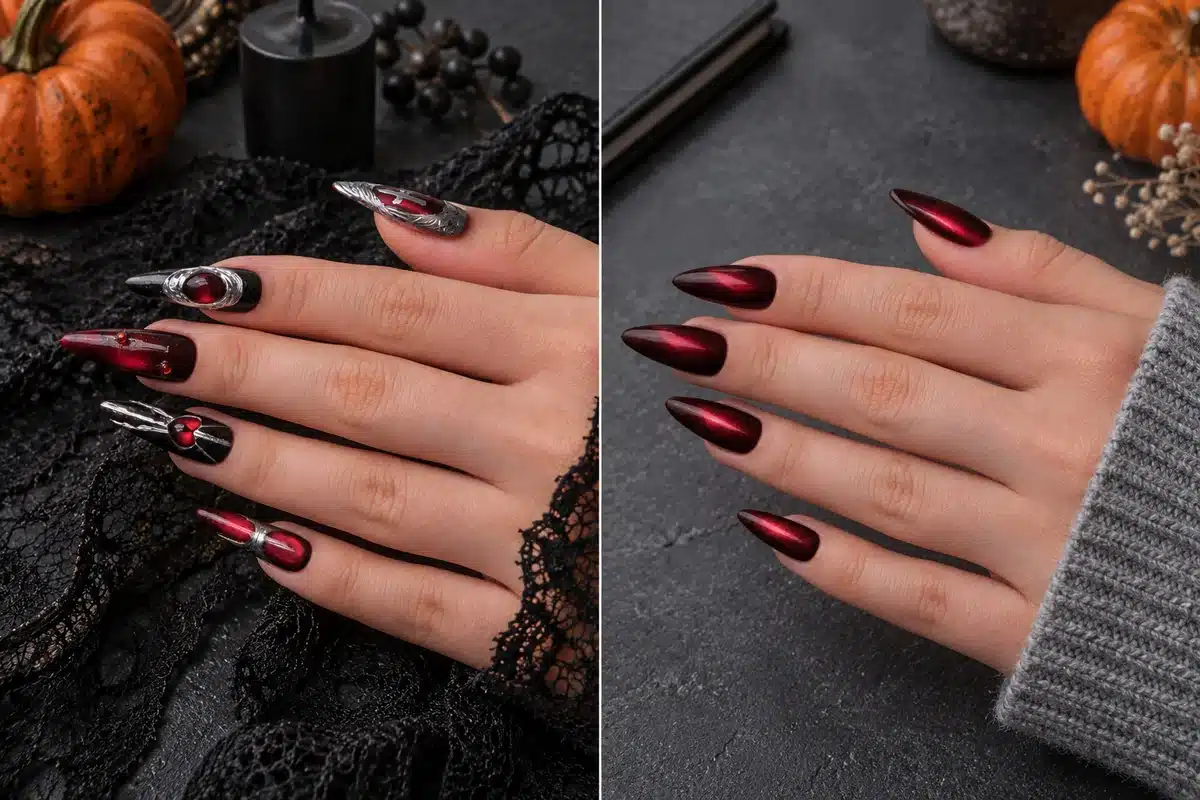
Halloween cat eye nails can deliver a strong seasonal mood without literal artwork. A concentrated red highlight over depth, a narrow light band on a dark nail or a broad velvet-like reflection gives the set movement as the hand turns. The magnetic pattern becomes the main design element.
Select JTING cat eye gel by shade, highlight color and the magnetic pattern required for the design. Compare the recommended background layers and magnet method as part of the sample. Buyers evaluating several magnetic shades should use a consistent demonstration method so differences in technique do not obscure differences between products.
Decide the Highlight before Adding Art
A narrow band feels different from an evenly spread luminous field. Choose one direction and reproduce it across the set. Work carefully enough to keep the magnet from touching the uncured surface, then cure at the required stage. If the pattern shifts while other nails are being completed, adjust the workflow instead of assuming the color is wrong.
For a red vampire-inspired manicure, let the highlight remain visible and use black detail sparingly. For a celestial direction, add a few small stars or a moon on one focal nail. For pumpkin-inspired art, a suitable warm magnetic shade can provide depth beneath a restrained outline. The additional illustration should frame the light effect, not cover the area that makes it distinctive.
Check the sample face-on, tilted and under ordinary room lighting. Ask the technician to repeat the same pattern on a second tip before approving the effect for a salon service.
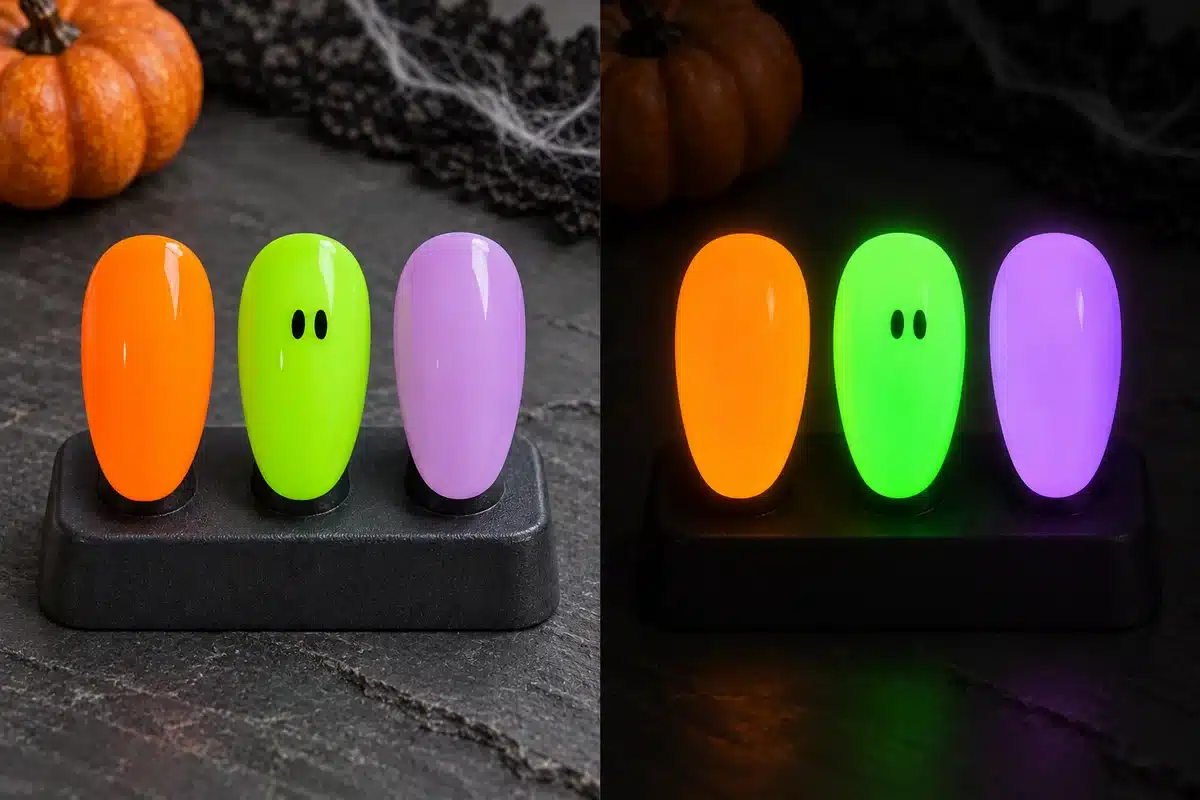
11. Glow-in-the-Dark Halloween Nails: Design for Two Viewing Conditions
Glow-in-the-dark Halloween nails should work as a daytime manicure and as a dark-room effect. Start by checking the actual glow product's appearance in normal light. Then decide which parts of the design will remain visible when the surrounding artwork is no longer easy to see.
Keep the glowing area readable. A simple ghost silhouette, a clear accent panel or a small set of repeated shapes may communicate better than a complicated scene. Dark painted details can interrupt the visible glow, which can be useful for eyes or outlines, but covering most of the glowing layer defeats the purpose of selecting it.
For brands and salon suppliers looking to offer a broader luminous palette, JTING 12-Color Glow-in-the-Dark Gel Nail Polish provides a dedicated color range to evaluate for full-color nails and glowing accents. Compare the daytime shades and dark-viewing effects alongside the backgrounds already in your assortment, then shortlist the combinations that suit your Halloween designs. Include those combinations in the sample request so the buying decision reflects the finished service, rather than the number of colors alone.
Separate Light Activation from Gel Curing
A glow product's exposure to light before dark viewing is a different step from the curing process that makes the gel suitable for wear. Follow the exact application and lamp directions for the formula. Do not use a visible glow as evidence that the gel is fully cured, and do not assume every product in a Halloween collection has the same optical property.
For a fair demonstration, show the same finished nail under ordinary light and in darkness after the specified light exposure. Record the exposure and the delay before photographing it. Camera settings can make a weak effect appear much stronger, so avoid using a long-exposure photograph as if it were identical to what a customer sees immediately with the naked eye.
For a salon menu or retail listing, explain that the glow is intended for dark viewing after light exposure. Show a daytime design that customers can evaluate on its own, then demonstrate the additional effect separately. This gives staff a clear way to set expectations when venue lighting differs from the conditions used in product photography.
12. Smoky, Marble and Witch-Inspired Nail Designs
Smoky Halloween nails create atmosphere through translucent movement rather than recognizable characters. Gray drifting through a pale base, dark green over a translucent background or a muted purple cloud can suggest the season without becoming a costume illustration. This direction is useful for customers who prefer abstract art.
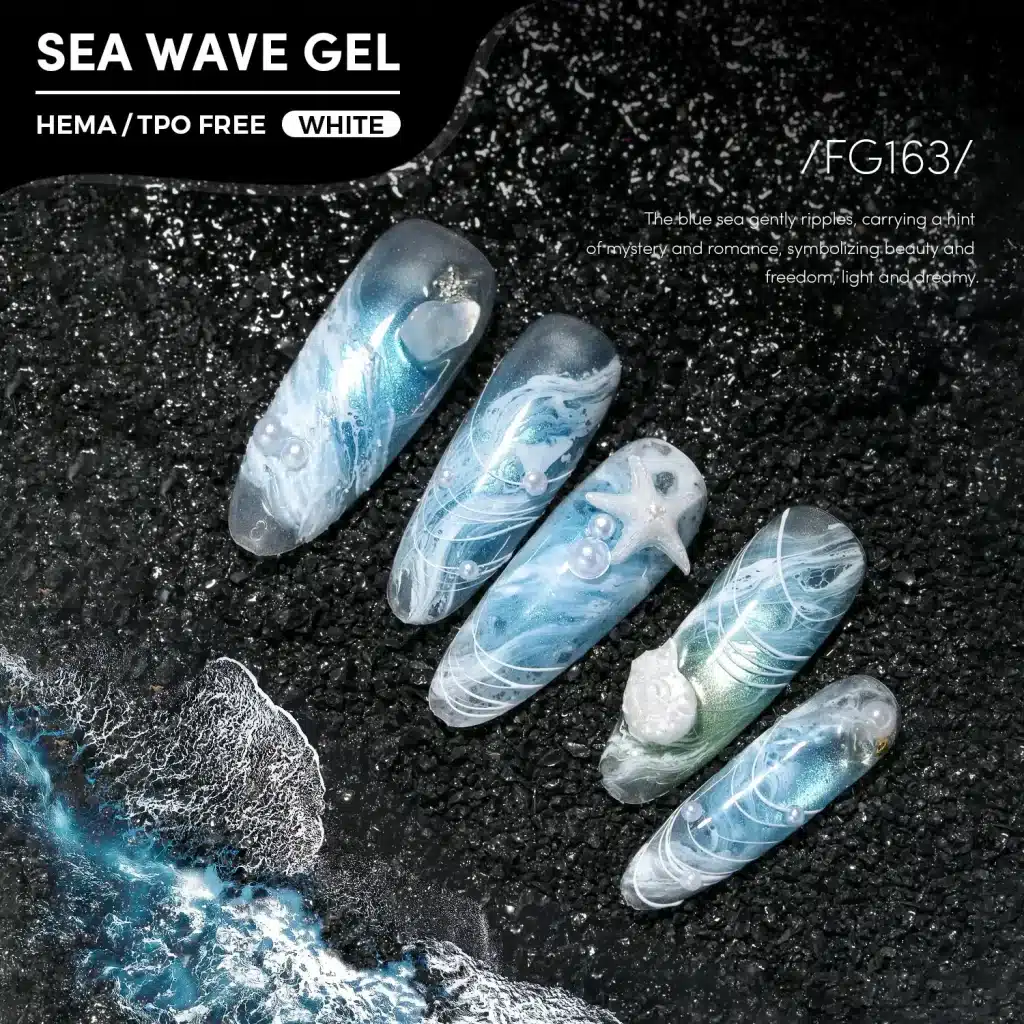
Decide whether the intended effect is a soft diffusion or a defined marble vein. Blooming systems encourage compatible color to spread through a receiving layer, while other marble and ink products may use different working methods. Products grouped under an artistic category are not automatically interchangeable. Choose the technique from the actual product directions.
Leave Open Space around the Pattern
A smoke effect needs contrast between concentrated and open areas. If every part becomes equally dark, the movement disappears. Place the strongest color in a controlled region, allow the intended spread and stop before the entire surface becomes muddy. Several small, restrained placements can be easier to control than one large load of dark color.
On a short nail, use the smoke as a partial accent. On a longer nail, allow the flow to travel along the shape without filling every edge. Add a tiny metallic line or a small star only after the abstract composition works on its own. Too many finishing details can turn an atmospheric design into an unclear pattern.
Explore JTING blooming and marble products according to the type of movement you want. For more detailed distinctions between materials and methods, the blooming gel guide provides a separate reference. Keep the Halloween sample focused on the palette and composition, then document the exact products used so another technician can reproduce the same effect.
13. Chrome, Metallic and Dark Mirror Accents
Metallic Halloween nails do not need a full mirror finish on every finger. One silver accent beside deep red, a narrow gold line on black or a small metallic frame around a neutral nail can provide enough contrast. Decide whether the metal is the focal finish or a supporting detail before selecting the products.
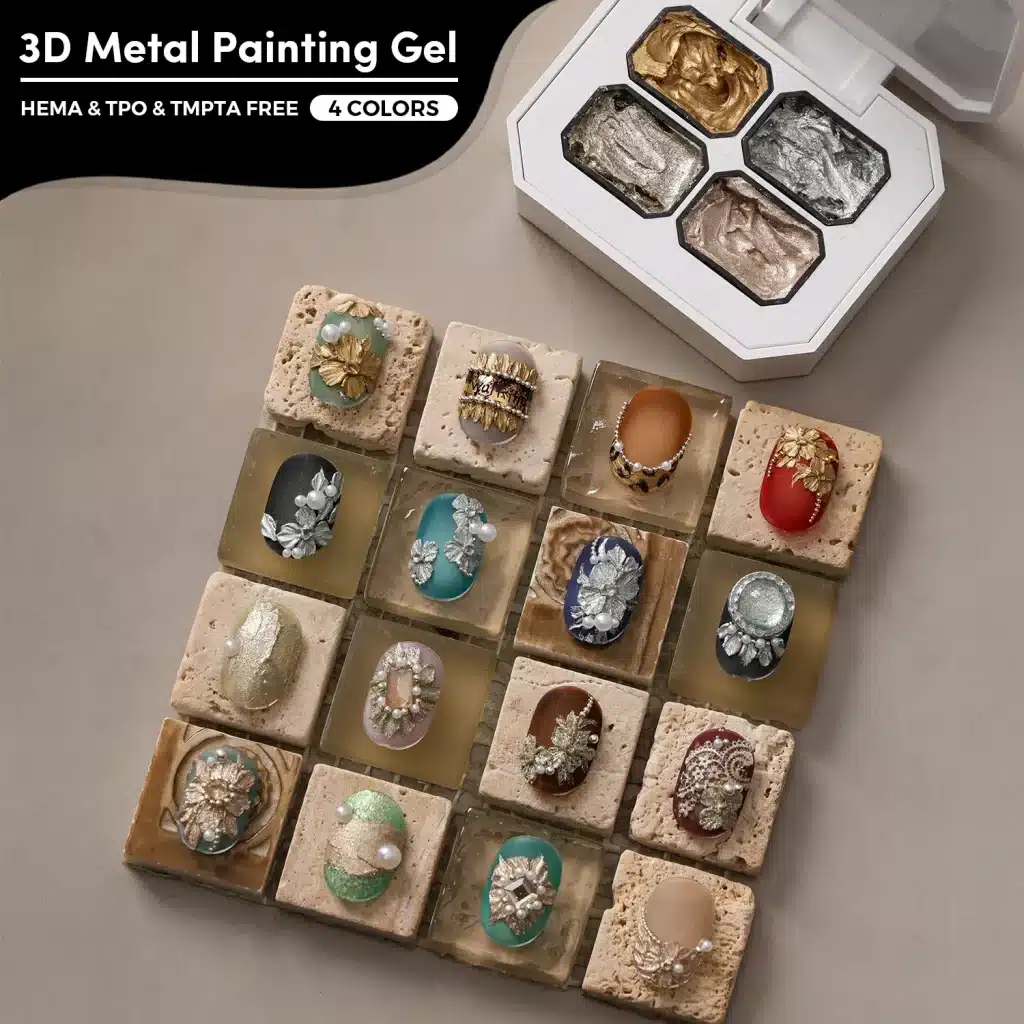
Chrome powder, metallic painting gel and cat eye gel can all create light-catching results, but the effects and application methods differ. Chrome powder uses a compatible receiving surface and finishing sequence. Metallic detail gel is selected for painted shapes or lines. Cat eye gel produces a magnetically arranged highlight within the gel layer.
Choose a Clear Boundary
A full chrome accent is visually direct. A partial chrome detail needs a defined boundary so excess powder does not obscure the pattern. Assess the receiving layer, powder application and final seal together. Powder pickup can differ between no-wipe products, so specify the tested combination when supplying application information with a wholesale assortment.
For a gothic composition, balance a bright metallic area with quieter dark nails. For a softer autumn look, consider a warm metallic accent beside brown or muted orange. For a spiderweb design, decide whether the web should be painted in a metallic gel or created through a powder technique; the buying list and appointment sequence will be different.
When reviewing samples, inspect both the broad reflection and the edges. A smooth central mirror can hide roughness near the sidewalls in a promotional photograph. Check the nail while tilted and after the intended finishing step. The chrome nails guide covers the broader material choices; in a Halloween menu, keep the number of metallic variations small enough that staff can explain them clearly.
14. Reflective Halloween Nails Are Not Glow-in-the-Dark Nails
Reflective gel creates a different viewing experience from a glow product. Its sparkle can become especially noticeable under suitable direct lighting, whereas glow-in-the-dark material is intended to emit visible light after light exposure. A dark-room image of one cannot be used as a substitute demonstration for the other.
For a party manicure, reflective accents can sit beside glossy black, deep red or an understated neutral. A full reflective set makes the finish the main feature; one or two reflective nails let a painted motif remain the focal point. Keep the color story consistent so the sparkle does not look like an unrelated addition.
Show the Ordinary Appearance Too
Compare the same sample under diffuse room lighting and a controlled direct-light setup. Keep the camera position and exposure as consistent as practical, and label the conditions. This helps a salon customer or wholesale buyer understand both the everyday finish and the more dramatic reflective response.
Compare JTING reflective gel by shade, particle appearance and the finished result with its compatible top coat. Record the viewing conditions beside each sample. For a distributor display, grouping normal-light and direct-light images together makes the effect easier to explain without relying on an unusually bright photograph.
For seasonal stock planning, reflective products may also fit later party or celebration collections. That flexibility is useful only when the selected shades match the rest of the range. A wearable dark or neutral direction can be easier to reposition than packaging and imagery tied exclusively to one Halloween character. Plan the second use before deciding how much to order.
15. 3D Halloween Nail Art: Texture with a Practical Purpose
Dimensional details change how a manicure feels as well as how it looks. A small raised pumpkin, a sculpted bow, an embossed line or a rounded accent can create a focal point that flat painting cannot. The decision should include placement, height, daily comfort and the time needed to form and finish the detail.
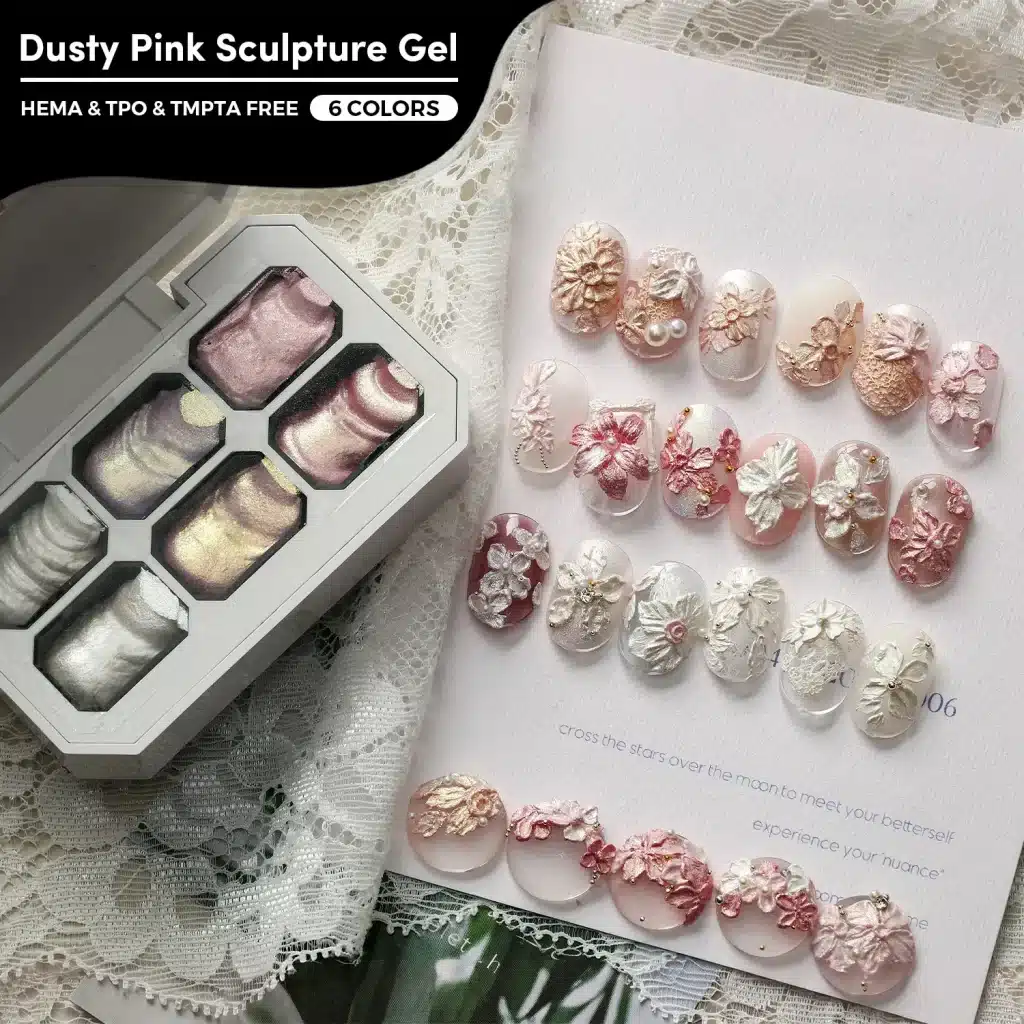
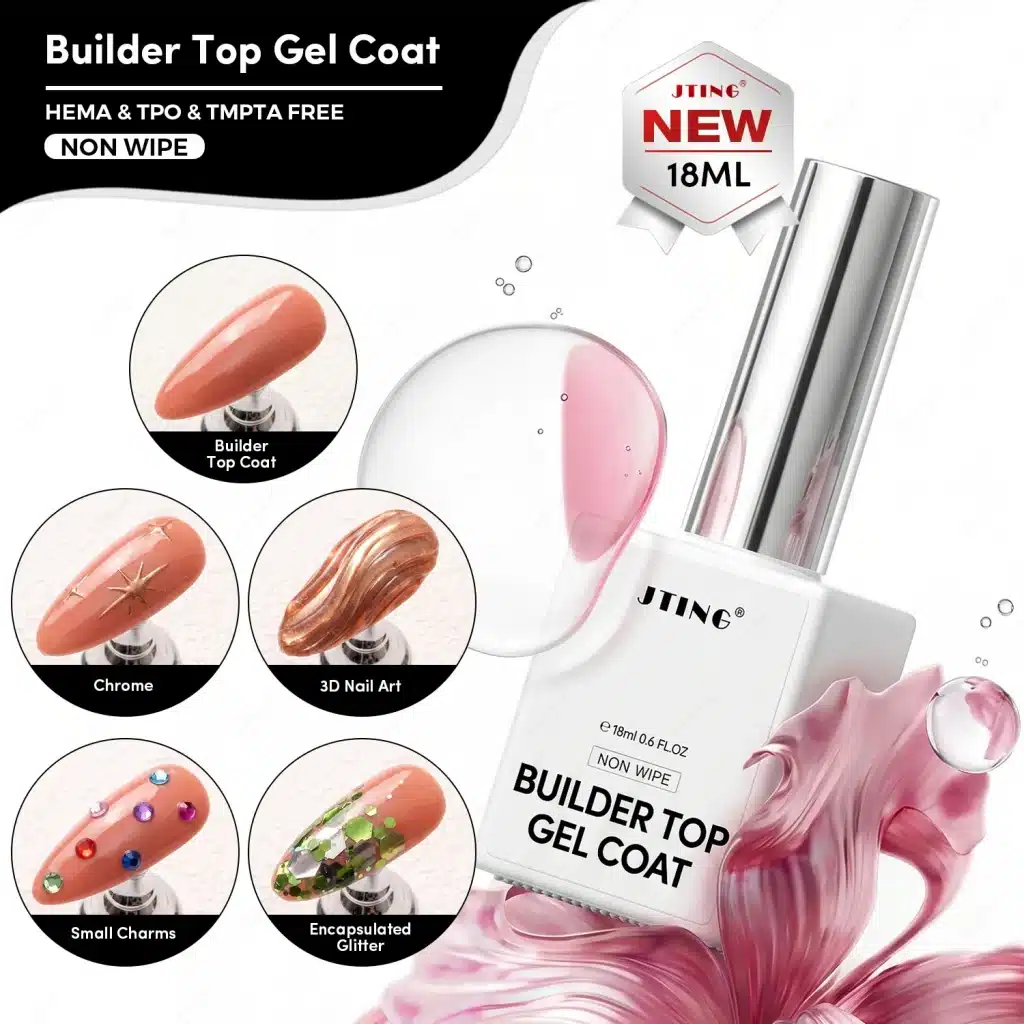
Choose a gel intended for the required behavior. A shape-holding sculpting product, a fluid droplet system and a structural builder gel serve different purposes. They should not be treated as interchangeable simply because all can leave material above the nail surface. The supported thickness and curing method must suit the selected formula.
Use Height Selectively
A low-relief detail can be enough on a short nail. Longer shapes may carry a larger focal element, but more surface area does not remove the need for appropriate structure or curing. Keep edges smooth and consider how the feature interacts with clothing, gloves and ordinary hand movements.
Show a restrained version alongside the statement design. Customers may prefer one dimensional nail rather than a full sculpted set. Practice the selected shape before offering it as a standard service.
Compare the effect families in JTING's nail art gel range against the shapes your team intends to offer. The 3D nail art gel guide explains the material choices in more detail. Prioritize samples that demonstrate a repeatable shape, an appropriate finished height and a service time that fits the salon's pricing.
16. Make Mix-and-Match Halloween Nails Look Deliberate
A mix-and-match set works when the nails share a visual rule. That rule may be a repeated color, a consistent line weight, a common background or a limited group of finishes. Without one, a hand can look like five unrelated sample tips placed together.
Choose a lead design first. If a red cat eye is the strongest feature, make other nails support it through deep color, a small dark motif or a restrained neutral. If the lead design is a white ghost, repeat white in a tiny detail elsewhere. Repetition gives the eye a path across the hand without requiring the same picture on every nail.
Keep Product Combinations Manageable
A set combining magnetic gel, powder chrome, blooming ink, raised sculpture and reflective glitter may look exciting on a planning board, but it introduces multiple application and finishing decisions. Select the effects that materially improve the design. Remove an optional system if it adds preparation, cleanup or compatibility questions without adding a clear visual benefit.
Sketch the full hand before choosing the order of work. Mark which nails share a base, which require a separate finish and which are focal accents. This makes it easier to organize tools and avoid applying a universal final layer over an effect that requires a different finish.
For a customer consultation, present a fixed combination and a small number of substitutions. For example, replace a painted pumpkin with a ghost while keeping the palette and accent count. Unlimited changes can turn a standard menu service into a custom art appointment. A clear design boundary makes the service easier to book, price and reproduce without reducing the customer's sense of choice.
17. Match the Product to the Job, Not Just the Finished Photograph
Similar-looking nail photographs can conceal very different techniques. A narrow silver line may be painted, rubbed with powder or formed as a raised detail. A red highlight may come from magnetic pigment, a translucent layer or ordinary reflection. Identify the mechanism before deciding which product to buy.
| Product Family | Main Role | Halloween Application | What to Check |
|---|---|---|---|
| Color gel | Background and color coverage | Black, orange, red or neutral foundations | Opacity, undertone and compatible layers |
| Liner or painting gel | Controlled graphic detail | Ghosts, faces, stitches and outlines | Line control, fill and brush handling |
| Cat eye gel | Magnetically arranged highlight | Dark, red or celestial designs | Magnet method and pattern repeatability |
| Glow gel | Light-activated dark-viewing effect | Selected luminous accents | Daylight appearance and documented glow conditions |
| Reflective gel | Light-responsive sparkle | Party accents and textured shimmer | Ordinary and direct-light appearance |
| Blooming or marble materials | Diffusion or flowing pattern | Smoke and abstract backgrounds | Exact formula and working sequence |
| Sculpting or droplet products | Specific dimensional effects | Raised forms or rounded details | Shape, thickness and matched-system instructions |
| Base and top coat | System foundation and finish | Wearable gloss, matte or effect support | Compatibility and the intended final surface |
Use this comparison to separate essential materials from stylistic extras. A clean ghost design needs a suitable foundation, background, detail products and finish. It does not automatically need a magnetic gel or sculpture product. Conversely, a magnetic design cannot be recreated by adding ordinary shimmer to a standard color gel.
For a supplier inquiry, include a reference image and identify the detail that matters most: the fine line, the raised shape, the translucency or the light movement. This is more useful than asking for a product that is simply called Halloween gel. It also makes sample evaluation more objective because the intended result is clear.
18. Where the JTING Halloween Collection Fits
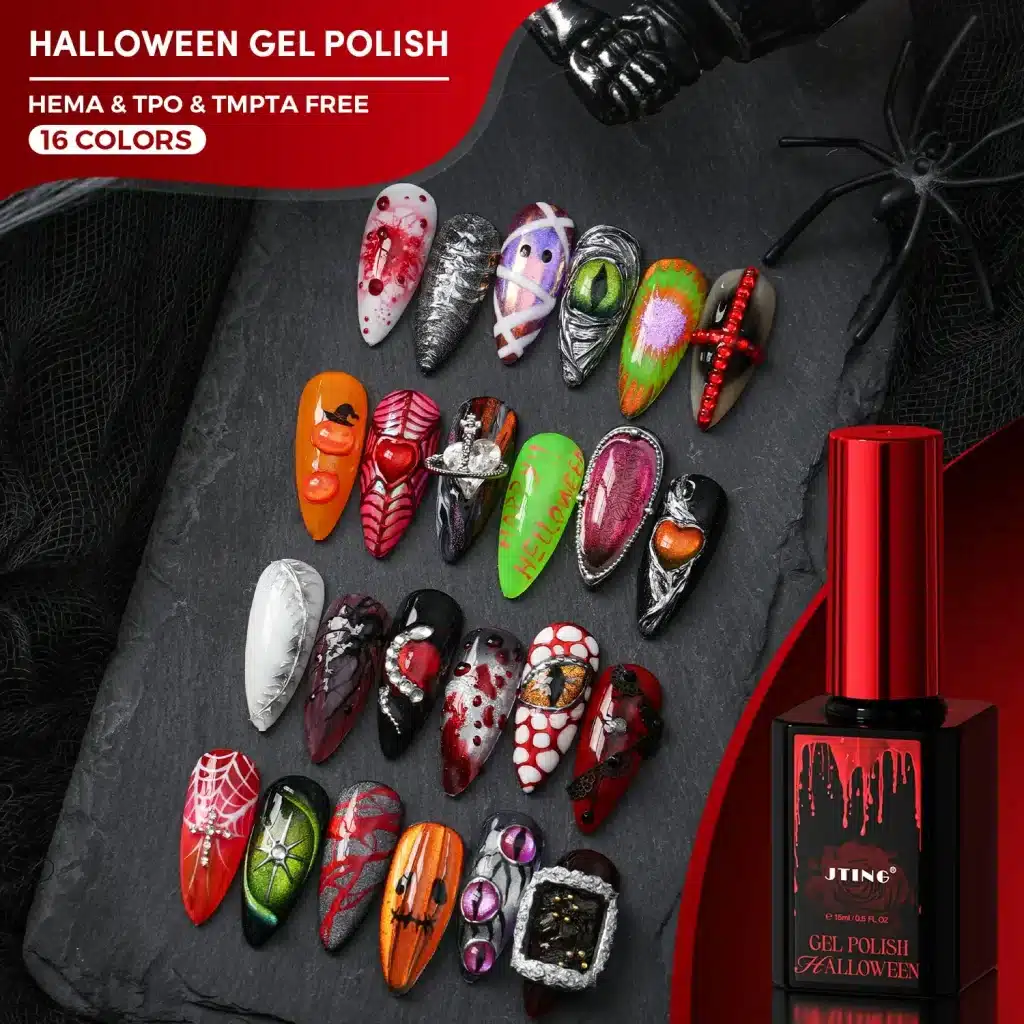
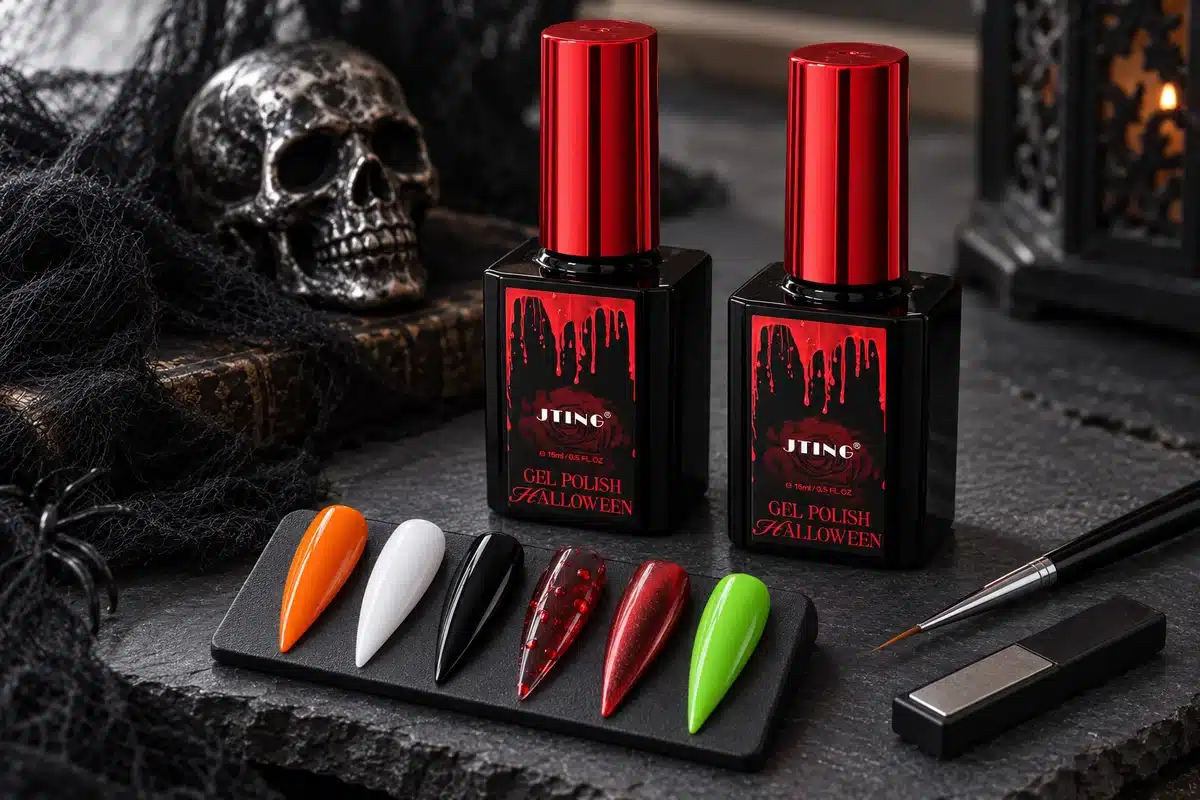
The JTING 16-product Halloween assortment combines Glow-in-the-Dark Gel, orange, pink and red solid colors, Super Black and Super White, the Dark Red and Drip Top Coat pair, and eight magnetic options including Flow White Cat Eye. It offers several different design functions within a coordinated seasonal range.
Use the solids and black-and-white products for graphic artwork, assess the matched drip pair for dimensional accents, and compare the magnetic options for light movement. Evaluate Glow-in-the-Dark Gel separately under its intended viewing conditions. Each effect needs its own product selection and application instructions within the collection.
Add Products Only Where They Fill a Real Gap
A salon may already have suitable black, white and background shades, but need a specific magnetic effect. A retailer may prefer a coordinated seasonal story with supporting artwork. An educator may need products that demonstrate the difference between a painted drip and a paired droplet effect. Each brief produces a different shortlist.
Add liner gel for controlled outlines, painting gel for illustrated shapes, reflective gel for a separate sparkle option or sculpting material for raised forms. Compare additions against existing stock: a different red should contribute a useful undertone or effect, while an art product should enable a technique the current assortment cannot reliably deliver.
Review the JTING Halloween collection guide for product roles and sampling considerations. Before ordering, agree the included gels, required magnets or tools, supporting finishes and packaging. A written item list gives buyers a clearer basis for comparing a full seasonal selection with a smaller order of complementary products.
19. Plan the Application Sequence before Opening the Bottles
A Halloween manicure can become difficult when several individually simple effects need different sequences. Plan the foundation, color, effect, detail and finish before beginning. This is especially important when a set includes both matte and glossy nails, powder work, magnetic layers or a paired droplet system.
- Prepare the design map. Identify the focal nails, the background for each and the products that differ between fingers.
- Confirm the supporting system. Choose the appropriate preparation, base and any necessary structure for the client's nail condition and service.
- Build the background. Apply and cure compatible color layers according to their instructions rather than using one heavy coat to save time.
- Create the effect at its required stage. Magnet placement, blooming, powder pickup and paired droplet formation do not share a single sequence.
- Add controlled detail. Complete the illustration or raised work with materials intended for that task.
- Finish appropriately. Use the specified top coat or final surface treatment without flattening, clouding or changing the intended design.
Keep a service sheet for each approved design, listing the exact products, required tools and product-specific application sequence. This is particularly important for matched effects and mixed finishes. A documented sequence helps different technicians reproduce the same design and gives distributors useful supporting information for demonstrations and customer training.
Organize tools by stage. A clean detail brush should not pick up residual glitter or chrome powder from another task. Protect uncured products from unintended light exposure and keep working surfaces orderly. Trial the complete service once from start to finish, including cleanup and photography. Timing only the decorative drawing gives an incomplete picture of the appointment and can lead to unrealistic menu pricing.
20. Glossy or Matte: Choose the Finish for the Design
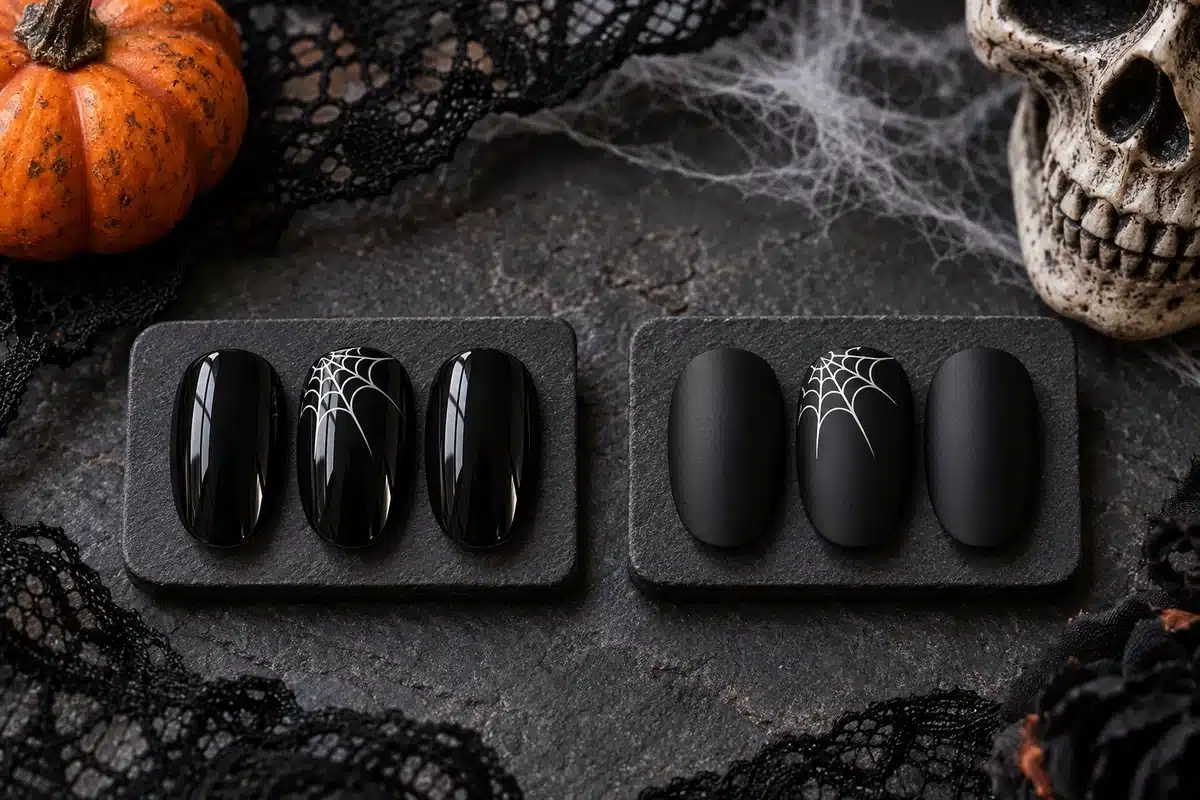
The top coat changes how the design is read. Gloss can deepen the appearance of a dark palette and emphasize reflections, while matte can make graphic shapes and color contrasts feel quieter. Neither is automatically better for Halloween; choose according to the element the customer should notice first.
A glossy red magnetic manicure emphasizes moving light. A matte black background can make a small glossy detail stand out. A pale ghost design may look softer with a less reflective finish, but the final appearance depends on the products used. Make a complete swatch rather than assuming a top coat will preserve every effect unchanged.
Keep the Finish Intentional across the Hand
Mixed finishes are effective when they follow a pattern. For example, keep background nails matte and the focal nail glossy, or repeat one glossy detail on each matte nail. Randomly changing the finish on unrelated nails can weaken the visual structure, especially when the set already contains several colors.
Check fine artwork after finishing. A heavy layer may soften an edge or alter the apparent height of a small feature. A finish chosen for ordinary color coverage may not be the specified receiving or sealing product for chrome, droplets or other specialist effects. Buy the required supporting product as part of the system rather than treating it as an optional replacement.
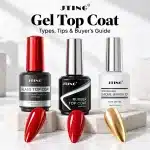
Review JTING base and top coat options against the service requirements. The gel top coat guide covers selection and finishing decisions in more detail.
21. Troubleshoot Samples before Approving a Bulk Order
Review a sample problem at the stage where it first appears. Record whether a line spreads before curing, a magnetic highlight shifts during application or the final top coat changes the finish. This helps the technician and supplier distinguish an application issue from a product mismatch before more samples or a bulk order are approved.
| Visible Problem | First Checks | Practical Next Step |
|---|---|---|
| Fine lines lose definition | Product load, brush control and receiving surface | Retest a smaller controlled line with the appropriate detail formula |
| Cat eye pattern looks weak or shifts | Correct magnetic product, background, magnet position and timing | Repeat one tip with a recorded magnet method before changing shades |
| Smoke becomes muddy | Amount of dark color, spread and open space | Use fewer placements and stop the movement earlier as the system allows |
| Chrome detail looks dusty | Receiving surface, powder handling and excess removal | Retest the specified surface and sealing sequence |
| Droplets merge or flatten | Matched products, placement, quantity and application directions | Return to the confirmed paired-system method rather than adding bulk |
| Gloss or clarity changes | Compatibility, layer application and finishing method | Compare the same design with the specified finishing product |
Change one variable at a time. If the background, brush, product quantity and lamp sequence all change together, a better-looking result will not reveal what solved the problem. Label the trial tips and retain the unsuccessful sample until the comparison is complete. This is particularly useful when more than one technician is testing an assortment.
Separate a visual problem from a potential curing problem. Wrinkling, unusual softness or an unexpected surface should not be hidden beneath another layer and sold as a finished service. Stop and check the product instructions and system compatibility. A decorative correction cannot establish whether a gel has been properly cured.
For supplier support, send clear images of the result and a concise record of the materials, lamp, layer sequence and point at which the problem appears. That gives JTING a better basis for reviewing the application than a final photograph with no process information.
22. Curing, Skin Contact and Removal Need Their Own Attention
Decorative ambition should not change the basic requirement to use a gel system as directed. Follow the specific product's recommended lamp, application thickness and curing schedule. There is no universal curing time for every black, white, magnetic, glow and sculpting formula. Lamp wattage alone is not a sufficient way to establish compatibility.
A surface that looks glossy or feels firm does not prove that all material underneath has cured appropriately. Do not solve an unfamiliar formula or an overly thick application by guessing a longer exposure. Obtain the correct instructions and use a supported application method, especially for opaque artwork and raised elements.
Keep uncured gel off the skin throughout the service. If it reaches the surrounding skin, remove the contamination before curing and follow professional handling guidance. Do not use a gel product as a skin patch test. If irritation or a suspected reaction occurs, stop using the product and seek qualified medical advice rather than covering the symptoms with another manicure.
Plan Removal alongside Application
A complex design may contain several material types, and the removal method must suit the complete system. Do not assume that every sculpted detail or underlying structure is soak-off because the color gel is. Record which products were used and give the customer appropriate maintenance and removal guidance. Peeling or picking off decorative layers is not a suitable removal plan.
Keep the aftercare message useful and specific: avoid using nails as tools, report lifting or damage, and book appropriate removal or maintenance. Do not promise that every seasonal design will remain perfect for a fixed number of weeks. Nail condition, service type, application and daily use vary. Professional technique includes setting realistic expectations as well as producing attractive artwork.
23. Prepare Product Images for Wholesale and Salon Sales
A product photograph should answer a buying question. Can the viewer see the shade, the line quality, the raised profile or the moving highlight? Dark props and dramatic lighting can support a seasonal mood, but they should not hide the feature being sold.
Capture a clean hand view first. Keep the nail shape and color readable, and show enough surrounding skin for a natural sense of scale. Add a close-up when fine detail or texture matters. For raised art, include a side angle. For magnetic products, a short movement sequence can explain more than a single perfectly positioned reflection.
Label Special Viewing Conditions
Glow and reflective demonstrations need context. Show the normal-light appearance alongside the special condition, and avoid changing exposure so aggressively that the result becomes misleading. Keep the same design in both views. Substituting a different tip, color layer or background makes comparison less useful.
For online stores, separate design inspiration from the exact contents of the order. A styled image may contain tools, other colors or decorative props. The product description should explain what is included and what is required separately. A customer should not need to infer the purchasing configuration from a crowded photograph.
24. Build a Halloween Nail Menu That Clients Can Book Confidently
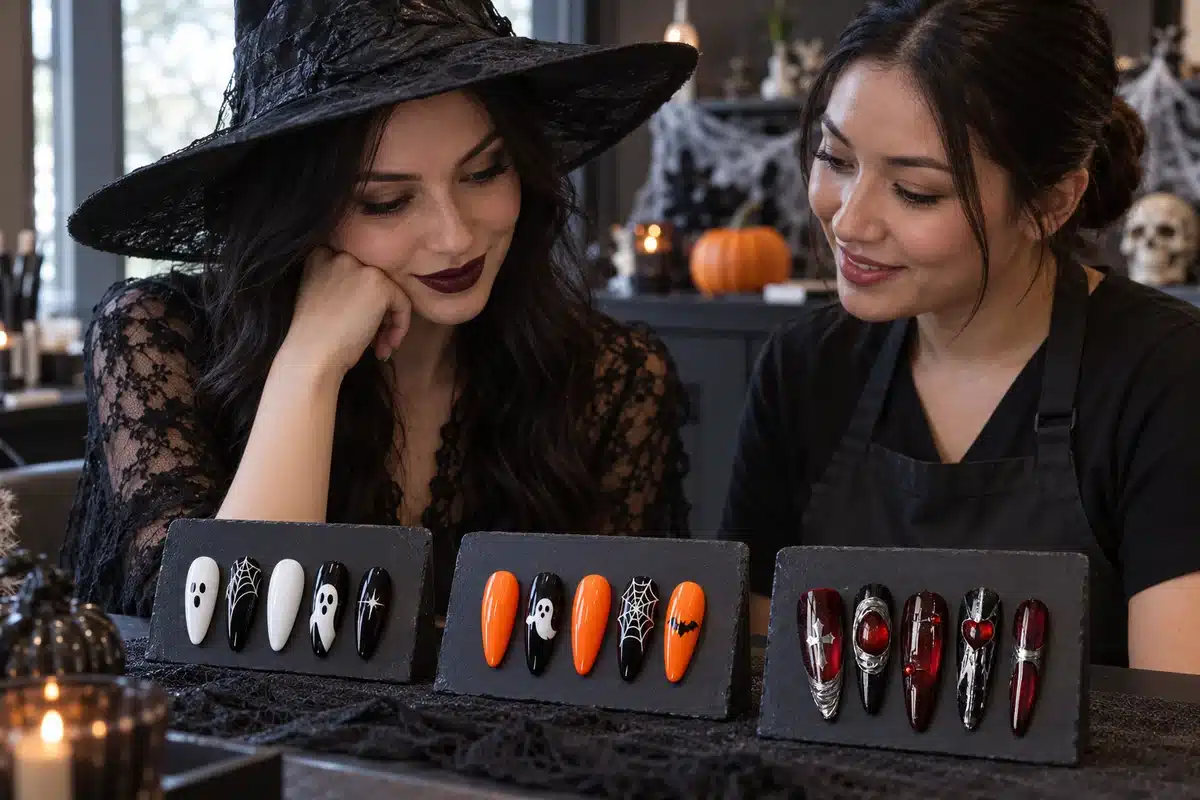
A useful seasonal menu translates visual complexity into clear choices. Customers should understand what is included before they sit down: the base service, the number of decorated nails, the type of effect and whether extra length or dimensional art changes the booking.
Organize the menu into simple accents, coordinated art sets and specialist effects. Time a complete trial service for each option, then set the booking allowance and price using the salon's labor, material and operating costs. The same visual theme can support more than one service level when the included work is clearly defined.
- Seasonal Accent: a standard color service with a defined number of small ghosts, pumpkins or fine-line details.
- Coordinated Halloween Set: a planned mix of color and artwork, with a fixed palette and agreed accent count.
- Statement Effect: magnetic, dimensional or other specialist work with a demonstrated design and the appropriate appointment allowance.
Price the Complete Service
Record preparation, tool changes, effect formation, curing stages, finishing and cleanup. A small design using several systems may require more time than a larger painted motif. Compare the art surcharge with its additional materials and working time; if the margin is insufficient, simplify the included design, revise the price or offer it as a separately quoted service.
Keep customization manageable. Offer a choice of two compatible palettes or one motif substitution without allowing every nail to become an unrelated request. When a customer wants a fully custom set, move it to a separate consultation and quote. This protects both the booking schedule and the quality of the work.
Train staff with actual short and long samples, a product list and a finished hand photograph. Consistent samples help the team explain the service without promising an exact recreation of any internet image. The strongest menu reflects the techniques the salon can confidently repeat, not the largest number of designs it can display.
25. Build a Wholesale Halloween Assortment around Product Roles
Organize a wholesale Halloween assortment into foundation colors, graphic detail, specialty effects and supporting finishes. Identify which items customers already stock and which complete a new design. This helps a buyer compare a ready-made seasonal range with a smaller selection of additions and decide where the purchasing budget will be most useful.
Colors and Gels for Painted Designs
Start with the backgrounds your audience uses, then add controlled black and white detail, a seasonal accent and compatible finishing products. This direction supports ghosts, pumpkins, stitches and French variations. Its value lies in repeatable illustrations and color coordination rather than the highest number of specialty formulas.
Products for Magnetic, Glow and Reflective Effects
Choose a limited group of magnetic, glow or reflective products with clear demonstrations. Add the necessary background and finishing products, and identify which tools are required. Avoid assuming that one magnet, one top coat or one application card covers every effect. A buyer should be able to recognize the differences before ordering.
Specialty Gels for Existing Salon Ranges
For customers who already have strong color foundations, focus on a specific additional capability: detailed line work, a paired droplet effect, sculpted accents or an abstract smoke direction. This prevents an experienced salon from paying for a large amount of redundant stock simply to access one new technique.
Plan quantities by product use rather than dividing the budget equally across shades. A background color may cover every nail, while a detail gel may be used only for small accents. For a matched effect, estimate consumption of both components together; having plenty of the color but no supporting finish can leave the design unavailable.
For distributors, compare expected demand, usable opening stock and confirmed replenishment time for each item. Agree whether essential colors and paired components can be reordered individually, then define a review date before the main selling period ends. Use actual orders and salon demand to adjust quantities rather than treating early social engagement as a sales forecast.
26. Evaluate Samples as a Complete Halloween Design System
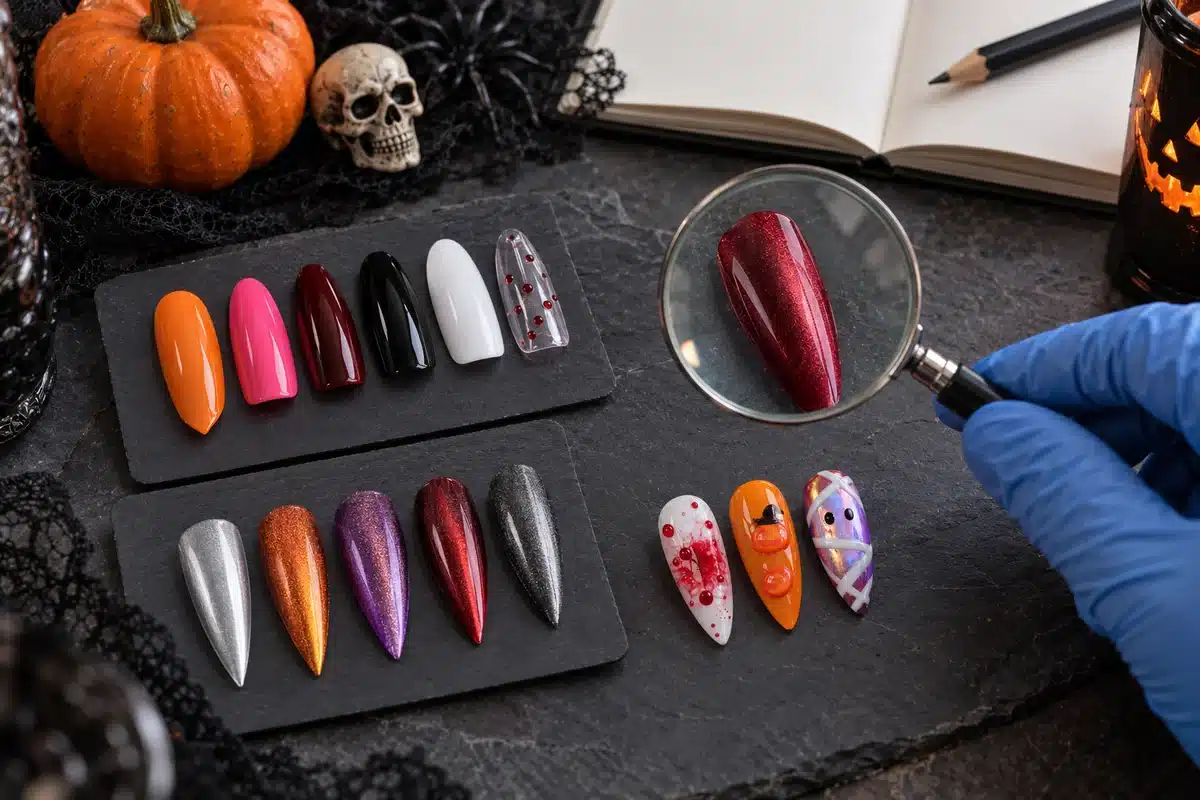
Sampling should establish whether the chosen products can produce the intended designs consistently. Approving a bottle color is not enough when the selling point depends on magnetic movement, a paired effect or a specialist finish. Use a small, documented set of sample designs that reflects the collection you intend to sell.
Begin with a reference outcome and record the exact products used. Note the background, application sequence, relevant tools and product-specified curing directions. Keep the comparison conditions stable so a change in lighting or technique does not appear to be a change in formula quality.
| Review Area | Question to Answer | Useful Record |
|---|---|---|
| Color | Does the finished undertone match the intended palette? | Approved swatch under consistent lighting |
| Artwork | Can lines and fills remain readable at the target size? | Short-nail and larger-tip examples |
| Optical effect | Does the result look convincing in its stated viewing condition? | Normal view plus correctly labeled demonstration |
| Repeatability | Can another trained technician recreate the result? | Second sample made from the same instructions |
| Finish | Does the completed system retain the intended appearance? | Final, not unfinished, sample |
| Commercial fit | Are included items, reorder options and support clear? | Written configuration and quotation |
Agree practical approval criteria before reviewing samples: the target shade, visible finish, line definition or magnetic pattern, specified application method and selected packaging. Record any changes requested and check the revised sample against the same criteria. Visual and handling approval is separate from the product documentation and compliance review required for the intended market.
Retain the approved sample with its product identity, shade reference, bottle and brush configuration, label version and agreed specification. For subsequent orders, use that record to review consistency and discuss any proposed substitution before production. Written approval is especially useful when the selection contains several formula types with different supporting products.
27. MOQ, Private Label and Seasonal Delivery Planning
Buying for an event date is different from buying a regular replenishment order. Separate the date the goods must arrive from the date the collection needs to be photographed, listed, demonstrated and sold. A shipment that reaches the warehouse shortly before Halloween may still leave too little time for a useful launch.
For an October purchase, obtain a schedule for the exact products and packaging you need. Separate confirmed availability, production or preparation, dispatch, transport and destination handling. An arrival date should leave room for photography, customer demonstrations and selling, not simply meet the date of the holiday itself.
Know the Difference between an Existing Range and New Development
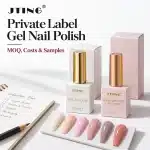
JTING supports private label gel nail polish orders starting from 10 pieces per shade. Mixed-color orders under the JTING brand can start from 100 pieces. Final quantities depend on the selected products, formulas, packaging and customization, so include these details when requesting a quotation for a seasonal assortment.
Standard samples typically take 7-10 business days. Custom color or exclusive formula development typically takes 2-4 weeks, while bulk production typically takes 15-20 days after sample and packaging approval. Project requirements can change these estimates, and shipping must be considered separately. A seasonal deadline should be checked against the full sequence, not only the production stage.
For a future private label launch, choose which elements genuinely need customization. A coordinated shade story, clear labels and useful application information may matter more than a completely new bottle. JTING's private label brand development can support discussion of colors, formulas, bottles and packaging according to the project.
Compare quotations on the same basis: product quantity and fill volume, bottle and brush, labels, packaging, required companion products and delivery terms. Include freight and applicable destination costs when calculating the total purchase cost. Keep reusable sampling or design expenses separate from repeat-order costs so the first order and later replenishment can be evaluated fairly.
28. Keep the Collection Useful after Halloween
Seasonal relevance and year-round usefulness can coexist. Black and white support many graphic designs. Deep red can move into classic evening manicures. Magnetic shades and reflective finishes may suit later party collections. Muted orange, amber and brown can remain part of autumn styling without a pumpkin on every nail.
Plan these second uses while choosing the assortment. Ask whether a shade still looks attractive without its seasonal motif and whether its name, label or presentation makes it unnecessarily difficult to sell after October. A removable campaign display can offer more flexibility than making every component permanently Halloween-specific.
Separate the Product from the Seasonal Story
Photograph a clean color or effect swatch alongside the Halloween design. This gives your team material for later styling without needing to explain away a costume image. For a dark magnetic shade, show the unillustrated manicure as well as the seasonal version. For a liner gel, show the quality of the line rather than only a web.
Review actual demand at the product and service level. A full set may receive attention while customers mostly book its simple accent version. An eye-catching specialty product may sell less frequently than the base color needed to support it. Keep those distinctions when planning replenishment and next year's assortment.
Reposition remaining products around suitable designs. Update the display, remove date-specific language and keep instructions accessible. A thoughtful Halloween collection should leave useful colors, practiced techniques and reusable photography.
29. Halloween Gel Nails: Frequently Asked Questions
Which Short Halloween Nail Designs Suit a Salon Menu?
A small ghost, one pumpkin accent, a fine black French tip or a simple stitched line can suit short nails. Choose one clear motif and leave open space around it. Ease depends on the technician's skills and the selected products, so rehearse the design on the same length rather than assuming a small picture will automatically be quick to paint.
Do Halloween Nails Have to Be Orange and Black?
No. Sheer pink with white details, deep red with black accents, smoky green or a restrained metallic palette can all suggest Halloween. Choose the mood first, then use a consistent color relationship across the hand. A limited palette is often easier to coordinate than adding every traditional seasonal color.
What Is the Difference between Glow, Reflective and Cat Eye Gel?
Glow gel provides a dark-viewing effect after light exposure. Reflective gel produces a light-responsive sparkle under suitable illumination. Cat eye gel uses a magnet before curing to arrange its visible highlight. These are different mechanisms, so they require different demonstrations and may need different supporting materials. A product name or dark background does not make them interchangeable.
When Do You Use the Magnet for Cat Eye Nails?
Use it while the relevant magnetic layer is uncured, following the product's directions for positioning and sequence. Once that layer has cured, moving the magnet cannot rearrange it in the same way. Keep the magnet clear of the surface and check the pattern before the required cure. Practice one repeatable method before adding further artwork.
Which Products Are Needed for Blood-Drip Nails?
A suitable red art gel can create a flat painted drip motif. For JTING's beaded Halloween effect, select Dark Red with the matching Drip Top Coat and follow their application directions. Include both components in the sample request, specify the supporting base and finish, and evaluate the completed design before offering it to salon clients.
Does Every Halloween Design Require a Separate Product?
No. A compact selection of background colors, suitable detail products and compatible base and top coats can support several graphic designs. Add specialist products when the design requires their behavior, such as magnetic movement or sculpted form. Buying by the technique you intend to offer is more useful than buying one product for every inspiration photograph.
Can Blooming Gel Be Used for Smoky Halloween Nails?
A compatible blooming system can support soft, diffused patterns that suit a smoky design. Keep the color placement restrained and allow enough clear space for the movement to remain visible. Products described as marble inks or blooming gels may have different working methods. Follow the actual formula's instructions rather than applying one generic sequence to the whole category.
Should I Use a Glossy or Matte Top Coat?
Choose the finish around the focal effect. Gloss emphasizes reflections and depth, while matte changes how the surface and graphic details are perceived. Check the finished sample, especially for magnetic, chrome or dimensional designs. The required system-specific finishing product takes priority over a purely stylistic preference when compatibility matters.
How Long Do Halloween Gel Nails Last?
There is no separate fixed wear period for Halloween artwork. Performance depends on the complete product system, nail condition, preparation, application, design profile and daily use. A raised statement set and a simple color manicure may have different maintenance needs. Give service-specific guidance rather than guaranteeing the same number of weeks for every customer.
How Should a Salon Price Halloween Nail Art?
Base the quote on the service, accent count, actual working time, required materials and specialist techniques. Include tool changes, finishing and cleanup in the trial appointment. A three-tier menu can help customers compare simple accents, coordinated sets and statement effects, but prices should reflect the salon's own costs and positioning rather than an arbitrary online benchmark.
What Should Buyers Confirm before Ordering Wholesale Halloween Gel Nail Polish?
Ask which exact products create the advertised designs, which items are included, which supporting materials are required and whether individual essentials can be reordered. Confirm quantity, packaging, sample approval, timing and destination requirements. Request normal-light swatches as well as appropriately labeled effect demonstrations so the buying decision is not based on a single dramatic image.
Can a Private Label Halloween Collection Be Ready Close to the Holiday?
Possibility depends on the available products, customization, approval work and delivery route. A new formula or packaging project requires more stages than selecting an existing configuration. Ask JTING for a project-specific schedule before committing to a launch date. If the current season is too close, a tested assortment can form the basis of a better-prepared next-season collection.
Does the JTING Halloween Collection Include Only Cat Eye Gel?
No. It brings together several product roles, including ordinary seasonal color, black and white, glow, a paired drip effect and magnetic options. Check the role of each selected item rather than assuming that all products share the same behavior. The appropriate design and application sequence depend on the actual formula being used.
Which Products Can Still Be Used after Halloween?
Neutral foundations, black and white detail products, deep reds, selected magnetic shades and many finishing products can support other designs. Their usefulness depends on the rest of the salon or brand range. Plan non-seasonal swatches and alternative looks before buying, then use actual sales and appointment feedback to guide later replenishment.
30. Plan Your Halloween Gel Nail Collection with JTING
A useful Halloween gel nail collection connects an appealing design with an appropriate material and a repeatable method. Choose a few clear directions, make complete samples and show how they work on the nail lengths your customers prefer. Then build the assortment, service menu or branded range around those results.
Share your reference designs, sales channel, destination market, preferred effects and estimated quantities with JTING. Include the required arrival date and whether you need JTING-branded products or private label packaging. Discuss your Halloween gel nail collection with JTING to review suitable product combinations, sample options and a project-specific quotation.